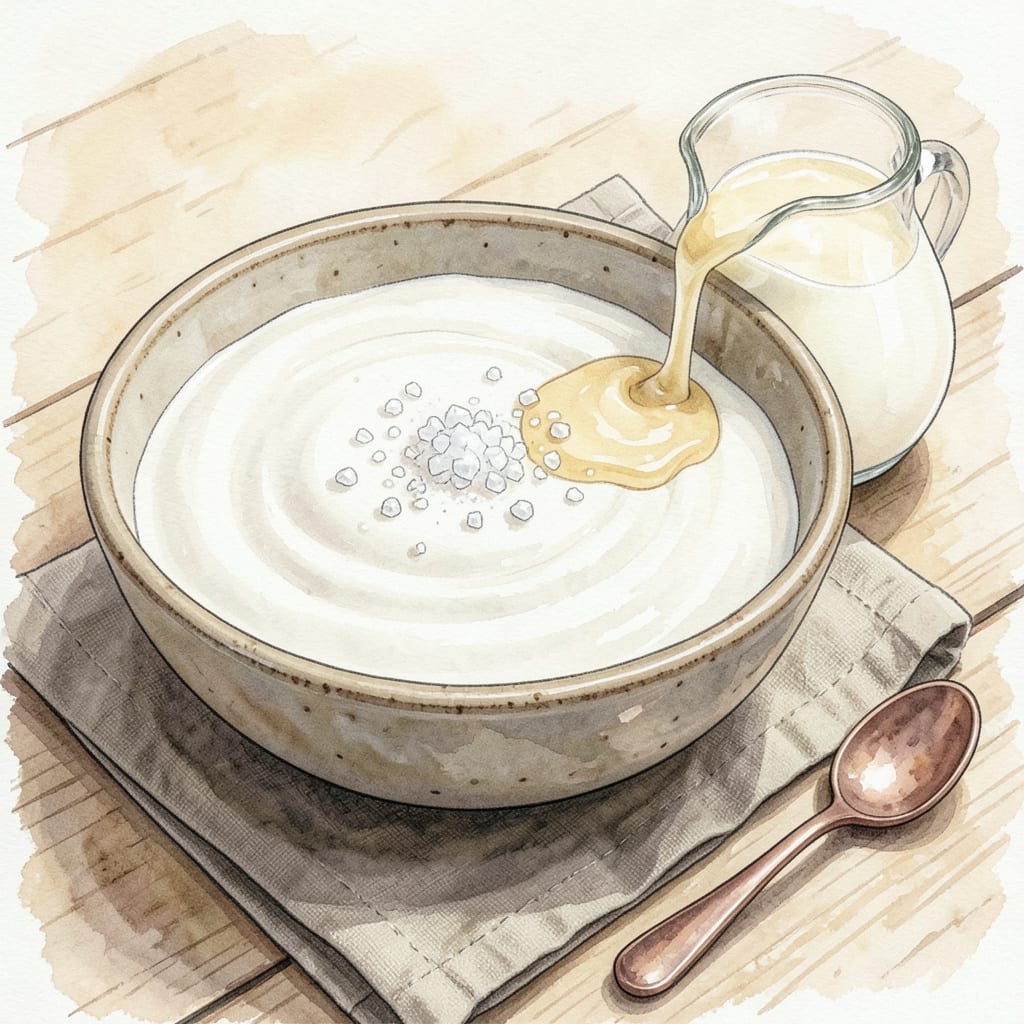
Creating homemade fermented yogurt delivers creamy, probiotic-rich results that surpass any store-bought version. This 24-hour process transforms simple milk into velvety yogurt through careful temperature control and fermentation—no special equipment required beyond a thermometer and clean jars.
The science is straightforward: heat milk to 180°F to denature proteins, cool to 110°F, then introduce a starter culture. After 8-12 hours in a warm environment, you’ll have thick, tangy yogurt packed with live cultures. First-timers will appreciate how this method eliminates guesswork while producing consistently smooth texture every time.
Ingredients for Fermented Yogurt
Four essential ingredients plus basic equipment transform into velvety, probiotic-rich fermented yogurt with minimal effort.
| Ingredient | Amount | Notes |
|---|---|---|
| Whole Milk 🥛 | 8 cups | Preferably organic, non-homogenized |
| Plain Yogurt Starter 🦠 | 2 tbsp | With live active cultures |
| Nonfat Dry Milk Powder 🥛 | ½ cup | Optional, for thicker texture |
| Ultra-Pasteurized Heavy Cream 🥛 | ¼ cup | Optional, for extra creaminess |
| Granulated Sugar 🍚 | 1 tsp | Optional, to feed cultures |
| Filtered Water 💧 | 1 cup | For rinsing equipment |
| Digital Thermometer 🌡️ | 1 whole | For precise temperature control |
| Glass Jars with Lids 🏺 | 4 whole | 16-ounce, sterilized |
| Cheesecloth 🧀 | 1 sheet | For straining (optional) |
| Rubber Bands 🩡 | 2 whole | For securing cheesecloth |
| Cooling Rack 🧊 | 1 whole | For straining setup |
| Insulated Cooler or Yogurt Maker 🔥 | 1 whole | For maintaining 110°F temperature |
[recipe_ingredient_scaler]
The milk quality directly impacts final texture and flavor. Organic, non-homogenized whole milk yields the creamiest results due to higher fat content (3.5-4%). Avoid ultra-pasteurized milk as it may not culture properly. For starter, Fage Total Plain or Siggi’s Icelandic Skyr provide reliable live cultures. The dry milk powder is optional but recommended for beginners—it increases protein content for thicker yogurt without altering flavor profile.
No yogurt starter? Use 2 tbsp of high-quality store-bought plain yogurt with live cultures as your initial batch. For dairy-free versions, substitute coconut milk (full-fat, canned) but note the texture will differ. The heavy cream addition is particularly useful when using lower-fat milk (2%) to compensate for reduced creaminess. If you prefer tangier yogurt, extend fermentation by 2-4 hours beyond the initial 8-12 hour window.
Equipment sterilization prevents contamination. Boil jars and lids for 10 minutes before use, or run through dishwasher’s sanitize cycle. Store finished yogurt in glass containers (not plastic) to maintain quality. Properly fermented yogurt keeps for 2-3 weeks refrigerated, with flavor intensifying over time. The whey drained during straining can be reserved for 6 months frozen and used in smoothies or fermenting other foods.
Why You’ll Love This Recipe
- Set It and Forget It: Honestly, this might be the lowest-effort recipe in my rotation. Mix whole milk with a bit of dry milk powder and your starter, let it ferment overnight in the oven with the light on (no fancy equipment!), and wake up to thick, tangy yogurt. No stirring, no babysitting.
- That First Spoonful: Here’s what sold me—the heavy cream makes it luxuriously smooth, but the sugar balances the tartness so it’s not *too* sharp. It’s like if store-bought yogurt and crème fraîche had a baby, but better because you control the sweetness.
- Breakfast, Snack, Dessert: I batch-make this every Sunday and use it four ways: swirled with honey for breakfast, dolloped on chili for dinner, blended into smoothies, or—my kid’s favorite—layered with granola and berries for dessert. One recipe, zero boredom.
- No More Waste: Between us, I used to toss half-eaten yogurt tubs weekly. Now? This stays fresh for *two weeks* in the fridge, and the texture actually improves after a few days. Plus, a gallon of milk makes eight cups of yogurt for the price of two store-bought tubs. My wallet (and compost bin) thank me.
Step-by-Step Instructions for Fermented Yogurt
This precise method ensures consistently creamy, probiotic-rich yogurt with perfect texture every time.
Step 1: Prepare and Heat the Milk Mixture
Pour the 8 cups Whole Milk into a heavy-bottomed saucepan and whisk in the 0.5 cup Nonfat Dry Milk Powder and 1 tsp Granulated Sugar until fully dissolved. The dry milk powder enhances thickness while the sugar provides initial food for the cultures.
Heat the mixture over medium heat, stirring frequently with a clean spoon to prevent scorching, until it reaches 180°F on your Digital Thermometer. This temperature denatures proteins for smoother texture and eliminates competing bacteria. You’ll notice small bubbles forming around the pan’s edges when ready.
Step 2: Cool to Optimal Culturing Temperature
Remove the pan from heat and let the milk cool to 110°F. This typically takes 30-45 minutes at room temperature. For faster cooling, place the pan in an ice bath, stirring occasionally to maintain even temperature throughout.
The 110°F target is critical – too hot will kill your starter cultures, while too cool will prevent proper fermentation. Verify the temperature in multiple spots with your thermometer, as surface readings can be misleading. The milk should feel warm but not hot to the touch.
Step 3: Inoculate and Incubate the Mixture
Once at 110°F, whisk in the 2 tbsp Plain Yogurt Starter until completely incorporated. For extra creaminess, stir in the 0.25 cup Ultra-Pasteurized Heavy Cream at this stage. The mixture will thicken slightly as the cultures begin activating.
Divide the inoculated milk evenly among your 4 Glass Jars with Lids, leaving about 1 inch of headspace. Secure the lids and place the jars in your Insulated Cooler or Yogurt Maker preheated to 110°F. Maintain this temperature for 8-12 hours until the yogurt sets to your desired consistency.
Step 4: Strain for Desired Texture (Optional)
For thicker, Greek-style yogurt, line your Cooling Rack with Cheesecloth and secure it with Rubber Bands over a clean bowl. Gently pour the fermented yogurt onto the cheesecloth and let it strain for 2-4 hours in the refrigerator.
The whey will separate and drip through, leaving behind a thicker yogurt. Check the consistency periodically – longer straining yields thicker results. Save the whey for smoothies or discard it. Rinse all equipment with the 1 cup Filtered Water before storage.
Step 5: Store and Enjoy
Transfer the finished yogurt to clean containers and refrigerate for at least 2 hours before serving. This chilling period allows the flavors to develop fully and the texture to set completely. The yogurt will keep for up to 2 weeks in the refrigerator.
Serve with fresh fruit, honey, or granola. The final product should have a smooth, creamy texture with a pleasant tang. Each batch yields about 8 cups of yogurt, perfect for 4 servings of 2 cups each.
Pro Cooking Tips for Great fermented yogurt
Temperature Precision Matters
I can’t stress enough how critical the 180°F heating stage is—this isn’t just about pasteurization. The heat denatures whey proteins, which later helps create that velvety texture we all love. Use a candy thermometer for accuracy, as kitchen thermometers can vary by 5-10°F. I once ruined a batch using a cheap dial thermometer that was off by 15°F. 🌡️
Cooling Shortcuts
When cooling your milk to 110°F, don’t rush it with ice cubes—they dilute your mixture. Instead, fill your sink with 2 inches of cold water and 10 ice cubes, then place the pot in it. Stir gently every 5 minutes to distribute heat evenly. This method cuts cooling time to about 20 minutes without compromising quality.
Starter Culture Secrets
For your 2 tbsp Plain Yogurt Starter, always use the freshest possible with multiple live cultures listed. I’ve had best results with Nancy’s Organic or White Mountain Bulgarian yogurts. If using a previous homemade batch as starter, never go beyond 3 generations—the cultures weaken over time, leading to inconsistent results.
Fermentation Environment
Maintaining 110°F during fermentation is easier than you think. I repurpose my Instant Pot on yogurt setting, but a simple trick is wrapping jars in a heating pad set to medium inside a cooler. Check temperature every 2 hours—fluctuations beyond 5°F can affect texture. The longer you ferment (up to 12 hours), the tangier your yogurt becomes.
Straining for Perfection
For Greek-style thickness, straining is key. Use unbleached cheesecloth (I prefer Butter Muslin brand) and let it drip over a bowl in the fridge. Don’t rush—4 hours yields ultra-thick results, while 2 hours gives a creamy middle ground. Save the whey! I use it in smoothies or to ferment vegetables.
Equipment Cleanliness
Sterilization prevents unwanted bacteria. I boil my Glass Jars with Lids for 10 minutes, then dry them in a 200°F oven for 15 minutes. For the cheesecloth, a quick rinse with boiling water and 1 tsp white vinegar does the trick. This might seem excessive, but I’ve never had a contaminated batch using this method. 💪
Nutrition Facts

Trained in classic French technique but raised on slow-cooked ribs and spicy rubs, she blends culinary skill with smoke and soul.
- Recipe for Boneless Pork Chops in Cast Iron Skillet: Sear and Baste to Juicy Perfection - October 3, 2026
- Recipe for Boneless Cross Rib Roast: Slow-Roasted Beef with Herb Crust - October 3, 2026
- Hamburgers in Sauce Recipe Crock Pot: Slow-Cooked Savory Delight - October 3, 2026