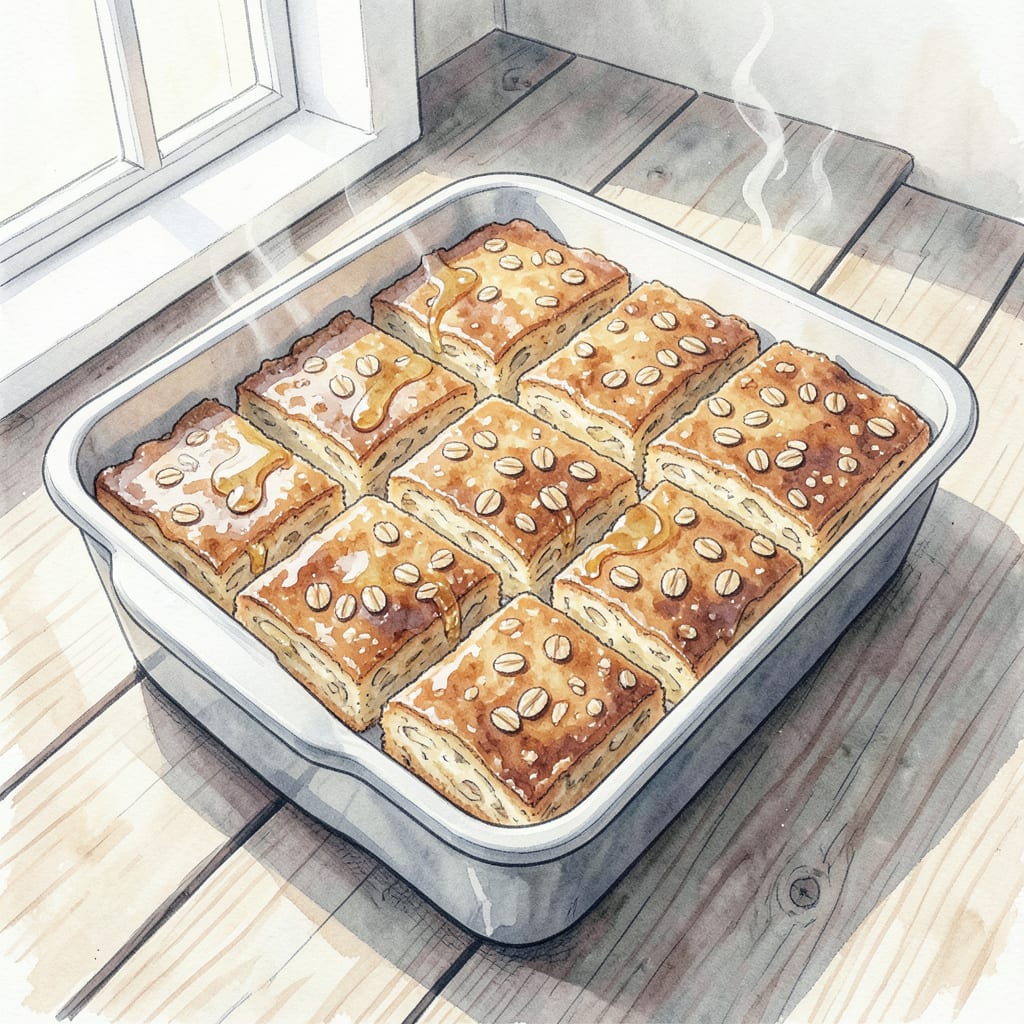
As a pitmaster, I’ve perfected the art of creating energy-packed snacks that fuel my active lifestyle. These classic flapjacks are a staple in my kitchen, made with rolled oats, golden syrup, and a hint of sweetness.
These chewy oat bars are perfect for snacking on the go, requiring just 20 minutes in the oven at 300°F. With simple ingredients and straightforward instructions, you’ll have a batch of delicious flapjacks ready to satisfy your cravings.
Ingredients for Flapjacks
Simple ingredients come together to create these delicious, chewy flapjacks perfect for snacking.
| Ingredient | Amount | Notes |
|---|---|---|
| Rolled Oats 🌾 | 2 cups | Old-fashioned, not instant |
| Golden Syrup 🍯 | ½ cup | Or light corn syrup |
| Brown Sugar 🍮 | 1 cup | Packed, dark brown preferred |
| Unsalted Butter 🧈 | 1 cup | Melted, plus extra for greasing |
| Vanilla Extract 💧 | 1 tsp | High-quality, pure vanilla |
| Salt 🧂 | ¼ tsp | Kosher or sea salt |
| Raisins 🍇 | 1 cup | Optional, or substitute with chocolate chips |
| Chopped Nuts 🥜 | ½ cup | Optional, walnuts or almonds |
| Ground Cinnamon 🌿 | ½ tsp | Optional, for extra flavor |
[recipe_ingredient_scaler]
For the best texture, use old-fashioned rolled oats—they hold up better than instant oats. I prefer Quaker Oats for consistency. If you’re out of golden syrup, light corn syrup works as a substitute, though the flavor will be slightly different.
No raisins? Try dried cranberries or cherries for a different twist. Want crunch? Walnuts or almonds add great texture. For an extra flavor boost, add a pinch of sea salt on top before baking.
These flapjacks keep well in an airtight container for up to 5 days. You can also freeze them for up to 3 months—just thaw at room temperature when you’re ready to enjoy them.
Step-by-Step Instructions for Flapjacks
Now that we have our ingredients ready, let’s move on to making these delicious flapjacks.
Step 1: Prepare the Baking Dish and Melt Ingredients
Start by greasing a 9×9-inch baking dish with some of the melted unsalted butter to prevent sticking. I like to use a paper towel dipped in butter for an even coat. Next, combine the 1 cup brown sugar, 0.5 cup golden syrup, and 1 cup unsalted butter in a large saucepan. Place it over medium heat and stir occasionally until the sugar dissolves and the butter melts completely. You’ll know it’s ready when the mixture is smooth and there are no more sugar granules.
Once melted, remove the saucepan from the heat. The mixture should be hot but not boiling. This is the perfect time to add the 1 tsp vanilla extract and stir well to combine. The residual heat will help infuse the vanilla flavor throughout the mixture.
Step 2: Combine Dry Ingredients and Mix
In a large mixing bowl, combine the 2 cups rolled oats, 1 cup raisins, 0.5 cup chopped nuts, and 0.5 tsp ground cinnamon. I like to use a large silicone spatula for this task as it makes mixing easier. Pour the warm sugar and butter mixture over the dry ingredients and stir until everything is well coated and evenly distributed. The mixture should start coming together in a sticky dough.
Make sure to scrape down the sides of the bowl to incorporate all ingredients fully. If you’re using any optional ingredients like raisins or nuts, this is where they get distributed throughout the mixture.
Step 3: Press Mixture into Prepared Dish
Transfer the flapjack mixture into your prepared 9×9-inch baking dish. Use a spatula or your hands (lightly greased with butter) to press the mixture down evenly. I find using a piece of parchment paper on top helps achieve a smooth, even surface. Make sure to press it into the corners and achieve a uniform thickness throughout.
The mixture will be warm and slightly sticky, so be gentle but firm. This step is crucial for achieving that perfect chewy texture in the finished bars.
Step 4: Cool and Cut into Bars
Allow the mixture to cool completely in the dish. This is the hardest part—waiting for it to set! Once cooled and set, use a sharp knife to cut into bars or squares. I prefer cutting them into 12 equal pieces for perfect snack-sized portions.
For clean cuts, wipe your knife between each cut. You can store these flapjacks in an airtight container at room temperature for up to a week, making them perfect for meal prep or snacking on the go.
Storing and Reheating This Dish
Cooling and Storage Basics
After cutting your flapjacks into 12 equal pieces, let them cool completely in the pan before transferring to storage containers. This prevents moisture buildup that can make them soggy. I use airtight glass containers with parchment paper between layers to keep them fresh. Store at room temperature for up to 5 days. ❄️
Refrigeration Tips
If you live in a warm climate or prefer a firmer texture, refrigerate your flapjacks. Place them in a single layer in an airtight container or wrap individual bars in plastic wrap. They’ll keep for up to 2 weeks in the refrigerator. The cold helps maintain their chewy texture.
Freezer Storage
For longer storage, freeze your flapjacks. Wrap each bar individually in plastic wrap or parchment paper, then place in a freezer-safe container or zip-top bag. They’ll keep for up to 3 months. When you’re ready, simply thaw at room temperature or enjoy straight from the freezer for a firmer snack. ❄️
Reheating Instructions
While flapjacks are typically enjoyed at room temperature, you can gently reheat them if desired. Wrap a bar in microwave-safe paper towel and microwave on low power for 10-15 seconds. Alternatively, warm them in a 300°F oven for 5 minutes. Be careful not to overheat, as this can make them too soft.
Maintaining Freshness
To keep your flapjacks fresh, avoid storing them in humid environments or near strong-smelling foods, as they can absorb odors easily. If you notice they’re becoming too hard, a quick 10-second microwave zap can help restore their chewiness. Proper storage is key to maintaining that perfect texture.
Portion Control Tips
Consider portioning your flapjacks into individual servings before storing. This makes snacking more convenient and helps with portion control. I wrap each bar in wax paper or parchment and store them in a large tin for easy grab-and-go snacks.

Trained in classic French technique but raised on slow-cooked ribs and spicy rubs, she blends culinary skill with smoke and soul.
- Recipe for Boneless Pork Chops in Cast Iron Skillet: Sear and Baste to Juicy Perfection - October 3, 2026
- Recipe for Boneless Cross Rib Roast: Slow-Roasted Beef with Herb Crust - October 3, 2026
- Hamburgers in Sauce Recipe Crock Pot: Slow-Cooked Savory Delight - October 3, 2026