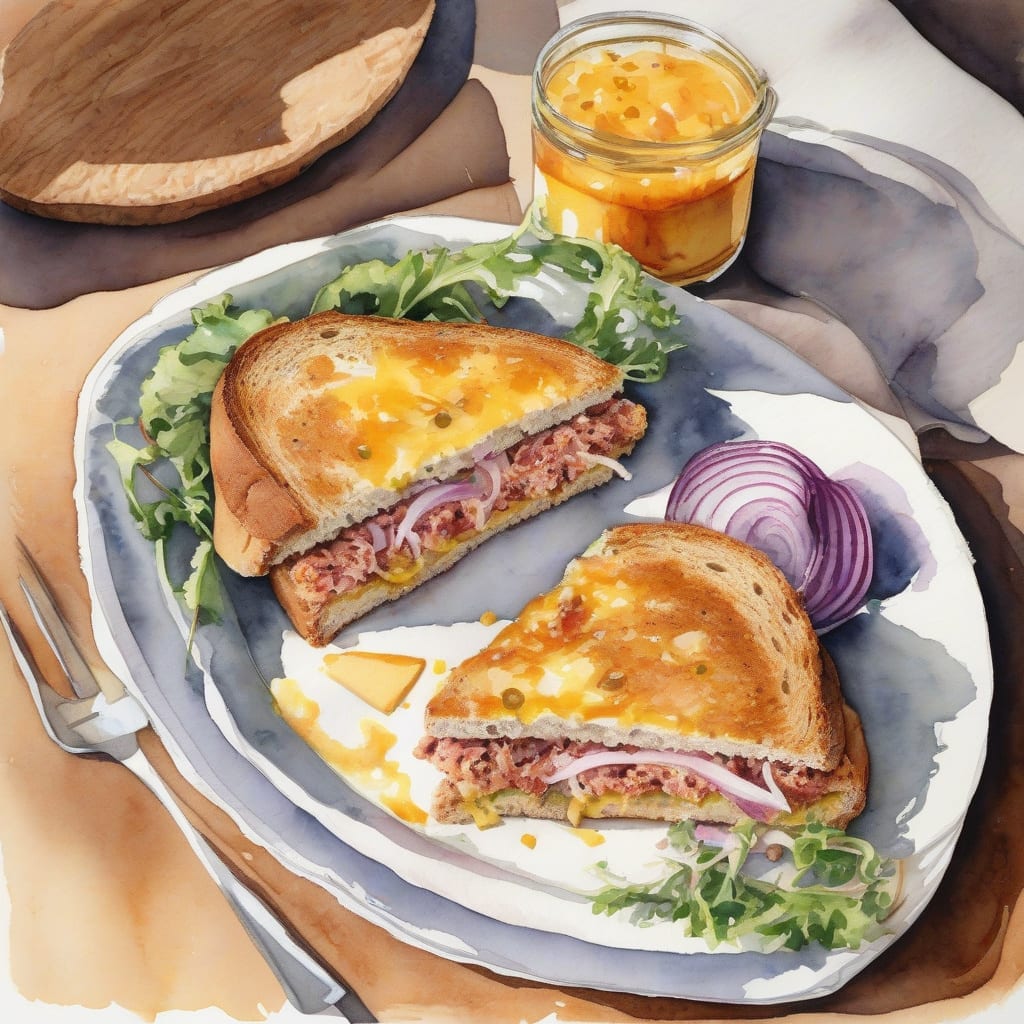
Imagine sinking your teeth into a warm, melty tuna melt that’s both satisfying and comforting. This dish is a classic favorite, perfect for a cozy meal at home. In just 30 minutes, we’ll create something truly special that feels like a warm hug on a plate.
What makes this recipe stand out is its simplicity and heartiness. With basic ingredients and straightforward techniques, you can whip up this ultimate comfort food without breaking a sweat. Trust me; it’s foolproof and delicious—ideal for a quick lunch or dinner.
By the end, you’ll have a golden, crispy sandwich filled with creamy tuna and gooey cheese, all ready to be devoured. Let’s dive into the details and make this delightful dish come to life!
Ingredients for Flavcity tuna melt
Gather these essential ingredients and create a warm, comforting tuna melt at home.
| Ingredient | Amount | Notes |
|---|---|---|
| Canned Tuna 🐟 | 2 cans | In water, drained well |
| Mayonnaise 🥫 | ½ cup | Adjust to taste for creaminess |
| Celery 🥬 | 1 whole | Finely chopped for crunch |
| Red Onion 🧅 | ¼ whole | Finely chopped for flavor |
| Dijon Mustard 🍯 | 1 tbsp | For tanginess and depth |
| Cheddar Cheese 🧀 | 8 oz | Shredded for melting |
| Sourdough Bread 🍞 | 8 slices | Thick-cut preferred for sturdiness |
| Butter 🧈 | 4 tbsp | For grilling sandwiches |
| Salt 🧂 | ½ tsp | To taste for seasoning |
| Black Pepper 🌶️ | ¼ tsp | Freshly ground for best flavor |
[recipe_ingredient_scaler]
You can find most of these ingredients at your local grocery store. For the best canned tuna, look for brands like Wild Planet or Starkist that offer solid white tuna packed in water. Fresh vegetables like celery and red onion should be crisp and vibrant. Check your local deli for quality cheddar cheese if you want something extra special for melting.
If you don't have sourdough bread, any thick-cut bread works well, like whole grain or rye. For a lighter option, consider Greek yogurt instead of mayonnaise. If you want a little extra zing, add a splash of lemon juice or hot sauce to the tuna mixture. Make sure to use fresh herbs if desired for added flavor.
Store any leftover tuna salad in an airtight container in the refrigerator for up to 3 days. Bread can be stored at room temperature in a cool, dry place but is best used fresh. If you plan to make sandwiches ahead of time, consider toasting the bread lightly first to prevent sogginess.
Step-by-Step Instructions for Tuna Melt
Let me guide you through this delicious and comforting dish that comes together in just 30 minutes.
👨🍳 Step 1: Prepare the Tuna Mixture
Start by draining the 2 cans of canned tuna well. I like to use a fine-mesh strainer to ensure all excess liquid is removed, which prevents a soggy sandwich. In a mixing bowl, combine the tuna with 0.5 cup of mayonnaise, 1 whole finely chopped celery, 0.25 whole finely chopped red onion, and 1 tablespoon of Dijon mustard.
Stir everything together until well combined. I recommend tasting the mixture at this point; feel free to adjust the amount of mayonnaise for your preferred creaminess. Add 0.5 teaspoon of salt and 0.25 teaspoon of black pepper for seasoning, mixing thoroughly again to incorporate the flavors.
🥘 Step 2: Assemble the Sandwiches
Now that the tuna mixture is ready, it’s time to assemble the sandwiches. Lay out 8 slices of sourdough bread on a clean surface. On four of the slices, generously spread the tuna mixture, making sure to cover it evenly. Next, top each with about 2 ounces of shredded cheddar cheese. This will create a gooey, melty layer when grilled.
Place the remaining four slices of bread on top to complete your sandwiches. I like to press down gently on each sandwich to help them hold together during grilling.
🔥 Step 3: Grill the Sandwiches
In a large skillet, melt 4 tablespoons of butter over medium heat. Once melted, carefully add the assembled sandwiches to the skillet. Cook for about 3-4 minutes, until the bottom is golden brown and crispy. Keep an eye on them; if they’re browning too quickly, reduce the heat.
Once the first side is done, flip each sandwich carefully using a spatula. I like to add a bit more butter to the skillet at this point for extra flavor. Cook for another 3-4 minutes until the second side is also golden brown, and the cheese has melted beautifully.
⏰ Step 4: Slice and Serve
Once both sides are perfectly toasted, remove the sandwiches from the skillet and let them sit for a minute before slicing. This helps prevent the cheese from oozing out too much. I usually slice each sandwich in half diagonally for a nice presentation.
Serve your delicious tuna melts warm, perhaps with a side of crispy pickles or your favorite chips. Enjoy this ultimate comfort food that’s sure to please everyone!
Creative Twists on the Classic Tuna Melt
Looking to elevate your classic tuna melt? Try adding 2 tablespoons of capers for a briny kick or incorporate 1 tablespoon of fresh dill to brighten the flavor profile. I’ve found that these additions bring a refreshing twist to the traditional recipe. 🐟
If you’re feeling adventurous, swap out the cheddar for pepper jack cheese to add a spicy kick. This variation pairs beautifully with the creamy tuna mixture and provides an unexpected flavor burst. I also love adding avocado slices for creaminess—trust me, it’s a game changer! 🥑
For a healthier take, consider using Greek yogurt instead of mayonnaise. It maintains the creamy texture while adding extra protein. You can also serve it open-faced on a bed of arugula instead of bread for a lighter option that still delivers on flavor. 🌱
Lastly, consider using different breads—like ciabatta or rye—for varied textures. Each type brings its unique crunch and flavor, making your tuna melt feel like a whole new dish every time! Enjoy experimenting! 🔥
Nutrition Facts
590kcal

Trained in classic French technique but raised on slow-cooked ribs and spicy rubs, she blends culinary skill with smoke and soul.
- Recipe for Boneless Pork Chops in Cast Iron Skillet: Sear and Baste to Juicy Perfection - October 3, 2026
- Recipe for Boneless Cross Rib Roast: Slow-Roasted Beef with Herb Crust - October 3, 2026
- Hamburgers in Sauce Recipe Crock Pot: Slow-Cooked Savory Delight - October 3, 2026