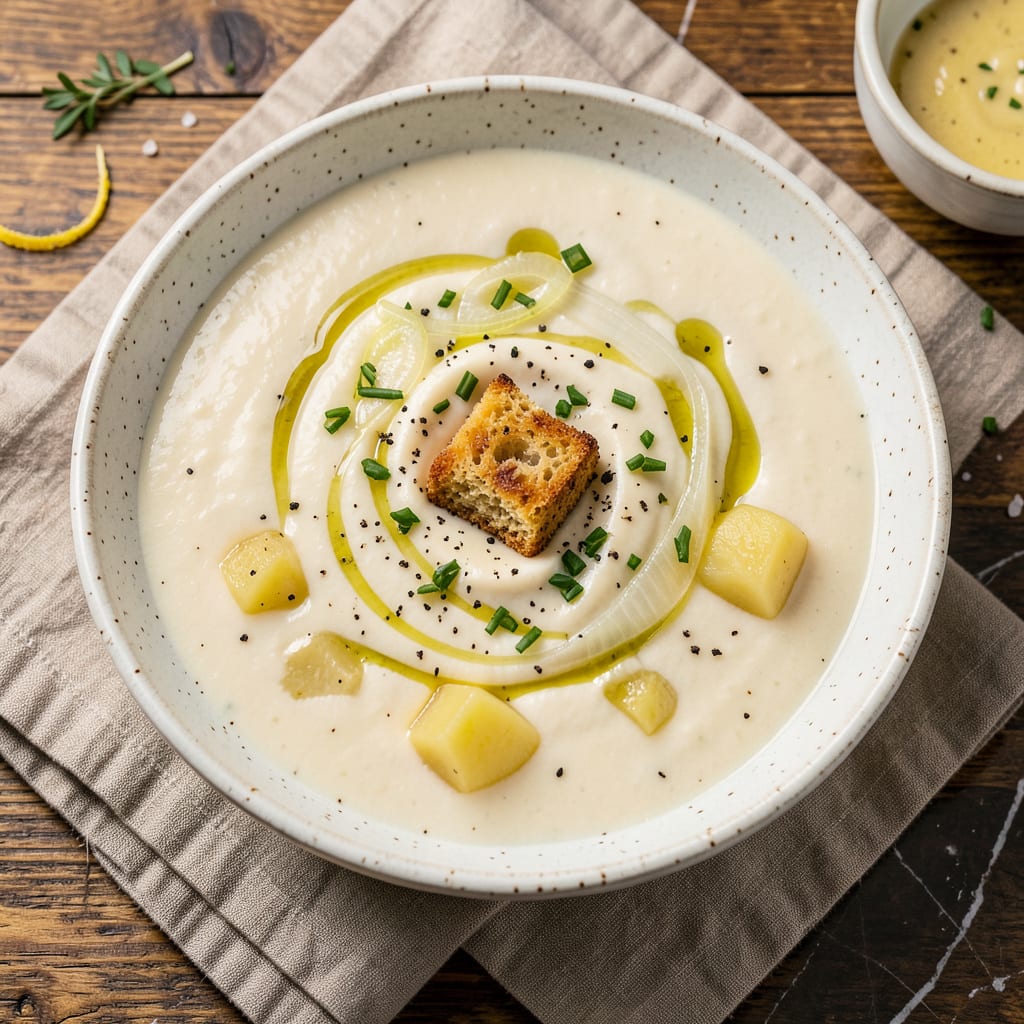
I’ll be real with you—freezing cream-based soups used to scare me. That dreaded separation, the grainy texture, the way a perfect bisque could turn into a sad, curdled mess. But after burning through more batches than I’d like to admit (and nearly giving up on meal prep soups entirely), I cracked the code for keeping them silky smooth.
The secret isn’t magic—it’s science. A little roux before freezing, the right fat balance, and one unexpected trick with cornstarch that changes everything. I’m talking about soups that come out of the freezer looking just as velvety as the day you made them, whether it’s a rich chowder or delicate velouté. No more wasted batches or disappointing leftovers.
What you’ll get is a foolproof method that works for any cream-based soup, from classic potato leek to that fancy mushroom bisque you spent hours perfecting. I’ve tested this with storage times from one month to three, and the results hold up—no weird textures, no off flavors, just that same comforting richness you expect.
Here’s where it gets interesting—this isn’t just about freezing. It’s about reheating properly, adjusting consistency, and even fixing soups that didn’t freeze perfectly. Between you and me, these techniques will change how you meal prep soups forever.
📚 In This Guide
- What You’ll Need
- Instructions
- Tips and Common Mistakes
What Youll Need
- ● Cream-based soup – 4–6 cups (fully cooled to room temperature)
- ● Air-tight containers – BPA-free, preferably glass or heavy-duty plastic (leave 1-inch headspace for expansion)
- ● Freezer-safe bags – Quart-sized, thick, leak-proof (for space-saving flat storage)
- ● Permanent marker – For labeling dates and contents
- ● Plastic wrap – To press directly on soup surface (minimizes freezer burn)
- ● Ladle or measuring cup – For mess-free pouring
- ○ Cooling rack – Speeds up pre-freeze chilling (optional but helpful)
- ○ Ice bath (optional) – Large bowl + ice + water to rapidly cool hot soup
- ○ Stabilizers (optional) – 1–2 tbsp cornstarch slurry or xanthan gum (prevents separation)
- ○ Reusable silicone molds – For portioning single servings (optional)
Instructions
Here’s the method I use every time to freeze creamy soups without separation or graininess.
Cool the Soup Completely
Before freezing, let your soup cool to room temperature. I like to transfer it to a shallow container first—this increases the surface area and speeds up the cooling process. Stirring occasionally helps release heat faster and prevents a skin from forming on top.
Never put hot soup directly in the freezer. The sudden temperature change can cause dairy to separate and create ice crystals that ruin the texture. I usually let my soup sit at room temperature for about 30-45 minutes, then refrigerate it uncovered for another 30 minutes before freezing.
Portion for Easy Thawing
Once completely cool, divide the soup into portion-sized containers. I prefer using wide-mouth glass jars or heavy-duty freezer bags. For jars, leave at least 1 inch of headspace at the top—soups expand as they freeze and you don’t want cracked containers.
For freezer bags, lay them flat on a baking sheet to freeze initially. This creates flat, stackable packages that thaw quickly and evenly. I label each container with the date and soup type using freezer tape—trust me, you’ll forget what’s what after a few weeks. 1-quart portions work well for most households.
Freeze Using the Right Technique
Place your containers in the coldest part of your freezer, typically the back or bottom shelf. Set your freezer to 0°F or lower for best results. The faster the soup freezes, the smaller the ice crystals will be, which means better texture when you reheat it.
If using bags, freeze them flat on the baking sheet for 4-6 hours until solid, then you can stack them vertically like books. This method saves space and makes it easy to grab just what you need. Cream-based soups will keep their best quality for about 2-3 months in the freezer.
Thaw and Reheat Gently
When ready to use, thaw the soup overnight in the refrigerator. Never microwave frozen cream soup directly—this causes the dairy to separate. If you’re in a hurry, you can place the sealed container in a bowl of cold water to speed up thawing.
Reheat the soup gently over low to medium-low heat, stirring frequently. I add a splash of milk or cream while reheating to restore the original consistency. Watch for the first signs of simmering, then immediately reduce the heat—boiling will cause curdling. The soup is ready when it reaches 165°F throughout.
Revive the Creamy Texture
Sometimes frozen cream soups can develop a slightly grainy texture after thawing. Here’s my trick: whisk in 1-2 tablespoons of cold butter at the end of reheating. The fat in the butter helps emulsify the soup and restore that silky mouthfeel.
If the soup still seems too thin, make a quick slurry with 1 teaspoon cornstarch and 1 tablespoon cold water, stir it into the soup, and let it simmer for 2-3 minutes. Taste and adjust seasoning as needed—freezing can sometimes mute flavors slightly, so you might need to add a pinch more salt or herbs.
Tips and Common Mistakes
Mastering the art of freezing cream-based soups comes down to a few critical details that make all the difference in texture and flavor.
Cooling Strategy: The 30-45 minutes of room-temperature cooling in Step 1 isn’t just about safety—it’s about texture preservation. I’ve found that stirring the soup every 10 minutes during this time prevents that unappetizing skin from forming while speeding up the process. Never rush this step by adding ice or cold water directly to the soup; the sudden temperature shock will cause dairy separation that no amount of whisking can fix later.
Freezing Technique: When freezing in bags during Step 3, don’t skip the 4-6 hours of initial freezing on the baking sheet. This creates uniformly flat packages that thaw evenly and stack neatly. I learned the hard way that folding warm bags to fit in the freezer creates thick lumps that take forever to thaw properly. The 0°F setting mentioned isn’t just ideal—it’s essential for preventing large ice crystals that turn your soup grainy.
Reheating Wisdom: That 165°F target temperature in Step 4 isn’t arbitrary—it’s the sweet spot where the soup is thoroughly heated but hasn’t reached the boiling point that causes curdling. I always use an instant-read thermometer to check multiple spots in the pot, especially the center. The low to medium-low heat setting might seem too gentle, but it’s what prevents that unfortunate “broken” appearance in dairy-based soups.
Texture Revival: The 1-2 tablespoons of cold butter trick in Step 5 works because the fat molecules help rebind any separated dairy components. Add it at the very end of reheating when you’ve removed the pot from the heat. The residual warmth will melt it gradually, creating that perfect emulsified texture. If your soup still seems thin after this, the 2-3 minutes with the cornstarch slurry will thicken it without making it gluey—just keep stirring constantly.
Pro Tips for Freezing Cream Based Soups
- Mastering the art of freezing cream-based soups comes down to a few critical details that make all the difference in …
- Cooling Strategy: The 30-45 minutes of room-temperature cooling in Step 1 isn’t just about safety—it’s about texture …
- Freezing Technique: When freezing in bags during Step 3, don’t skip the 4-6 hours of initial freezing on the baking s…
Frequently Asked Questions
Can you freeze cream-based soups without them separating?
Yes! The key is cooling quickly and stirring well before freezing. Use heavy cream (30%+ fat) for stability, and avoid low-fat dairy. Thaw slowly in the fridge overnight, then reheat gently on low heat while whisking. A splash of fresh cream or butter after thawing can restore silkiness. Boiling post-thaw = split soup!
How long can you freeze cream-based soups safely?
For best texture and flavor, freeze for 1–2 months max. After that, dairy fats may degrade, leading to graininess or off-flavors. Label containers with dates, and use airtight, freezer-safe bags (squeeze out air!) or containers with ½-inch headspace for expansion. Pro tip: Portion into single servings for quicker thawing.
What’s the best way to reheat frozen cream soup?
Thaw overnight in the fridge, then reheat on low-medium in a saucepan, stirring constantly. Add a splash of broth, milk, or cream to loosen. Avoid microwaving (hot spots cause curdling). If it separates, blend briefly with an immersion blender or whisk in 1 tbsp cornstarch slurry. Patience = creamy perfection!
Are there good dairy-free alternatives for freezing?
Absolutely! Swap cream for full-fat coconut milk (canned), cashew cream, or silken tofu blends—they freeze/thaw like champs. Avoid almond or oat milk (they separate). For richness, stir in dairy-free butter or nutritional yeast post-thaw. Bonus: These options often last 3+ months frozen!
Why does my frozen cream soup turn grainy or lumpy?
Common culprits: fast freezing (forms ice crystals), high heat reheating, or low-fat dairy. Fix it by straining lumps, then blending with a bit of warm liquid. Prevent it by cooling soup completely before freezing and using heavy cream or stabilized roux-based soups. Silky tip: Add 1 tsp lemon juice pre-freeze to help emulsify!
Freezing cream-based soups doesn’t have to be a gamble—with the right techniques, you can lock in that rich, velvety texture for later! Cool quickly, choose airtight containers, and thaw gently to avoid separation or graininess. Whether you’re meal prepping or saving leftovers, a little care ensures your soup tastes just as luscious as day one.
Ready to put this into practice? Pick your favorite creamy recipe, follow our steps, and freeze a batch this week—your future self will thank you! 😊

Trained in classic French technique but raised on slow-cooked ribs and spicy rubs, she blends culinary skill with smoke and soul.
- Recipe for Boneless Pork Chops in Cast Iron Skillet: Sear and Baste to Juicy Perfection - October 3, 2026
- Recipe for Boneless Cross Rib Roast: Slow-Roasted Beef with Herb Crust - October 3, 2026
- Hamburgers in Sauce Recipe Crock Pot: Slow-Cooked Savory Delight - October 3, 2026