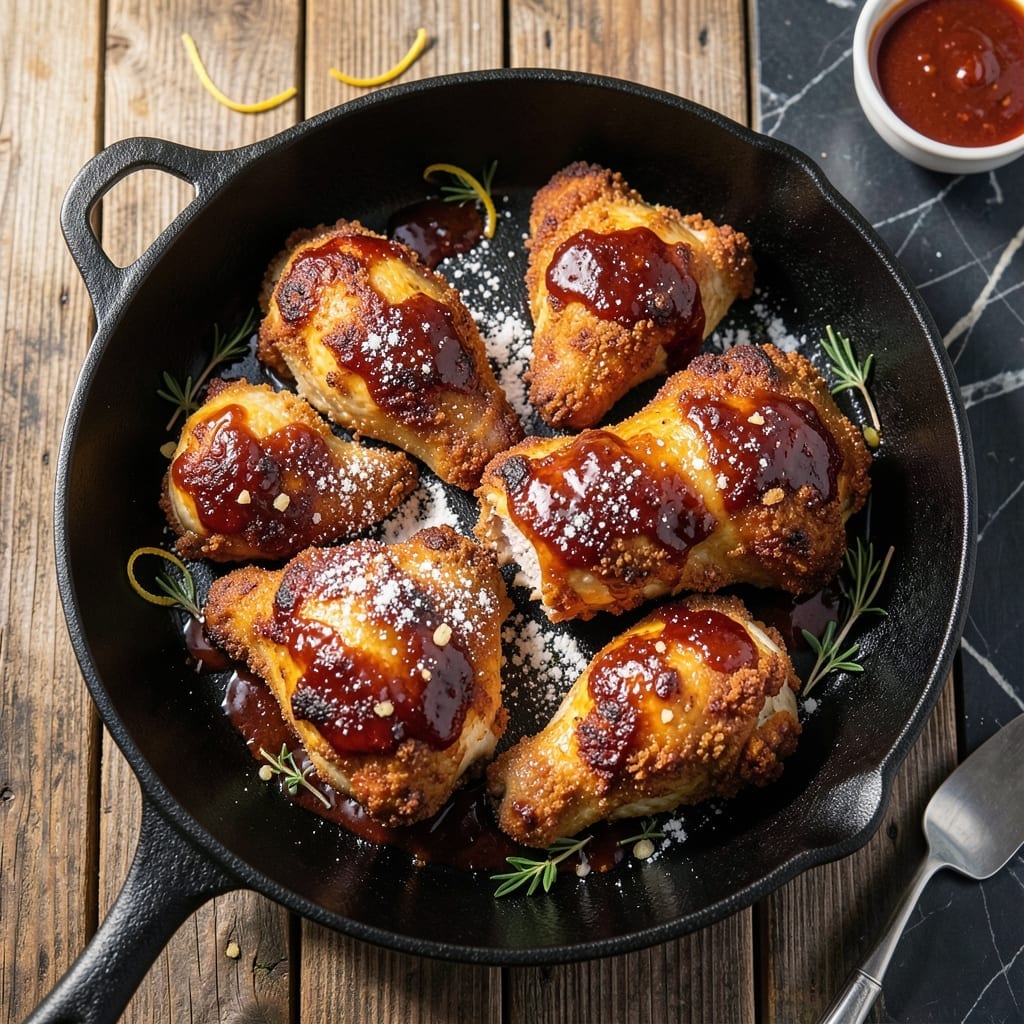
This recipe combines the best of both worlds: a crispy fried exterior with a smoky sweet barbecue glaze that clings to every bite.
I developed this method after years of perfecting my technique, ensuring the coating stays perfectly crispy even under the rich sauce.
Ingredients for Fried Barbecue Chicken
Crispy coating meets smoky sweet glaze with these essential ingredients for perfect fried chicken.
| Ingredient | Amount | Notes |
|---|---|---|
| Chicken Thighs 🍗 | 2 lb | Boneless, skinless, patted dry |
| Buttermilk 🥛 | 1 cup | Full-fat for extra crispiness |
| All-Purpose Flour 🌾 | 2 cups | For dredging chicken |
| Cornstarch 🌽 | ¼ cup | Ensures extra crunch |
| Garlic Powder 🧄 | 1 tbsp | For seasoning flour |
| Onion Powder 🧅 | 1 tbsp | For seasoning flour |
| Paprika 🌶️ | 1 tbsp | Smoked paprika preferred |
| Salt 🧂 | 1 ½ tsp | Diamond Crystal kosher |
| Black Pepper 🌶️ | 1 tsp | Freshly ground preferred |
| Vegetable Oil 🫒 | 4 cups | For deep frying |
| Barbecue Sauce 🍯 | 1 ½ cups | Thick, smoky-sweet variety |
| Brown Sugar 🍚 | 2 tbsp | Light or dark |
| Apple Cider Vinegar 🍏 | 1 tbsp | For glaze tang |
[recipe_ingredient_scaler]
The chicken thighs are non-negotiable for this dish—bone-in, skin-on works too (just adjust cooking time). Buttermilk from a Southern brand like Cultured Traditions adds the right tang. For flour, White Lily or King Arthur give the lightest, crispiest crust. The cornstarch is the secret weapon—don’t skip it. Spice-wise, smoked paprika is key for that deep, authentic flavor.
No buttermilk? Whole milk plus 1 tbsp vinegar per cup gets you close. Swap the thighs for chicken drumsticks if preferred (they’ll need an extra minute or two). For a gluten-free version, cornmeal or rice flour work well. The barbecue sauce can be store-bought—Sweet Baby Ray’s or Stubb’s are reliable. If making from scratch, balance sweet, smoky, and tang carefully.
Fry in batches to avoid crowding—keeps the oil at 350°F. Drain on a rack, not paper towels, to maintain crispiness. Leftovers? Reheat in the oven at 375°F for 10-12 minutes to revive the crust. Sauce separately to prevent sogginess.
Why You’ll Love This Recipe
- One Pan Magic: I mix the buttermilk and spices in one bowl, coat the thighs, and fry—no fancy prep, just a single pan and minimal mess.
- Crispy & Juicy: The cornstarch and buttermilk combo gives that perfect crunch outside, while the thighs stay tender and packed with garlic flavor.
- Crowd Pleaser: Honestly, it’s a hit at picnics, weeknight dinners, or even as a meal-prep staple for lunch the next day.
- Budget Winner: Chicken thighs are cheap, and this recipe stretches them into a filling meal—leftovers taste just as good reheated.
Step-by-Step Instructions for Fried Barbecue Chicken
This method ensures an ultra-crispy coating with a sticky, smoky-sweet finish every time.
Step 1: Marinate the Chicken Thighs
Place the 2 lb Chicken Thighs in a large bowl and pour over the 1 cup Buttermilk. Make sure each piece is fully submerged. Cover and refrigerate for at least 4 hours, or ideally overnight.
This buttermilk soak tenderizes the meat and helps the flour coating adhere properly. The acidity in the buttermilk also balances the richness of the chicken, ensuring a juicy, flavorful result. Don’t skip this step—it’s the foundation of both the texture and flavor.
Step 2: Prepare the Seasoned Flour Dredge
In a large, shallow dish, whisk together the 2 cups All-Purpose Flour, 0.25 cup Cornstarch, 1 tbsp Garlic Powder, 1 tbsp Onion Powder, 1 tbsp Paprika, 1.5 tsp Salt, and 1 tsp Black Pepper. The cornstarch is key here—it creates that extra-crispy crust that holds up to the barbecue glaze.
Mix thoroughly so the seasonings are evenly distributed throughout the flour. I like to press the flour mixture through a fine-mesh sieve to eliminate any lumps, ensuring a smooth, even coating on the chicken. This step guarantees every bite is packed with flavor.
Step 3: Fry the Chicken to Golden Perfection
Heat the 4 cups Vegetable Oil in a large, heavy-bottomed pot or Dutch oven over medium-high heat until it reaches 350°F on a deep-fry thermometer. The oil must be at the right temperature before adding the chicken; if it’s not hot enough, the chicken will absorb the oil and become greasy.
While the oil heats, remove the chicken from the buttermilk, letting any excess drip off, and dredge each piece in the seasoned flour, pressing firmly to ensure a thick, even coat. Fry the chicken in batches to avoid crowding the pot, which would lower the oil temperature. Cook for 8-10 minutes per side until the coating is deep golden brown and crispy.
Use a slotted spoon to transfer the fried chicken to a wire rack set over a baking sheet. This allows air to circulate underneath, keeping the coating crisp while you finish frying the remaining batches.
Step 4: Prepare the Barbecue Glaze
In a small saucepan, combine the 1.5 cups Barbecue Sauce, 2 tbsp Brown Sugar, and 1 tbsp Apple Cider Vinegar. Warm over medium heat for 3-4 minutes, stirring occasionally, until the sugar fully dissolves and the glaze thickens slightly.
The vinegar adds a subtle tang that cuts through the richness of the sauce, while the brown sugar enhances the sweetness and creates a glossy sheen. Keep the heat low to prevent the sauce from burning, which would give it a bitter flavor.
Step 5: Glaze and Serve Immediately
Once all the chicken is fried, brush each piece generously with the warm barbecue glaze. I like to coat the chicken completely for maximum flavor in every bite. The glaze will cling to the crispy coating, creating a sticky, finger-licking finish.
Serve the chicken immediately while it’s still hot and crispy. The contrast between the crunchy exterior and the tender, juicy meat inside, paired with the smoky-sweet glaze, makes this dish irresistible. For best results, avoid stacking the pieces, as this can cause the coating to steam and lose its crispness.
Pro Tips For Making Fried Barbecue Chicken
- Double-Dredge Thighs: Dip the buttermilk-soaked thighs in flour once, let them rest 2 minutes, then dredge again—this builds a thicker, crispier crust that holds up to the barbecue sauce.
- Heat the Oil High: Use a thermometer to keep the oil at 350°F. I learned this the hard way—any lower and the coating absorbs grease instead of frying up golden and crisp.
- Pat Thighs Dry: Before the buttermilk bath, blot the chicken thighs with paper towels—even a little moisture makes the coating slide right off.
- Add Cornstarch Boost: Swap 2 tablespoons of the all-purpose flour for cornstarch in your dredge; it’s the thing that makes the crust extra crunchy without changing the flavor.
Make-Ahead Tips for This Recipe
Prep the Chicken
Marinate the 2 lb Chicken Thighs in 1 cup Buttermilk up to 24 hours ahead. This step is non-negotiable for tender meat and crispy coating. I prep mine the night before to save time on cooking day.
Mix the Dredge
Combine the 2 cups All-Purpose Flour, 0.25 cup Cornstarch, and spices in a sealed container. Store at room temperature until ready to use. This stays fresh for up to 3 days in a cool, dry place.
Fry in Batches
Fry the chicken in batches to maintain oil temperature at 350°F. I use my Dutch oven for even heat distribution. Keep each batch warm on a wire rack in a 200°F oven while frying the rest. 🔥
Make Glaze Ahead
Prepare the barbecue glaze by mixing 1.5 cups Barbecue Sauce, 2 tbsp Brown Sugar, and 1 tbsp Apple Cider Vinegar. Store in the fridge for up to 5 days and reheat gently before glazing.
Reheat Properly
To revive leftovers, place pieces on a wire rack in a 375°F oven for 10-12 minutes. This restores the crispiness without drying out the meat. Avoid microwaving, as it makes the coating soggy.
Brush with fresh glaze after reheating for that just-made flavor. 💡
Nutrition Facts
Frequently Asked Questions
What oil works best for frying?
Use vegetable oil or peanut oil for their high smoke points. Avoid olive oil as it burns at lower temperatures. Maintain oil at 350°F for perfect crispiness.
Can I bake instead of frying?
Yes, bake at 400°F for 25-30 minutes on a wire rack. The texture won’t be as crispy, but it’s a healthier option. Brush with glaze during the last 5 minutes.
How do I keep the coating crispy?
Drain on a wire rack, not paper towels. Sauce just before serving to prevent sogginess. Reheat in the oven at 375°F for 10-12 minutes if needed.
Can I use chicken breasts?
Yes, but reduce frying time to 6-8 minutes per side to prevent dryness. Thighs are recommended for juicier results. Always check internal temp reaches 165°F.

Trained in classic French technique but raised on slow-cooked ribs and spicy rubs, she blends culinary skill with smoke and soul.
- Recipe for Boneless Pork Chops in Cast Iron Skillet: Sear and Baste to Juicy Perfection - October 3, 2026
- Recipe for Boneless Cross Rib Roast: Slow-Roasted Beef with Herb Crust - October 3, 2026
- Hamburgers in Sauce Recipe Crock Pot: Slow-Cooked Savory Delight - October 3, 2026