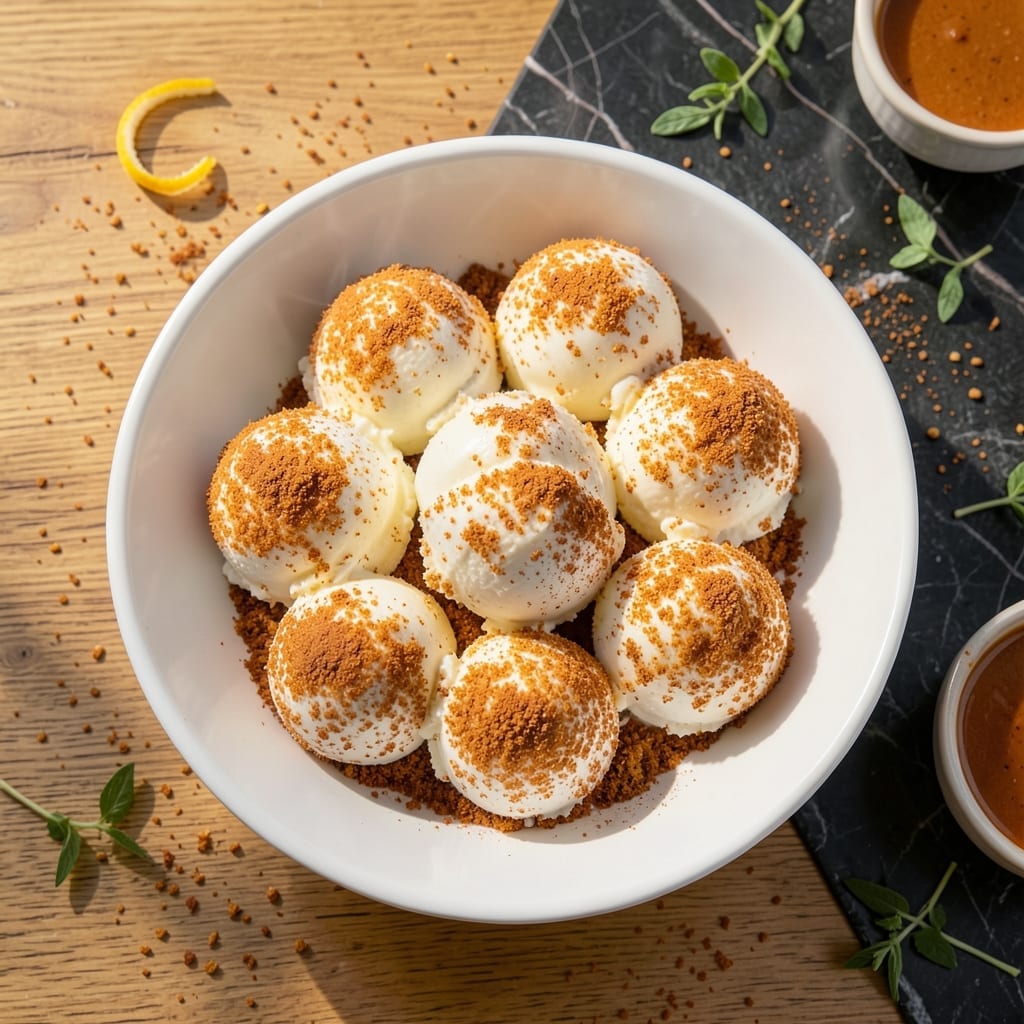
This alternative method delivers the same crispy exterior and creamy center as traditional fried ice cream, without the hot oil. I developed this technique after years of perfecting diner desserts with Nana Mae.
The secret lies in using crushed cornflakes and cinnamon for the coating, toasted until golden brown in the oven. This creates that signature crunch while keeping the ice cream perfectly intact inside.
You’ll achieve restaurant-quality results with just a few simple ingredients and standard kitchen equipment. The contrast between the warm, crunchy coating and cold vanilla ice cream is what makes this dish unforgettable.
This approach eliminates the mess and danger of deep frying while maintaining the authentic texture and flavor. The process takes less than 30 minutes from start to finish.
Ingredients for Fried Ice Cream Recipe Without Frying
Standard kitchen ingredients create this restaurant-quality dessert with signature crunch and creamy center.
| Ingredient | Amount | Notes |
|---|---|---|
| Vanilla Ice Cream 🍦 | 4 cups | Firm, premium quality |
| Cornflakes 🌾 | 4 cups | Crushed to coarse crumbs |
| Ground Cinnamon 🌿 | 1 tbsp | Freshly ground preferred |
| Granulated Sugar 🧂 | ¼ cup | For coating sweetness |
| Unsalted Butter 🧈 | 4 tbsp | Melted for binding |
| Large Eggs 🥚 | 2 whole | Lightly beaten for adhesion |
| All-Purpose Flour 🌾 | ½ cup | For light dredging |
| Vanilla Extract 🌿 | 1 tsp | Pure extract for flavor |
| Sea Salt 🧂 | ¼ tsp | Fine grain for balance |
| Honey 🍯 | 2 tbsp | For drizzling (optional) |
[recipe_ingredient_scaler]
The cornflakes are non-negotiable for that golden brown crunch—Kellogg’s or store brand both work, but avoid sugary varieties. Use premium vanilla ice cream with high fat content (at least 10%) for best structure. The butter should be European-style for superior melt and flavor. I source my cinnamon from Penzeys for consistent potency.
No cornflakes? Crushed graham crackers or panko breadcrumbs work as alternatives. For a gluten-free version, use crushed rice cereals instead. The eggs can be replaced with flax eggs (1 tbsp ground flax + 3 tbsp water per egg) for binding. If avoiding dairy, coconut oil substitutes for butter, though the flavor profile will shift slightly.
Assemble just before serving to prevent melting. The coating keeps crisp for 15-20 minutes at room temperature. Store uncoated ice cream in the freezer for up to 1 month. The dry coating mix can be prepped 2 days ahead and stored in an airtight container.
Why You’ll Love This Recipe
- No Fuss Method: I just roll the ice cream in crushed cornflakes and cinnamon sugar, then chill—no hot oil or deep fryer needed.
- Sweet Crunch: That buttery cornflake crust with cold vanilla inside is ridiculous. The cinnamon sugar makes it taste like a churro hugged an ice cream scoop.
- Dinner Party Hack: I serve these for dessert when guests come over—looks fancy, but honestly takes less time than baking cookies.
- Budget Win: A pint of vanilla and a box of cornflakes make six servings. I’ll be real: it’s cheaper than takeout and just as satisfying.
Step-by-Step Instructions for Fried Ice Cream Without Frying
This method delivers all the crunch and flavor of the classic without the deep fryer.
Step 1: Prepare the Ice Cream Balls
Scoop the 4 cups Vanilla Ice Cream into 8 equal portions using an ice cream scoop or measuring cup. I recommend working quickly—the firmer the ice cream, the easier it is to handle. Place the portions on a parchment-lined baking sheet.
Return the sheet to the freezer for at least 2 hours, or until the scoops are completely solid. This step is crucial; if the ice cream isn’t fully frozen, the coating won’t adhere properly, and you’ll end up with a melty mess instead of a crispy exterior.
Step 2: Create the Coating Stations
Set up three shallow bowls for your coating process. In the first, whisk the 2 whole Large Eggs with the 1 tsp Vanilla Extract until well combined and slightly frothy. In the second, place the 0.5 cup All-Purpose Flour mixed with the 0.25 tsp Sea Salt.
For the third bowl, combine the 4 cups Cornflakes, crushed to coarse crumbs, with the 1 tbsp Ground Cinnamon and 0.25 cup Granulated Sugar. The sugar and cinnamon will caramelize slightly in the oven, adding depth to the crunchy coating.
Step 3: Coat the Ice Cream
Remove the frozen ice cream scoops from the freezer and work with one at a time to prevent thawing. Roll each portion in the flour mixture first, ensuring it’s fully coated. Tap off any excess—you want a thin, even layer.
Next, dip the floured scoop into the egg mixture, allowing any excess to drip off. Finally, roll it in the cornflake mixture, pressing gently to adhere. Place the coated scoops back on the baking sheet and return them to the freezer for another 1 hour to set the coating completely.
Step 4: Bake to Crispy Perfection
Preheat your oven to 400°F. Line a baking sheet with parchment paper and brush it lightly with some of the 4 tbsp Unsalted Butter, melted. Place the coated ice cream balls on the sheet, spacing them at least 2 inches apart.
Brush the tops of each ball with more melted butter. Bake for 8-10 minutes until the coating is golden brown and crispy. Watch them closely—the sugar in the coating can cause them to brown quickly. Remove from the oven and let them sit for 2 minutes to firm up.
Step 5: Serve Immediately with Optional Drizzle
Transfer each portion to a serving plate. The contrast between the warm, crispy coating and the cold, creamy ice cream inside is what makes this dish special. If desired, drizzle with the 2 tbsp Honey for added sweetness and a touch of elegance.
Serve right away while the coating is still crisp. The longer they sit, the more the ice cream will soften the coating, so timing is everything. Each serving delivers that perfect balance of textures and temperatures, just like the traditional version—without the fryer.
Pro Tips For Making Fried Ice Cream Recipe Without Frying
- Freeze Ice Cream Solid: Work with ice cream straight from the freezer—let it sit out for even 2 minutes and the coating won’t stick. I learned this the hard way after watching my first few attempts melt into a sad puddle.
- Crush Cornflakes Fine: Pulse them in a food processor until they’re nearly powder—this creates a crust that clings better than chunky flakes. Sounds weird, but it works.
- Skip Melting Butter: Use softened butter instead of melted for the cinnamon-sugar mix so it coats the cornflakes evenly without making them soggy. My grandmother swore by this, and she was right.
- Work in Batches: Coat only 2-3 scoops at a time and return them to the freezer immediately. After burning three batches to a mushy mess, I finally figured out that patience is the thing that matters most.
Common Mistakes When Making This Recipe
Skipping the Freeze
I can’t stress this enough: fully freezing your ice cream scoops for at least 2 hours is non-negotiable. David learned this the hard way when his first attempt melted into a sad, soggy puddle. The coating won’t stick to soft ice cream. 💪
Rushing the Coating
Each layer in the coating process needs time to set. After rolling in flour, egg, and cornflakes, return the scoops to the freezer for another 1 hour. Skipping this step means your coating will slide right off when baking.
Overcrowding the Pan
Space your coated scoops at least 2 inches apart on the baking sheet. They need room for heat circulation to crisp evenly. I use a half-sheet pan to give them plenty of space.
Uneven Baking
Bake at 400°F for 8-10 minutes until golden. Watch closely after 7 minutes—sugar burns fast. Rotate the pan halfway through for even browning. I learned this trick testing recipes for my first cookbook.
Serving Too Late
The crispy coating softens quickly once out of the oven. Serve immediately for that perfect contrast. I set the table while they bake so we’re ready to eat the moment they come out.
Wrong Ice Cream
Use premium vanilla with high fat content (at least 10%). Cheaper brands melt faster and won’t hold their shape. I always grab Blue Bell from Central Market for this recipe. 🍦
Nutrition Facts
Frequently Asked Questions
Can I prepare these ahead of time?
Yes, but only up to a point. Coat and freeze the scoops a day in advance. Bake just before serving, as the coating loses crispness if stored after baking.
Why does my coating fall off during baking?
This usually happens if the ice cream wasn’t fully frozen before coating or if you skipped the second 1 hour freeze after coating. Both steps are essential for adhesion.
What’s the best way to crush the cornflakes?
Place them in a sealed plastic bag and crush with a rolling pin, or pulse briefly in a food processor. Aim for coarse crumbs, not fine powder, for maximum crunch.
Can I use a different cereal?
Try graham crackers, panko, or crushed rice cereal. Each will give a slightly different texture and flavor to the coating.

Trained in classic French technique but raised on slow-cooked ribs and spicy rubs, she blends culinary skill with smoke and soul.
- Recipe for Boneless Pork Chops in Cast Iron Skillet: Sear and Baste to Juicy Perfection - October 3, 2026
- Recipe for Boneless Cross Rib Roast: Slow-Roasted Beef with Herb Crust - October 3, 2026
- Hamburgers in Sauce Recipe Crock Pot: Slow-Cooked Savory Delight - October 3, 2026