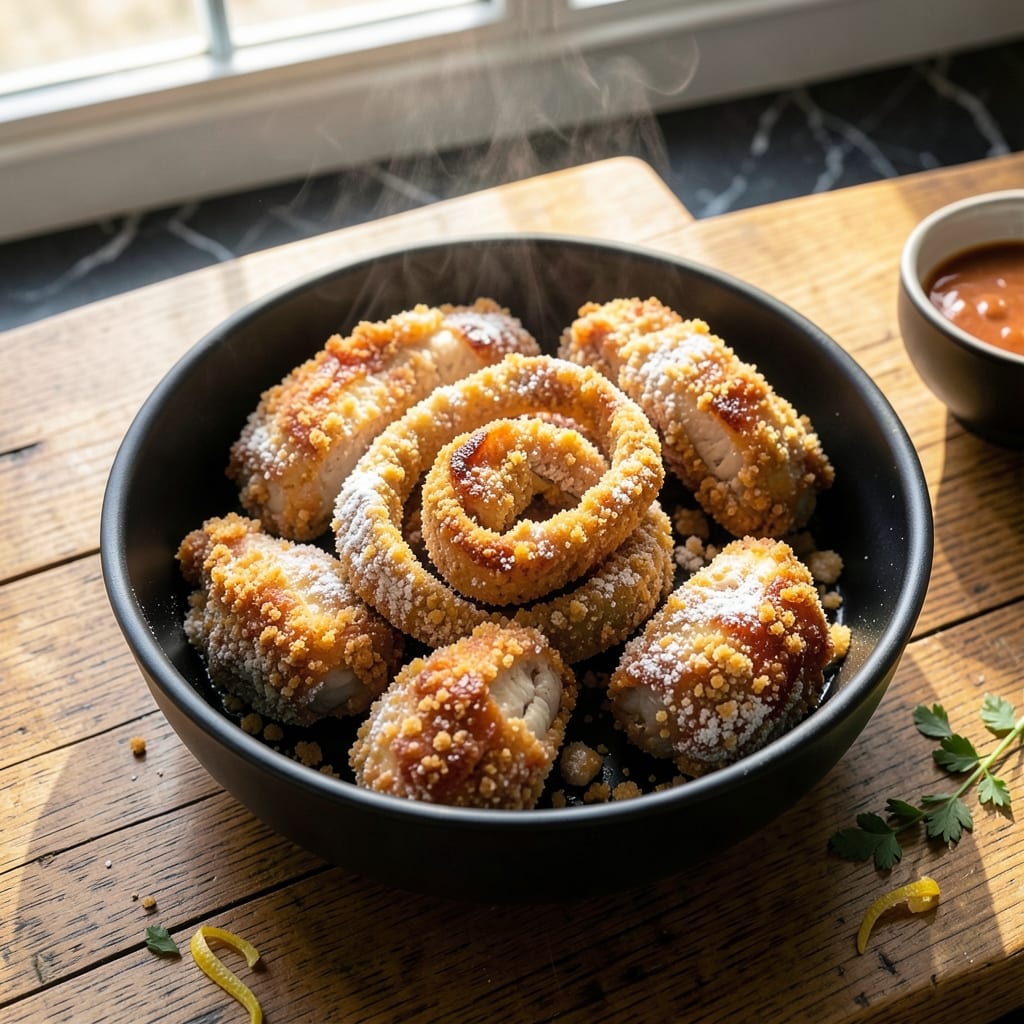
There’s an art to achieving crispy, golden fried dishes without turning your kitchen into a war zone. I’ve spent years perfecting techniques that deliver restaurant-quality results at home without the usual mess and stress.
The secret lies in proper temperature control, the right breading method, and knowing exactly when to flip. These methods work for everything from classic chicken to creative vegetable fritters, ensuring consistently crispy results every time.
What you’ll get are perfectly cooked bites with shatteringly crispy exteriors and tender interiors. Each dish maintains its texture even after cooling, making these ideal for parties or family meals.
These techniques translate across proteins and vegetables alike. The process is straightforward enough for weeknights but impressive enough for special occasions.
Ingredients for Fried Recipe Ideas
These ingredients deliver shatteringly crispy, golden results every single time without the usual mess.
| Ingredient | Amount | Notes |
|---|---|---|
| Chicken Thighs 🍗 | 1 ½ lb | Boneless, skinless, cut into strips |
| All-Purpose Flour 🌾 | 1 ½ cups | For initial dredging layer |
| Large Eggs 🥚 | 2 whole | Beaten for binding breading |
| Panko Breadcrumbs 🍞 | 2 cups | For extra crispy coating |
| Cornstarch 🌽 | ½ cup | Mixed with flour for crunch |
| Baking Powder 🧂 | 1 tsp | For lighter, airier coating |
| Salt 🧂 | 1 ½ tsp | Diamond Crystal kosher preferred |
| Black Pepper 🌶️ | 1 tsp | Freshly ground for best flavor |
| Garlic Powder 🧄 | 1 tsp | For savory depth in breading |
| Paprika 🌶️ | 1 tsp | Sweet or smoked variety |
| Vegetable Oil 🫒 | 4 cups | For deep frying, high smoke point |
| Buttermilk 🥛 | 1 cup | For marinating chicken first |
| Hot Sauce 🌶️ | 1 tbsp | Optional, for marinade kick |
| Lemon Wedges 🍋 | 4 pieces | For serving, fresh only |
[recipe_ingredient_scaler]
The oil is what makes this work. Peanut oil is my go-to for its high smoke point, but vegetable or canola oil work just as well. For the chicken, thighs stay juicier than breasts—look for skinless, boneless at Costco or your butcher. The panko is non-negotiable for that restaurant-level crunch. I always grab the Kikkoman brand at the Asian market (it’s finer and crispier).
No buttermilk? Milk plus a tablespoon of vinegar works in a pinch. Swap panko for crushed cornflakes if you want extra crunch. The cornstarch can be replaced with arrowroot powder at the same ratio. For a gluten-free version, use rice flour instead of all-purpose. The hot sauce is optional, but Crystal or Tabasco add that perfect tang.
Marinate the chicken for at least 30 minutes (overnight is better). Store leftover oil in a cool, dark place for up to 3 months. Fried chicken keeps 2-3 days in the fridge—reheat in the oven to maintain crispiness. Never reuse frying oil more than twice.
Why You’ll Love This Recipe
- One Pan Magic: I just coat the chicken, pan-fry it, and dinner’s ready—no fancy gadgets or hours of prep.
- Crispy Perfection: That panko-cornstarch combo gives it a golden crunch while keeping the inside juicy.
- Weeknight Hero: Honestly, it’s my go-to for busy evenings or when unexpected guests drop by.
- Budget Stretch: Chicken thighs are cheap, and the flour-egg-breadcrumb trio makes them taste like a million bucks.
Step-by-Step Instructions for Crispy Golden Chicken Bites
Here’s how to achieve that perfect crunch without the usual kitchen chaos.
Step 1: Marinate the Chicken for Maximum Flavor
Cut the 1.5 lb Chicken Thighs into even strips and place them in a bowl. Combine the 1 cup Buttermilk with 1 tbsp Hot Sauce and pour over the chicken, ensuring each piece is fully coated.
Cover and refrigerate for at least 30 minutes, though I prefer 1 hour if time allows. The buttermilk tenderizes the meat while the hot sauce adds a subtle kick. Real talk: this step is non-negotiable for juicy, flavorful results.
Step 2: Prepare the Crispy Breading Station
In a shallow dish, whisk together the 1.5 cups All-Purpose Flour, 0.5 cup Cornstarch, 1 tsp Baking Powder, 1.5 tsp Salt, 1 tsp Black Pepper, 1 tsp Garlic Powder, and 1 tsp Paprika. The baking powder creates tiny air pockets for extra crunch.
In another dish, beat the 2 whole Large Eggs lightly. Place the 2 cups Panko Breadcrumbs in a third dish. This three-step breading process ensures a thick, crispy coating that won’t fall off during frying.
Step 3: Bread the Chicken with Precision
Remove the chicken from the marinade, letting excess drip off. Dredge each piece in the flour mixture, pressing gently so it adheres well. Shake off any excess—you want an even layer, not a thick paste.
Next, dip each floured piece into the beaten eggs, allowing any excess to drip back into the bowl. Finally, press the chicken into the panko breadcrumbs, turning to coat completely. Place breaded pieces on a wire rack to rest for 10 minutes—this helps the coating set before frying.
Step 4: Fry to Golden Perfection
Heat the 4 cups Vegetable Oil in a deep, heavy pot to 350°F. Use a thermometer for accuracy—oil temperature is critical. Fry the chicken in batches to avoid overcrowding, which lowers the oil temperature and creates soggy results.
Cook for 6-8 minutes per batch, turning occasionally, until the coating is deep golden brown and the chicken is cooked through (internal temperature should reach 165°F). Drain on a wire rack or paper towels to maintain crispiness.
Step 5: Serve Immediately with Fresh Lemon
Transfer the fried chicken to a serving platter while still hot. The contrast of the crispy exterior and tender interior is at its peak right out of the fryer. Serve with the 4 pieces Lemon Wedges for a bright, zesty finish that cuts through the richness.
I know it seems like a lot of steps, but each one builds on the last to create that irresistible crunch. The panko and cornstarch combo ensures the coating stays crispy long after frying, so don’t skip the resting step before serving.
Pro Tips For Making Fried Recipe Ideas
- Double Dredge: Dip the chicken thighs in flour first, then egg, then panko mixed with cornstarch—I learned this the hard way after my first batch had breading that slid right off.
- Oil Temp Check: Drop a pinch of panko in the oil before frying. If it sizzles immediately and floats, it’s ready; if it sinks, wait another minute.
- Skip Wet Thighs: Pat the chicken thighs completely dry with paper towels before dredging. Sounds tedious, but it prevents the breading from turning into a soggy mess.
- Rest Before Frying: Let the breaded thighs sit on a wire rack for 10 minutes before frying. My grandmother swore by this, and it really makes the coating stick better.
Dietary Considerations for These Flavors
Gluten-Free Adaptations
Swap all-purpose flour for 1:1 gluten-free flour blend and use gluten-free panko—I find Kikkoman makes a great one. The cornstarch stays the same, but verify your baking powder is gluten-free. These swaps work perfectly without sacrificing crunch. 💪
Dairy-Free Options
Replace buttermilk with unsweetened almond milk plus 1 tbsp vinegar. For the egg wash, use flax eggs (mix 2 tbsp ground flaxseed with 6 tbsp water). The breading adheres just as well with these substitutions.
Lower-Carb Alternatives
Use almond flour instead of all-purpose, and swap panko for crushed pork rinds. The texture differs slightly but still delivers a satisfying crunch. I tested this in my tiny Boston kitchen—it works surprisingly well.
Nut-Free Version
Ensure all ingredients are processed in nut-free facilities. Stick with standard flour and panko, and use oat milk instead of almond milk for dairy-free needs. Always check labels for cross-contamination warnings.
Egg-Free Breading
Replace eggs with aquafaba (chickpea brine) beaten until frothy. It binds the breading effectively. I was skeptical until I tried it—now it’s my backup for vegan friends. Works like a charm. ✨
Oil Alternatives
For those avoiding vegetable oil, avocado oil or refined coconut oil work beautifully. Both have high smoke points and neutral flavors. Just maintain that 350°F temperature for consistent results.
Nutrition Facts
Frequently Asked Questions
What’s the ideal oil temperature?
Maintain 350°F for perfect crispiness. Use a thermometer—too low and it gets greasy, too high and it burns.
Can I bake instead of frying?
Yes! Bake at 400°F for 20-25 minutes, flipping halfway. Spray with oil first for best results.
How do I keep breading from falling off?
Pat the meat dry first, then let breaded pieces rest for 10 minutes before frying. This helps the coating adhere.
What’s the best way to reheat leftovers?
Use the oven at 375°F for 10-15 minutes. Avoid microwaves—they’ll make the coating soggy.

Trained in classic French technique but raised on slow-cooked ribs and spicy rubs, she blends culinary skill with smoke and soul.
- Recipe for Boneless Pork Chops in Cast Iron Skillet: Sear and Baste to Juicy Perfection - October 3, 2026
- Recipe for Boneless Cross Rib Roast: Slow-Roasted Beef with Herb Crust - October 3, 2026
- Hamburgers in Sauce Recipe Crock Pot: Slow-Cooked Savory Delight - October 3, 2026