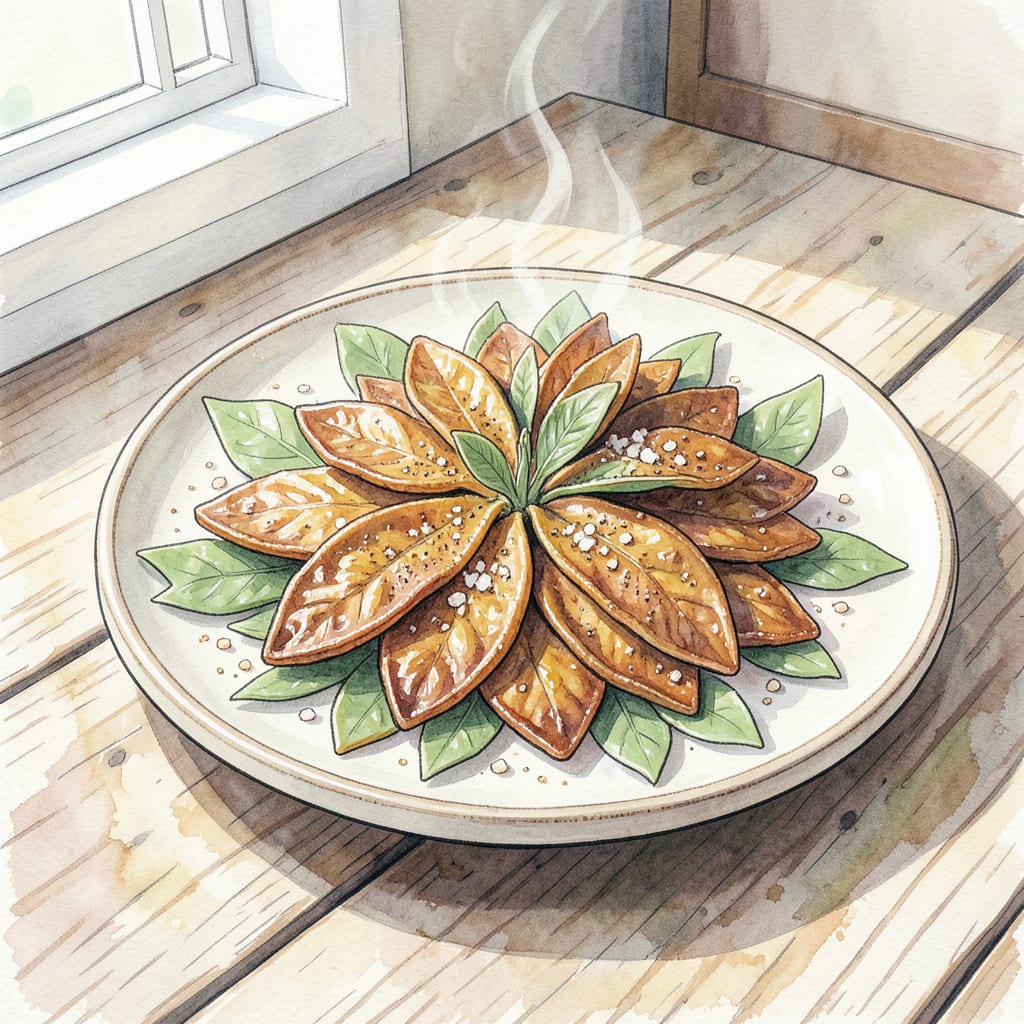
I’m Chef Melanie, and I’m excited to share my crispy fried sage recipe that elevates any fall dish. Growing up around slow-cooked ribs and spicy rubs, I’ve perfected the technique for achieving perfectly golden, crunchy sage leaves.
This simple yet impressive recipe requires just a few ingredients and 10 minutes of prep time. The result is a deliciously aromatic herb that’s perfect as a garnish or snack on its own. Try pairing it with roasted squash or creamy pasta dishes for a flavor boost.
Ingredients for Fried Sage
Simple ingredients make this crispy fried sage recipe shine with just a few pantry staples.
| Ingredient | Amount | Notes |
|---|---|---|
| Fresh Sage Leaves 🌿 | 1 cup | Packed, stems removed |
| All-Purpose Flour 🌾 | 1 cup | For dredging sage |
| Cornstarch 🌾 | ½ cup | For extra crispiness |
| Garlic Powder 🧄 | ½ tsp | Optional, for flavor |
| Salt 🧂 | ¼ tsp | Kosher or sea salt |
| Black Pepper 🌶️ | ¼ tsp | Freshly ground preferred |
| Vegetable Oil 🫒 | 2 cups | For frying, about 1/2-inch deep |
[recipe_ingredient_scaler]
For the best results, use fresh sage leaves—they crisp up better than dried. You can find them at most grocery stores or farmers’ markets. If you’re using a particularly large bunch, adjust the flour and cornstarch accordingly. I like to grab mine from Trader Joe’s when I’m in a hurry.
No cornstarch? You can substitute with equal parts all-purpose flour, though the sage might not get as crispy. For an extra kick, add a pinch of red pepper flakes to the flour mixture. If you don’t have garlic powder, you can omit it or use minced fresh garlic (about 1 clove per cup of flour).
Fried sage is best served immediately, but you can store leftovers in an airtight container for up to 24 hours. To re-crisp, place them on a baking sheet and bake in a 350°F oven for about 5 minutes. They won’t be as crispy as fresh, but still delicious.
Step-by-Step Instructions for Fried Sage
Creating perfectly crispy fried sage requires attention to detail and precise technique.
Step 1: Prepare the Sage Leaves
Begin by carefully selecting the 1 cup Fresh Sage Leaves and removing any stems or damaged leaves. I like to gently rinse them under cold water to remove any dirt, then pat them completely dry with paper towels. This step is crucial because excess moisture will prevent the sage from becoming crispy.
Once dry, separate the leaves into individual pieces. You’ll notice that some leaves may tear slightly during this process – don’t worry, these will still crisp up beautifully.
Step 2: Create the Dredge Mixture
In a shallow bowl, combine the 1 cup All-Purpose Flour, 0.5 cup Cornstarch, 0.5 tsp Garlic Powder, 0.25 tsp Salt, and 0.25 tsp Black Pepper. Whisk these dry ingredients together until they’re evenly distributed. The cornstarch is key here as it helps create that ultra-crispy coating we’re after.
When mixing, I like to use a fork to gently aerate the mixture – this ensures there are no lumps and that everything is well incorporated.
Step 3: Dredge and Fry the Sage
Heat the 2 cups Vegetable Oil in a large skillet over medium-high heat until it reaches 350°F. While the oil is heating, dredge the sage leaves in the flour mixture, coating them evenly. I find that gently pressing the leaves into the dredge mixture helps it adhere better.
Once the oil is hot and shimmering, carefully add a few sage leaves to the pan (don’t overcrowd). Fry for 2-3 minutes on each side until they reach a deep golden brown and crispy texture. Remove the fried sage from the oil with a slotted spoon and drain on paper towels.
Step 4: Serve Immediately
Serve the fried sage immediately while it’s still crispy. I like to sprinkle a bit more salt over the top just before serving to enhance the flavor. If you’re making a larger batch, you can keep the fried sage warm on a baking sheet in a 200°F oven while you finish frying the remaining leaves.
Remember that fried sage is best enjoyed fresh, as it will lose its crispiness over time. However, if you need to make it ahead, you can re-crisp it in a hot oven for a few minutes before serving.
Creative Variations of This fried sage
Italian-Style Fried Sage
In Italy, particularly in Tuscany, fried sage is a common accompaniment to meat dishes like veal scaloppine or chicken cutlets. To make it Italian-style, add a pinch of grated Parmesan cheese to the flour mixture for an extra savory flavor. Serve alongside your favorite Italian dishes for an authentic touch. 🌿
Spicy Fried Sage Variation
For those who like a bit of heat, try adding 1/4 teaspoon cayenne pepper or red pepper flakes to the dredge mixture. The spicy kick pairs beautifully with rich, creamy pasta dishes or as a topping for soups. I like to sprinkle a bit more on top after frying for extra heat. 🔥
Garlic and Herb Infused Fried Sage
Mix minced garlic (about 1 clove per cup of flour) and dried herbs like thyme or rosemary into the flour mixture for a more complex flavor profile. This variation is perfect for elevating roasted meats or vegetables. The garlic and herbs infuse into the sage during frying, creating a deliciously aromatic snack. 🧄
Beer-Battered Fried Sage
Replace the standard flour dredge with a beer batter made by mixing 1 cup all-purpose flour, 1/2 cup cornstarch, and 1/2 cup cold beer. The carbonation in the beer creates an extra light and crispy coating. This variation is fantastic as a fun appetizer or snack. 🍺
Asian-Inspired Fried Sage
For an Asian twist, season the flour mixture with five-spice powder or sesame seeds. You can also use rice flour instead of all-purpose flour for a lighter coating. Serve fried sage as a garnish for noodle dishes or alongside sushi for a unique touch. The sesame seeds add a nice crunch and nutty flavor. 🌸
Storage and Reheating Tips
While fried sage is best enjoyed fresh, you can store leftovers in an airtight container for up to 24 hours. To re-crisp, place them on a baking sheet and bake in a 350°F oven for about 5 minutes. This helps restore some of the crispiness, making it almost as good as freshly fried. ❄️
Nutrition Facts

Trained in classic French technique but raised on slow-cooked ribs and spicy rubs, she blends culinary skill with smoke and soul.
- Recipe for Boneless Pork Chops in Cast Iron Skillet: Sear and Baste to Juicy Perfection - October 3, 2026
- Recipe for Boneless Cross Rib Roast: Slow-Roasted Beef with Herb Crust - October 3, 2026
- Hamburgers in Sauce Recipe Crock Pot: Slow-Cooked Savory Delight - October 3, 2026