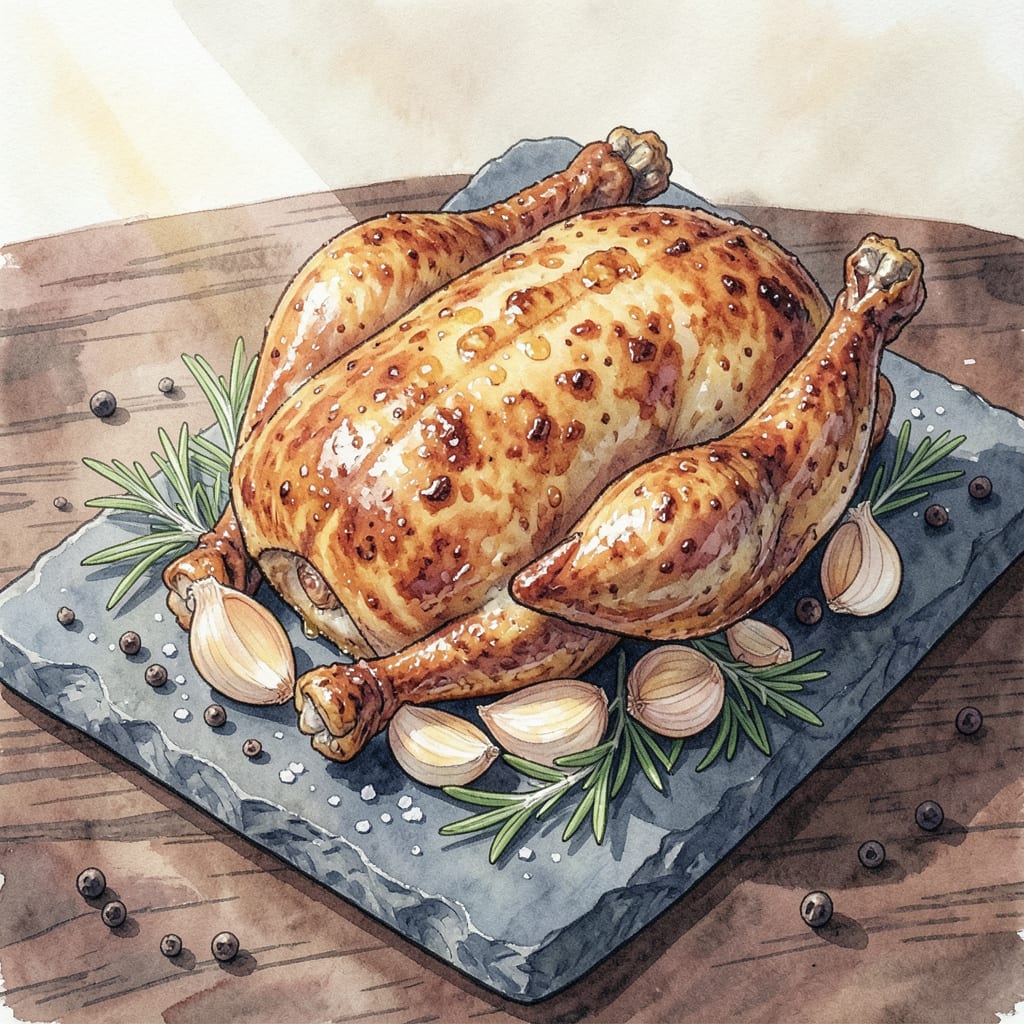
Achieving perfectly crispy skin and juicy meat in a whole fried chicken requires precision, not luck. This method delivers professional results every time, combining proper brining for moisture retention with a carefully controlled frying temperature. The secret lies in the preparation—drying the skin thoroughly before frying ensures maximum crispness while maintaining tenderness inside.
Using a deep fryer or heavy Dutch oven with peanut oil at 350°F, this recipe transforms a whole chicken into a golden, crackling masterpiece. Internal temperature monitoring is critical; 165°F at the thickest part guarantees doneness without dryness. Serve immediately for that ideal contrast of shatteringly crisp skin and succulent meat beneath.
Ingredients for Fried Whole Chicken
Precision ingredients for professional-quality fried chicken with shatteringly crisp skin and succulent meat beneath.
| Ingredient | Amount | Notes |
|---|---|---|
| Whole Chicken 🍗 | 4 lb | Giblets removed, patted dry |
| Peanut Oil 🫒 | 8 cups | For deep frying, 350°F |
| Kosher Salt 🧂 | ½ cup | Diamond Crystal preferred for brining |
| Brown Sugar 🍚 | ¼ cup | Light or dark, for brine balance |
| Black Peppercorns 🌶️ | 1 tbsp | Freshly cracked for maximum flavor |
| Garlic Cloves 🧄 | 8 cloves | Smashed for brine infusion |
| Fresh Rosemary Sprigs 🌿 | 4 sprigs | For aromatic brine depth |
| Fresh Thyme Sprigs 🍃 | 4 sprigs | Complements poultry flavor profile |
| Buttermilk 🥛 | 2 cups | Full-fat for optimal tenderness |
| All-Purpose Flour 🌾 | 2 cups | For crispy exterior coating |
| Smoked Paprika 🌶️ | 1 tbsp | Adds depth to flour dredge |
| Onion Powder 🧅 | 1 tbsp | Enhances savory crust flavor |
| Cayenne Pepper 🔥 | ½ tsp | Adjust for preferred heat level |
| Baking Powder 🧂 | 1 tsp | Creates extra-crispy texture |
[recipe_ingredient_scaler]
Optimal quality requires Diamond Crystal kosher salt for its clean flavor and precise brining control. The peanut oil must reach 350°F—use a deep-fry thermometer for accuracy. Whole Foods or specialty butchers provide the best whole chickens (3.5-4.5 lbs ideal), ensuring even cooking. Fresh herbs are non-negotiable; farmers markets offer superior rosemary and thyme with vibrant aromatics. The buttermilk should be full-fat for maximum tenderizing effect during the 12-hour brine.
For peanut oil substitutions, vegetable shortening or refined coconut oil (at 360°F) works, though flavor neutrality is compromised. Replace buttermilk with whole milk plus 1 tbsp vinegar if necessary. Fresh herbs can be substituted with dried at one-third quantity, though potency diminishes. The flour dredge benefits from rice flour at 25% ratio for enhanced crispness. Penzeys offers superior smoked paprika and cayenne for consistent heat levels.
Store brined chicken uncovered in the refrigerator for 12-24 hours to dry the skin. Peanut oil can be strained and reused 2-3 times if stored in a cool, dark place. Prepared flour mixture keeps in an airtight container for 1 month. Always bring chicken to room temperature before frying for even cooking. Internal temperature must reach 165°F at the thickest part of the breast.
Why You’ll Love This Recipe
- One Pot Magic: I love that this only dirties one heavy pot—no juggling pans or complicated setups. Just heat the peanut oil, lower in the chicken, and let the salt-sugar crust do its work while you ignore it for 30 glorious minutes.
- Crispy-Sweet Crust: That brown sugar in the dry brine caramelizes against the skin, creating this sticky, crackly shell that shatters with every bite. The peppercorns add just enough heat to balance it, so you keep going back for “one more piece.”
- Feeds a Hungry Table: Honestly, nothing impresses like a whole golden bird at the center of the table—birthdays, game days, or even when my in-laws drop by unannounced. Leftovers? Shred them for tacos or toss the carcass into soup stock.
- Cheaper Than Takeout: A whole chicken costs less than two fried chicken sandwiches at a fast-food joint, and this makes *way* more food. I’ll be real: the first time I calculated the savings, I laughed out loud. Now it’s my default when the budget’s tight but cravings hit hard.
Step-by-Step Instructions for Fried Whole Chicken
This professional method delivers perfectly crispy skin and exceptionally juicy meat with precise technique.
Step 1: Prepare the Aromatic Brine Solution
In a large stockpot, combine the 0.5 cup kosher salt, 0.25 cup brown sugar, 1 tablespoon black peppercorns, 8 cloves garlic cloves (lightly smashed), 4 sprigs fresh rosemary, and 4 sprigs fresh thyme. Add 8 cups of hot water and stir vigorously until the salt and sugar fully dissolve. This concentrated brine solution will penetrate the meat while keeping the exterior moist during frying.
Allow the brine to cool completely to room temperature before proceeding. I recommend preparing this solution 12-24 hours before cooking to give the flavors time to meld. The aromatic compounds from the herbs and garlic will infuse into the meat during the brining process, creating layers of flavor that simple seasoning cannot achieve.
Step 2: Brine and Buttermilk Tenderize the Chicken
Submerge the 4 lb whole chicken in the cooled brine solution, ensuring it’s completely covered. Refrigerate for 12-16 hours, turning the chicken once halfway through the brining period. This extended brine time is crucial for both seasoning the meat throughout and maintaining moisture during the high-heat frying process.
After brining, remove the chicken and rinse briefly under cold water. Pat thoroughly dry with paper towels, then submerge in the 2 cups buttermilk for 4-6 hours in the refrigerator. The buttermilk’s acidity tenderizes the meat while its fat content creates a protective layer that will crisp beautifully when fried. The combination of brining and buttermilk treatment guarantees juicy meat and optimal crust formation.
Step 3: Prepare the Seasoned Flour Dredge
In a large mixing bowl, whisk together the 2 cups all-purpose flour, 1 tablespoon smoked paprika, 1 tablespoon onion powder, 0.5 teaspoon cayenne pepper, and 1 teaspoon baking powder. The baking powder is the secret to achieving an exceptionally crispy crust – it creates micro-bubbles in the coating that expand during frying, resulting in a lighter, crunchier texture.
Transfer the buttermilk-soaked chicken to a wire rack set over a baking sheet. Allow excess buttermilk to drip off for 5 minutes, then dredge the chicken thoroughly in the seasoned flour mixture. Press the flour into all surfaces, ensuring complete coverage. Let the dredged chicken rest on the rack for 15 minutes before frying – this allows the coating to adhere properly and prevents it from sliding off during the initial fry.
Step 4: Deep Fry to Golden Perfection
In a large Dutch oven or heavy pot, heat the 8 cups peanut oil to 325°F. Use a deep-fry thermometer to monitor the temperature precisely – peanut oil maintains a stable high heat better than other oils. Lower the chicken into the oil breast-side down using a wire skimmer or large slotted spoon. The oil temperature will drop initially; maintain it between 300-325°F throughout cooking.
Fry the chicken for 25-30 minutes, turning occasionally to ensure even browning. The chicken is done when the internal temperature reaches 165°F at the thickest part of the thigh and the crust is deep golden brown with audible crispness when tapped. Transfer to a wire rack set over a baking sheet and let rest for 10 minutes before carving – this allows the juices to redistribute while maintaining the crust’s crispness.
Pro Cooking Tips for Great fried whole chicken
Oil Temperature Control
Maintaining 325°F oil temperature is non-negotiable for perfect results. I use a Polder digital thermometer clipped to the pot—it beeps if temps drift. If your oil smokes, it’s too hot; if the crust absorbs oil, it’s too cool. Adjust heat gradually and monitor constantly. 🌡️
Double-Dredge Technique
For next-level crispiness, I double-dredge: dip the buttermilk-soaked chicken in flour, let rest 5 minutes, then repeat. This creates thicker crust layers. Press firmly when coating—don’t be shy! The extra effort pays off with that satisfying crunch we all crave.
Frying Equipment Matters
A heavy enamel-coated Dutch oven (like Le Creuset) distributes heat evenly and prevents hot spots. Avoid thin pots—they cause temperature spikes. For safety, I keep a fire extinguisher nearby and never leave the fryer unattended. Better safe than sorry with hot oil!
Resting is Crucial
After frying, rest the chicken on a wire rack (not paper towels) for 10 minutes. This prevents steam from making the crust soggy. I learned this the hard way at my first BBQ competition—soggy skin cost me first place! Now I swear by this step.
Seasoning the Brine
Don’t skimp on brine aromatics. I forage wild bay leaves and add them with the rosemary. The extra layers of flavor penetrate deep into the meat. Local farmers markets often have superior fresh herbs that make all the difference in your final product.
Oil Disposal Safety
Never pour hot oil down the drain! Let it cool completely, then strain through cheesecloth into a sealed container. I reuse peanut oil 2-3 times if stored in a cool, dark place. For disposal, check your city’s recycling program—many accept used cooking oil.
Nutrition Facts

Trained in classic French technique but raised on slow-cooked ribs and spicy rubs, she blends culinary skill with smoke and soul.
- Recipe for Boneless Pork Chops in Cast Iron Skillet: Sear and Baste to Juicy Perfection - October 3, 2026
- Recipe for Boneless Cross Rib Roast: Slow-Roasted Beef with Herb Crust - October 3, 2026
- Hamburgers in Sauce Recipe Crock Pot: Slow-Cooked Savory Delight - October 3, 2026