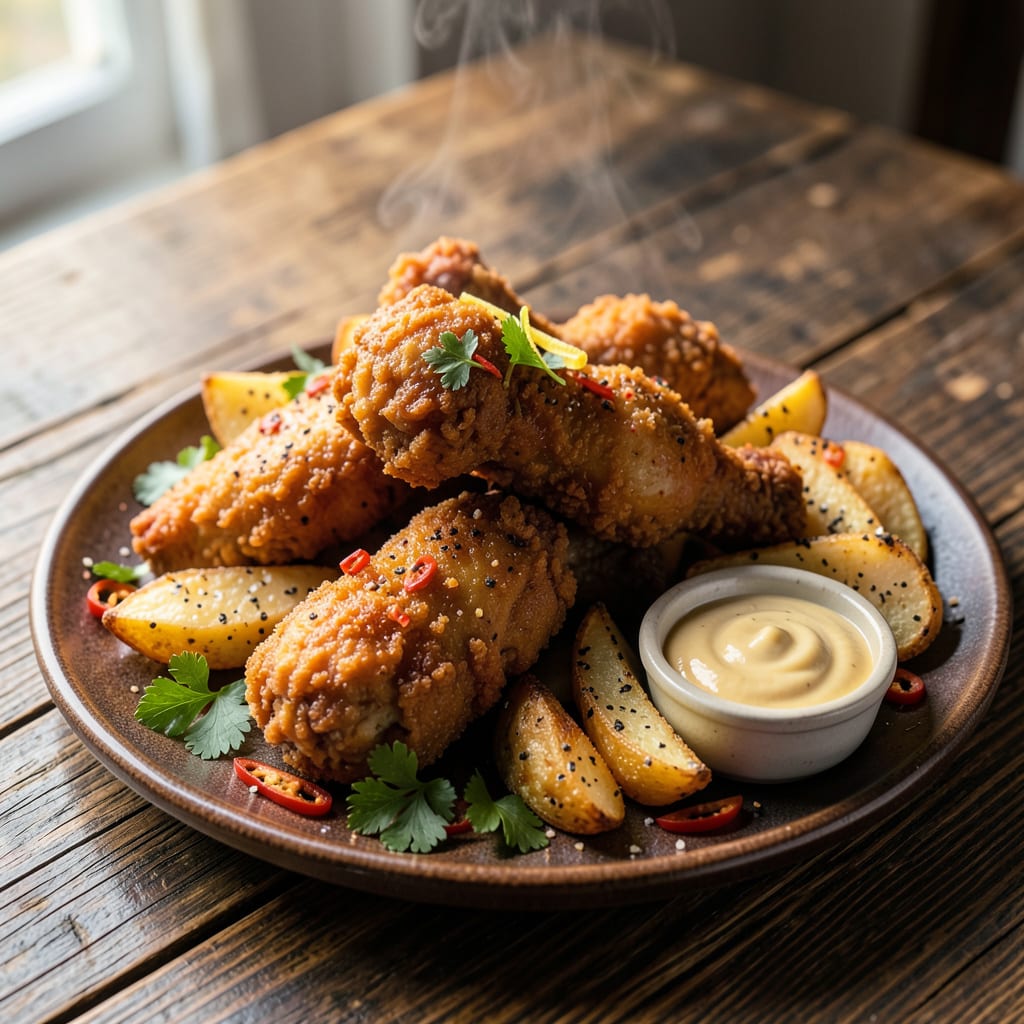
Let me tell you—frying frozen chicken doesn’t have to be a gamble. After years of testing (and a few burnt batches I’d rather forget), I’ve nailed the method for getting that crispy, golden crust straight from the freezer. No thawing, no stress, just perfectly cooked chicken with that satisfying crunch every time.
The trick is all in the oil temperature and timing. Too hot, and you’ll burn the outside before the inside cooks. Too cool, and you end up with greasy, soggy chicken. I’ve found that 350°F is the sweet spot—hot enough to create that shatteringly crispy crust while ensuring the meat cooks through evenly. And here’s the thing—you don’t need fancy equipment, just a good thermometer and about 15 minutes.
What you’ll get is juicy chicken inside with that restaurant-quality crispy coating outside. The kind that makes you want to grab an extra napkin and maybe some ranch for dipping. I’ve served this to skeptical friends who swore they could tell it started frozen, and they’ve all been converted.
Whether you’re feeding a crowd or just need a quick dinner solution, this method works. And if you want to kick it up, I’ve got some easy variations for spicy, herby, or even gluten-free versions. Let’s get that oil heating.
📚 In This Guide
- What You’ll Need
- Instructions
- Tips and Common Mistakes
What Youll Need
- ● Frozen chicken: 1–2 lbs (450–900g) of bone-in or boneless pieces (wings, thighs, tenders, or nuggets). Check the label for pre-breaded or raw frozen—this affects cooking time! ❄️
- ● Oil for frying: 2–3 cups of vegetable, peanut, or canola oil (high smoke point, 375–400°F). Avoid olive oil—it burns easily! 🛢️
- ● Deep fryer or heavy pot: A 4–6 quart Dutch oven, cast-iron skillet, or electric deep fryer with a lid (for safety).
- ● Tongs or slotted spoon: Heat-resistant stainless steel or silicone to flip and drain chicken safely. 🥄
- ● Paper towels or wire rack: For draining excess oil. A cooling rack over a baking sheet keeps chicken crispy!
- ○ Thermometer (optional but recommended): A candy or deep-fry thermometer to monitor oil temp (350–375°F for perfect crispiness). 🌡️
- ○ Seasonings (optional): Salt, pepper, paprika, or garlic powder to toss with hot chicken post-fry. 🧂
- ● Safety gear: Oven mitts, apron, and a splash guard (oil pops!). Stay safe, friends! 🧤
- ○ Dipping sauces (optional): Ranch, honey mustard, or hot sauce—because why not? 😋
Instructions
Here’s exactly how to transform frozen chicken into crispy, golden perfection without thawing.
Heat the Oil to the Perfect Temperature
Pour 1½ to 2 inches of vegetable oil or peanut oil into a heavy-bottomed pot or deep skillet. I prefer peanut oil for its high smoke point and neutral flavor, but vegetable oil works great too. Clip a deep-fry thermometer to the side of the pot—this is non-negotiable for perfect results.
Heat the oil over medium-high heat until it reaches 350°F. You’ll see small bubbles form around the thermometer when it’s ready. If you don’t have a thermometer, test the oil by dropping in a small piece of bread—it should sizzle immediately and turn golden in 60 seconds. Maintaining this temperature is crucial for cooking the chicken through while achieving that crispy crust.
Prepare the Frozen Chicken for Frying
Remove the frozen chicken pieces from their packaging and place them on a wire rack or paper towels. I like to pat them dry with additional paper towels to remove any ice crystals—this helps prevent oil splatter and promotes better browning. If your chicken pieces are stuck together, don’t force them apart; let them sit at room temperature for 5 minutes to separate naturally.
For extra crispiness, you can lightly dust the frozen chicken with 1-2 tablespoons of cornstarch or flour before frying. This creates a thin, crispy coating that seals in moisture. Shake off any excess so it doesn’t burn in the oil. The chicken should go into the oil completely frozen—no need to thaw, which actually makes the exterior soggy before it can crisp properly.
Fry in Batches for Even Cooking
Carefully lower 3-4 pieces of chicken into the hot oil using tongs or a slotted spoon. Don’t overcrowd the pot—this causes the oil temperature to drop too much, resulting in greasy rather than crispy chicken. The oil will bubble vigorously at first as moisture from the chicken escapes. This is normal and will subside after about 2 minutes.
Fry the chicken for 12-15 minutes, turning occasionally with tongs, until it’s golden brown and the internal temperature reaches 165°F when checked with a meat thermometer. You’ll know it’s done when the bubbling slows significantly and the chicken floats to the surface. The crust should be deep golden and audibly crisp when tapped with tongs. Transfer the cooked chicken to a wire rack or paper towel-lined plate to drain.
Rest and Serve While Hot
Let the fried chicken rest for 3-5 minutes before serving. This brief rest allows the crust to set completely and prevents the juices from escaping when you cut into it. You’ll notice the chicken becomes even crispier as it cools slightly—that’s the moisture inside the crust evaporating and creating that perfect crunch.
Serve immediately while still hot and crispy. The contrast between the shatteringly crisp exterior and the juicy, tender meat inside is what makes this method so special. If you need to keep the chicken warm for a few minutes, place it on a wire rack in a 200°F oven—never stack the pieces or they’ll steam and lose their crispness. Pair with your favorite dipping sauces and enjoy that satisfying crunch in every bite!
Tips and Common Mistakes
Let me share what I’ve learned from years of frying chicken—these details make all the difference between good and spectacular.
Temperature Control: Maintaining that 350°F oil temperature in Step 1 is absolutely critical. If the oil cools too much when you add the chicken, you’ll end up with greasy rather than crispy results. I use a clip-on thermometer and adjust the heat slightly as needed during frying to keep it steady. The medium-high heat setting works for most stovetops, but watch closely—every burner is different.
The Technique That Changed Everything: In Step 2, don’t skip patting the chicken dry. Those ice crystals on frozen chicken turn to steam in hot oil, causing dangerous splatter and preventing proper browning. I use a stack of paper towels and press firmly on all sides. The 5 minutes at room temperature helps separate stuck pieces without thawing—this keeps the exterior crisp rather than soggy.
Batch Size Matters: When frying in Step 3, stick to 3-4 pieces at a time maximum. Overcrowding drops the oil temperature dramatically, and you’ll lose that perfect crisp. I time each batch carefully—12-15 minutes usually hits that magical point where the crust is deep golden and the internal temperature reaches 165°F. Use tongs to turn the pieces occasionally for even cooking.
Resting is Critical: That 3-5 minutes rest in Step 4 isn’t just about cooling—it’s when the crust actually becomes crispier. As the chicken rests, moisture inside the crust evaporates, creating that signature crunch. I place mine on a wire rack so air circulates underneath, preventing any potential sogginess from trapped steam.
Pro Tips for Fry Frozen Chicken
- Let me share what I’ve learned from years of frying chicken—these details make all the difference between good and sp…
- Temperature Control: Maintaining that 350°F oil temperature in Step 1 is absolutely critical. If the oil cools too mu…
- The Technique That Changed Everything: In Step 2, don’t skip patting the chicken dry. Those ice crystals on frozen ch…
Frequently Asked Questions
Can I fry frozen chicken without thawing it first?
Yes! You can fry chicken straight from the freezer, but expect 10–15 extra minutes of cooking time. Use a slightly lower oil temp (325°F) initially to avoid a burnt crust before the inside cooks. Always check the internal temp hits 165°F with a meat thermometer.
How long does it take to deep-fry frozen chicken?
Frozen chicken typically needs 12–18 minutes (vs. 8–12 for thawed), depending on piece size. Dark meat (thighs/drumsticks) may take longer than breasts. Fry in small batches to avoid dropping the oil temp—this ensures even cooking and crispiness!
What’s the best oil for frying frozen chicken?
Opt for oils with a high smoke point like peanut, canola, or vegetable oil. They handle prolonged heat (350–375°F) without breaking down. Avoid olive oil—it smokes and can leave a bitter taste. Pro tip: Use a deep-fry thermometer to monitor temp!
Why is my fried frozen chicken soggy instead of crispy?
Sogginess usually happens if: 1) the oil temp is too low (aim for 350–375°F), 2) you overcrowd the fryer, or 3) you skip patting excess ice crystals off the chicken. Try double-frying for extra crunch: fry once at 325°F, rest 5 mins, then fry again at 375°F!
Is it safe to air-fry frozen chicken instead?
Air-fryers work great for frozen chicken—just spray lightly with oil and cook at 375°F for 20–25 mins, flipping halfway. Check for a 165°F internal temp. It’s healthier but may lack the deep-fry crunch. For extra crisp, air-fry 2–3 mins longer at 400°F.
Frying frozen chicken doesn’t have to be a guessing game—with the right oil temp, timing, and a few pro tricks, you can achieve juicy, crispy perfection every time! 🍗✨ Whether you’re whipping up a quick weeknight dinner or feeding a crowd, this method saves time without sacrificing flavor.
Ready to put your skills to the test? Grab a bag of frozen chicken, heat that oil, and get frying! For extra crunch, try experimenting with seasoned flour or a buttermilk dip next time. Happy cooking!

Trained in classic French technique but raised on slow-cooked ribs and spicy rubs, she blends culinary skill with smoke and soul.
- Recipe for Boneless Pork Chops in Cast Iron Skillet: Sear and Baste to Juicy Perfection - October 3, 2026
- Recipe for Boneless Cross Rib Roast: Slow-Roasted Beef with Herb Crust - October 3, 2026
- Hamburgers in Sauce Recipe Crock Pot: Slow-Cooked Savory Delight - October 3, 2026