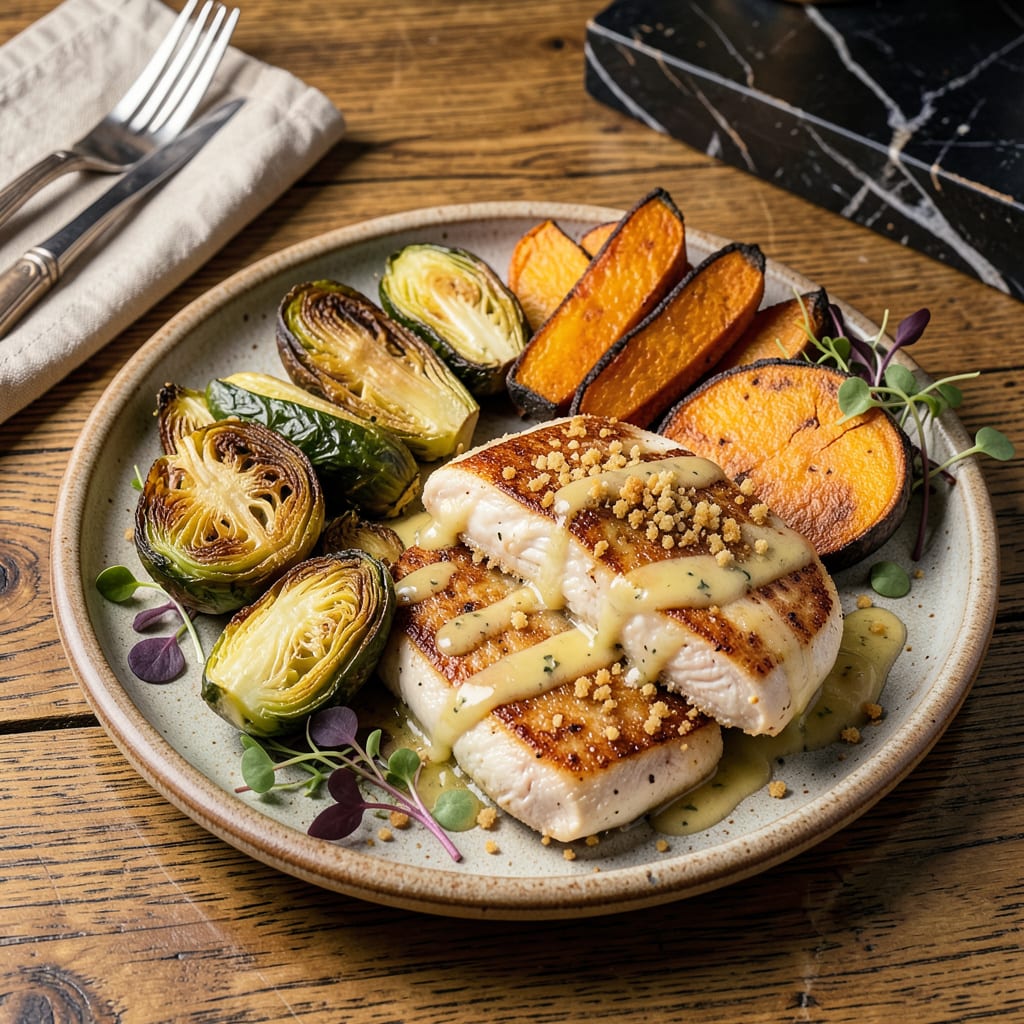
Let me tell you something wild—I’ve spent years chasing that perfect crispy texture, and you don’t actually need oil to get it. Honestly, I was skeptical too until I discovered these kitchen hacks that deliver crispy results without a drop of fat. We’re talking golden edges, satisfying crunch, and all the flavor you’d expect from traditional frying.
Here’s the thing—it’s all about technique and the right tools. A good non-stick pan becomes your best friend, and a splash of broth or water works magic to prevent sticking while building flavor. I’ve tested this with everything from tofu to potatoes, and the results will change how you think about oil-free cooking. No fancy equipment required, just smart methods.
The real game-changer is understanding how to control heat and moisture. Too much liquid and you’ll steam your food, too little and it’ll burn. But when you hit that sweet spot? You get perfectly browned, crispy food that’s lighter but just as satisfying. I’ll walk you through exactly how to nail this every time.
Whether you’re avoiding oil for health reasons or just ran out mid-recipe, these techniques will save dinner. And here’s a bonus—cleanup is way easier when you’re not dealing with greasy pans. Let’s get that perfect crisp without the oil.
📚 In This Guide
- What You’ll Need
- Instructions
- Tips and Common Mistakes
What Youll Need
- ● Non-stick skillet or frying pan (10–12 inches, heavy-bottomed for even heat distribution)
- ● Parchment paper or silicone baking mat (for oven-based methods)
- ○ Cooking spray (light olive oil or avocado oil spray—optional for extra crispiness)
- ● Food to fry (e.g., veggies, tofu, chicken, or fish—pat dry for best results!)
- ● Seasonings (salt, pepper, paprika, or your favorite spices)
- ● Kitchen tongs or spatula (heat-resistant for flipping)
- ○ Air fryer (optional, for faster, hands-off cooking)
- ○ Wire rack (optional, to drain excess moisture post-cooking)
- ○ Meat thermometer (optional, for precise protein doneness)
Step-by-Step Instructions for Frying Without Oil
You’re about to discover how to achieve that perfect crispy texture—no oil required, just clever techniques!
Choose Your Non-Oil Frying Method
For this technique, you’ve got three fantastic options: air frying, oven baking, or pan-searing with broth. I always start by deciding which method works best for my dish. Air fryers give that deep-fried crunch with hot circulating air, while ovens work great for larger batches. The broth method in a skillet creates a beautiful sear without any oil at all.
Each method delivers crispy results, but they work differently. Air fryers and ovens rely on dry heat, while the broth method uses steam and caramelization. Think about what you’re cooking—delicate items like spring rolls do best in an air fryer, while heartier foods like chicken cutlets shine with the broth technique.
Prep Your Food for Maximum Crispiness
Here’s the secret: moisture is the enemy of crispiness when you’re not using oil. Pat your food completely dry with paper towels before cooking. For breaded items, I like to use a double-coating method—first a thin layer of flour, then beaten egg (or aquafaba for vegan), and finally breadcrumbs or panko. Press the crumbs firmly onto the food so they adhere well.
For vegetables or proteins without breading, a light spray of cooking spray (if you’re using an air fryer or oven) can help achieve that golden color. The key is creating a dry surface that will crisp up beautifully. Don’t skip this step—it makes all the difference between soggy and spectacular!
Master the Broth Frying Technique
This is my favorite oil-free method for stovetop cooking. Heat a nonstick skillet over medium-high heat until hot. Add about ¼ cup of vegetable broth (just enough to cover the bottom) and immediately add your food. The broth will quickly evaporate, leaving behind a crispy sear.
Watch for the liquid to completely cook off—this usually takes 3-5 minutes depending on what you’re cooking. You’ll hear a sizzling sound change from bubbling to a drier crackle when it’s working. Flip your food only once to get that perfect golden crust on both sides. This technique works amazingly well for chicken, tofu, and even French fries!
Achieve Perfect Results in the Air Fryer or Oven
For air frying, preheat your appliance to 375°F and arrange food in a single layer with space between pieces. Cook in batches if needed—crowding leads to steaming instead of crisping. Most foods need 10-15 minutes, but shake the basket or flip halfway through for even browning.
In the oven, use the top rack position and set to 425°F for best browning. Place food on a wire rack over a baking sheet to allow air circulation on all sides. Bake for 15-25 minutes, flipping once, until you achieve that deep golden brown color and crispy texture you’re after.
Test for Doneness and Serve Immediately
Your food is ready when it reaches that perfect crispy texture—look for a golden brown color and listen for a crunch when you tap it. For proteins, use an instant-read thermometer to check internal temperatures: 165°F for chicken, 145°F for pork, or 160°F for ground meats.
Serve your crispy creations immediately while they’re at their best. The texture is most amazing right out of the air fryer or oven! If you need to keep things warm, place them on a wire rack in a 200°F oven—this prevents sogginess from trapped steam. You’ve just created crispy, delicious food without a drop of oil!
Tips and Common Mistakes for Perfect Oil-Free Frying
These game-changing insights will transform your oil-free frying from good to absolutely spectacular.
The Heat Factor: When using the broth method in Step 3, that medium-high heat is absolutely crucial. Too low and your food will steam instead of sear; too high and the broth evaporates before creating that perfect crust. I’ve found the sweet spot is when you see vigorous bubbling that subsides after about 3-5 minutes—that’s when the magic happens. Listen for the sizzle to change from wet bubbling to a drier crackle, which signals the broth has evaporated and crisping has begun.
Air Circulation Secret: For oven frying in Step 4, don’t underestimate the power of that wire rack over your baking sheet. This simple trick allows hot air to circulate completely around your food, preventing soggy bottoms. At 425°F, you’ll get maximum browning—just keep an eye after 15 minutes as oven temperatures can vary. The top rack position mentioned in the instructions isn’t just suggestion—it’s the difference between golden perfection and pale disappointment.
Prep Perfection: Step 2’s emphasis on drying your food completely cannot be overstated. I use a two-step process: first pat with paper towels, then let air-dry on a rack for 10 minutes before cooking. This extra step removes surface moisture that would otherwise create steam instead of crispiness. For breaded items, press the crumbs so hard you think you might be overdoing it—then press a little harder. That firm coating is what creates that satisfying crunch when cooked.
Timing Wisdom: With air frying at 375°F, those 10-15 minutes go faster than you think. Set a timer for 7 minutes to check progress—most foods need just a quick shake at this point. The difference between perfectly crispy and slightly overdone can be just 2 minutes, so stay nearby. For oven frying, the 15-25 minute range accounts for different food densities—start checking at 15 minutes and go by color (deep golden brown) rather than time alone.
Pro Tips for Frying Without Oil
- These game-changing insights will transform your oil-free frying from good to absolutely spectacular.
- The Heat Factor: When using the broth method in Step 3, that medium-high heat is absolutely crucial. Too low and your…
- Air Circulation Secret: For oven frying in Step 4, don’t underestimate the power of that wire rack over your baking s…
Frequently Asked Questions
Can I fry without oil in a regular non-stick pan?
Absolutely! A high-quality non-stick pan is your best friend for oil-free frying. Just preheat it properly (medium heat) and avoid metal utensils to keep the coating intact. For extra crispiness, use a light spray of water or broth—it creates steam for a golden finish!
How do I prevent food from sticking without oil?
Patience is key! Preheat the pan fully (2-3 minutes) before adding food. Use parchment paper for delicate items like fish, or try a thin layer of starch (cornstarch/arrowroot) on proteins. Pro tip: Don’t overcrowd the pan—steam builds up and causes sticking!
What’s the best oil-free frying method for crispy results?
For maximum crunch, try:
- Air frying (hot air circulates for even browning)
- Dry-sautéing (high heat + frequent stirring)
- Oven-baking (425°F+ on a wire rack for airflow)
Does oil-free frying take longer than traditional frying?
Yes, but only by 2-5 minutes. Oil conducts heat faster, so oil-free methods rely on direct pan contact or air circulation. For example, air-fried fries take ~15 mins vs. 10 mins in oil. Flip food often for even cooking!
What are the healthiest oil alternatives for flavor?
Skip oil and boost flavor with:
- Broth/stock (vegetable, chicken, or mushroom)
- Citrus juice (lemon/lime for brightness)
- Spices (smoked paprika, garlic powder, or cumin)
- Nut butters (thinned with water for stir-fries)
Frying without oil isn’t just possible—it’s a game-changer for healthier, just-as-crispy meals! 🎉 By leveraging tools like air fryers, non-stick pans, or even your oven, you can cut unnecessary fats while keeping all the flavor. Whether you’re watching your diet or just love a good kitchen hack, these methods prove that less oil doesn’t mean less delicious.
Ready to put these tricks to the test? Start with a simple recipe—like oil-free fries or chicken tenders—and taste the difference for yourself! Which hack will you try first? Share your results below—we’d love to hear how it goes! 👇

Trained in classic French technique but raised on slow-cooked ribs and spicy rubs, she blends culinary skill with smoke and soul.
- Recipe for Boneless Pork Chops in Cast Iron Skillet: Sear and Baste to Juicy Perfection - October 3, 2026
- Recipe for Boneless Cross Rib Roast: Slow-Roasted Beef with Herb Crust - October 3, 2026
- Hamburgers in Sauce Recipe Crock Pot: Slow-Cooked Savory Delight - October 3, 2026