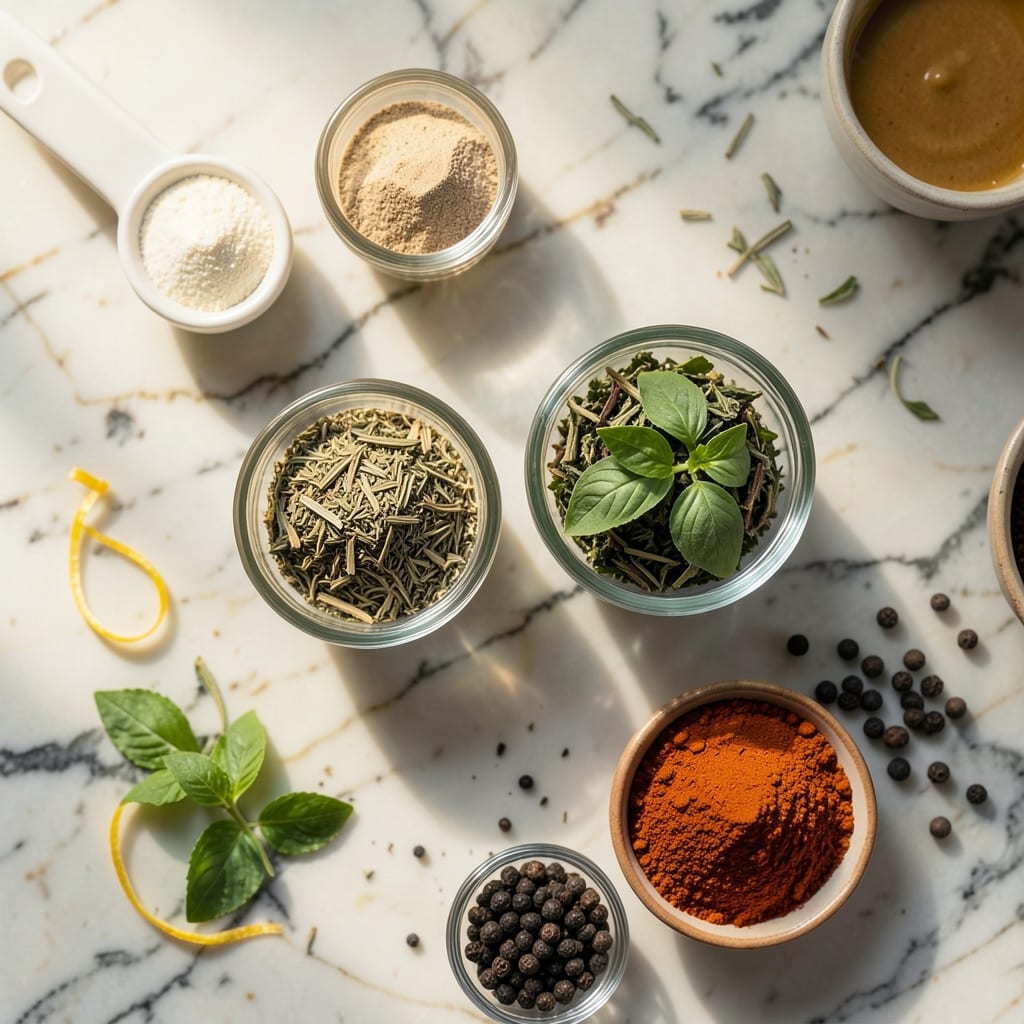
Achieving evenly charred chicken on the grill requires patience and proper heat control. My method ensures juicy meat with a perfect crust every time.
I rely on a simple herb rub and indirect heat to infuse flavor while preventing dryness. This technique delivers restaurant-quality results with minimal effort.
Ingredients for Full Chicken Grill
These carefully selected ingredients ensure juicy, evenly charred grilled chicken with restaurant-quality results.
| Ingredient | Amount | Notes |
|---|---|---|
| Whole Chicken 🍗 | 1 whole | About 4 lb, giblets removed |
| Kosher Salt 🧂 | 1 ½ tbsp | Diamond Crystal preferred |
| Freshly Ground Black Pepper 🌶️ | 1 tbsp | Coarse grind recommended |
| Garlic Powder 🧄 | 2 tsp | Not garlic salt |
| Onion Powder 🧅 | 2 tsp | Freshly ground if possible |
| Dried Thyme 🌿 | 1 ½ tsp | Crushed to release oils |
| Dried Rosemary 🍃 | 1 ½ tsp | Crushed to release oils |
| Smoked Paprika 🌶️ | 2 tsp | For depth of flavor |
| Olive Oil 🫒 | ¼ cup | Extra-virgin for richness |
| Lemon 🍋 | 1 whole | Zested and juiced |
| Fresh Parsley 🌿 | ¼ cup | Chopped, for garnish |
| Unsalted Butter 🧈 | 4 tbsp | Melted, for basting |
[recipe_ingredient_scaler]
The chicken is the foundation—opt for a 4 lb bird with smooth, unblemished skin. Whole Foods or Costco carry excellent air-chilled options that yield superior texture. For the herb rub, freshly ground spices deliver the most vibrant flavor. Diamond Crystal kosher salt is the professional choice due to its consistent texture (the flakes dissolve evenly). Don’t substitute table salt—it’s too dense and can over-season.
No fresh herbs? Dried at one-third the amount works fine, but crush them between your fingers to release the oils. Short on smoked paprika? Regular paprika plus a pinch of cayenne mimics the smokiness. The butter for basting can be swapped with olive oil if preferred, though butter adds a richness that’s hard to beat. Lemon zest is non-negotiable—it brightens the entire dish.
Store the chicken in its original packaging on a tray in the coldest part of your fridge for up to 2 days before cooking. The spice rub can be mixed and stored in an airtight container for 1 month. Leftovers keep for 4 days refrigerated—perfect for sandwiches or salads.
Why You’ll Love This Recipe
- I’ll be real: the sandwiches I make with the extras are sometimes better than the first meal.
- Five Ingredient Magic: I love how just salt, pepper, garlic, and onion powder transform a whole chicken into something extraordinary.
- Set It and Forget: Honestly, once it’s on the grill, it practically cooks itself while I handle everything else.
- Feeds Everyone: Between us, this is my go-to for summer gatherings—always a crowd-pleaser.
Step-by-Step Instructions for Full Chicken Grill
This method ensures perfectly charred skin and juicy, herb-infused meat every time.
Step 1: Prepare the Seasoning and Chicken
In a small bowl, combine the 1.5 tbsp Kosher Salt, 1 tbsp Freshly Ground Black Pepper, 2 tsp Garlic Powder, 2 tsp Onion Powder, 1.5 tsp Dried Thyme, 1.5 tsp Dried Rosemary, and 2 tsp Smoked Paprika. Crush the dried herbs between your fingers to release their oils.
Pat the 1 whole Whole Chicken completely dry with paper towels. This is crucial for achieving crispy skin. Rub the seasoning mixture evenly over the entire surface of the chicken, including inside the cavity. The spices should form a visible crust.
Step 2: Truss and Prepare for Grilling
Truss the chicken by tying the legs together with kitchen twine. This promotes even cooking and prevents the chicken from drying out. Tuck the wings under the body to protect the breast meat.
Zest the 1 whole Lemon and mix the zest with the 0.25 cup Olive Oil. Brush this mixture all over the chicken, ensuring every inch is coated. The citrus oil will create a beautiful golden color and add depth of flavor.
Step 3: Set Up the Grill for Indirect Heat
Prepare your grill for indirect cooking. If using a charcoal grill, bank the coals to one side. For a gas grill, preheat all burners to medium-high heat, then turn off one side. The grill temperature should maintain around 375°F.
Place an aluminum drip pan on the side with no direct heat. This setup allows the chicken to cook through without burning the skin. Melt the 4 tbsp Unsalted Butter and have it ready for basting.
Step 4: Grill and Baste to Perfection
Place the chicken breast-side up on the grill over the drip pan. Cover the grill and cook for 45 minutes. Baste with the melted unsalted butter every 15 minutes to keep the skin moist and add flavor.
After 45 minutes, flip the chicken and continue grilling for another 30-45 minutes, basting occasionally, until the internal temperature reaches 165°F in the thickest part of the thigh. The skin should be deeply charred and crisp.
Step 5: Rest and Garnish Before Serving
Transfer the chicken to a cutting board and let it rest for 15 minutes. This allows the juices to redistribute throughout the meat. Chop the 0.25 cup Fresh Parsley and squeeze the juice from the zested lemon.
Carve the chicken and arrange on a platter. Drizzle with the lemon juice and sprinkle with the chopped parsley. The herbs will provide a fresh contrast to the smoky, charred skin, and the lemon will brighten the rich flavors.
Pro Tips For Making Full Chicken Grill
- Dry the Chicken: Pat the whole chicken completely dry with paper towels before seasoning—this guarantees crispy skin instead of steamed. I learned this the hard way after my first few attempts came out soggy.
- Season Under Skin: Gently loosen the skin and rub some of the salt, pepper, garlic, and onion powder directly onto the meat. It actually changes the outcome, making every bite flavorful, not just the surface.
- Indirect Heat First: Start grilling over indirect heat to cook the chicken through without burning the outside, then finish with direct heat for that golden crust. After burning three batches, I finally figured this part out.
- Rest Before Carving: Let the chicken rest for 10-15 minutes under foil after grilling—it keeps the juices locked in. Sounds weird, but it works, and your future self will thank you when the meat doesn’t dry out.
Essential Equipment for Perfect Results
Grill Setup Essentials
For charcoal grilling, I swear by my Weber 22-inch kettle—it maintains steady 375°F heat with proper airflow. Bank your Kingsford briquettes to one side for indirect cooking. A chimney starter gets them ready in 15 minutes without lighter fluid. 🔥
Gas Grill Must-Haves
With gas, I use a Napoleon Rogue for even heat distribution. Preheat all burners to medium-high, then turn off one side. An infrared side burner helps sear if you want extra char on the skin.
Temperature Control Tools
A dual-probe thermometer (I love ThermoWorks Smoke) monitors grill and meat temps simultaneously. Place the grill probe near the chicken for accuracy. $99 investment that prevents overcooking every time.
Basting Equipment
Use a silicone basting brush for the melted butter—it handles 400°F heat without melting. I keep a small saucepan on the grill’s cool side to melt and rewarm the butter as needed.
Safety Gear
Never skip heat-resistant gloves and long-handled tongs. I prefer Ove Glove for handling the chicken and a 16-inch pair of tongs for flipping. Safety first means you’ll keep cooking for years.
An aluminum drip pan under the chicken catches fat and prevents flare-ups. Line it with foil for easy cleanup after your cook. 💡
Nutrition Facts

Trained in classic French technique but raised on slow-cooked ribs and spicy rubs, she blends culinary skill with smoke and soul.
- Recipe for Boneless Pork Chops in Cast Iron Skillet: Sear and Baste to Juicy Perfection - October 3, 2026
- Recipe for Boneless Cross Rib Roast: Slow-Roasted Beef with Herb Crust - October 3, 2026
- Hamburgers in Sauce Recipe Crock Pot: Slow-Cooked Savory Delight - October 3, 2026