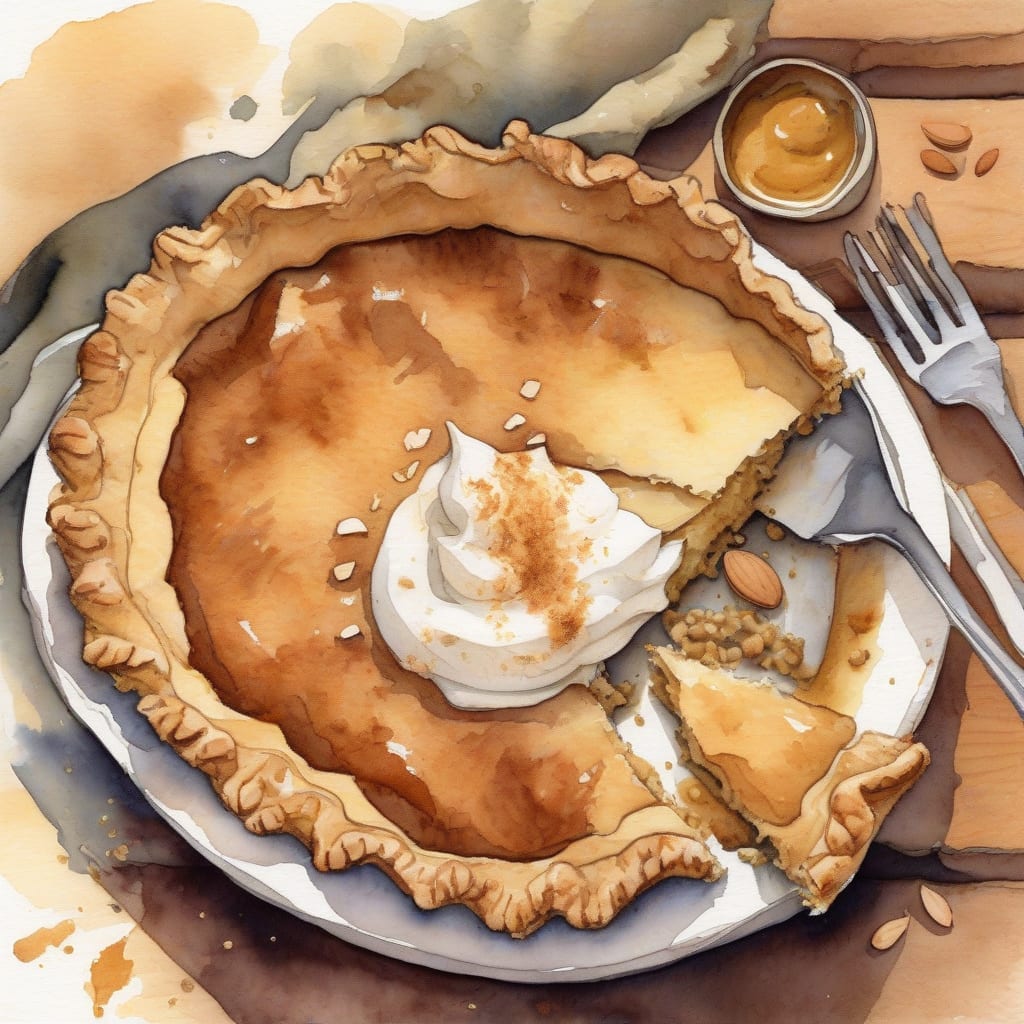
Making a pie crust that’s both gluten-free and dairy-free doesn’t have to be daunting. With just a few simple ingredients, you can achieve a flaky, tender crust that serves as the perfect base for your favorite fillings. This recipe is designed for everyone, even those with dietary restrictions.
What makes this crust special is its ease of preparation. You won’t need any advanced techniques—just mix the ingredients, chill the dough, and roll it out. It’s all about creating that flaky texture while ensuring it holds together beautifully during baking.
By the end of this process, you’ll have a golden-brown crust that’s ready to be filled with deliciousness. Trust me, this is the kind of crust that will impress even the pickiest of eaters. Let’s get started!
Ingredients for Gluten free, dairy free pie crust
Gather these simple ingredients to create a flaky, delicious crust perfect for any filling.
| Ingredient | Amount | Notes |
|---|---|---|
| Almond Flour 🌰 | 2 cups | Finely ground for best texture |
| Coconut Oil 🥥 | ½ cup | Melted, for richness |
| Flaxseed Meal 🌾 | ¼ cup | For binding, mix with water |
| Water 💧 | 3-4 tbsp | Chilled, adjust as needed |
| Maple Syrup 🍁 | 1 tbsp | For slight sweetness |
| Salt 🧂 | ½ tsp | Fine sea salt preferred |
[recipe_ingredient_scaler]
You can find almond flour and flaxseed meal at health food stores like Whole Foods or online retailers. Look for finely ground almond flour for the best texture, and ensure the coconut oil is virgin for maximum flavor. Brands like Bob's Red Mill offer high-quality options that work well in this recipe.
If you don't have almond flour, you can substitute with a gluten-free all-purpose flour blend. For the flaxseed meal, chia seeds ground into a powder can also serve as an effective binder. Ensure to mix the flaxseed with water and let it sit until it thickens before adding to the dough for optimal binding.
Store any leftover dough in an airtight container in the refrigerator for up to a week. You can also freeze it wrapped tightly in plastic wrap for up to three months. When ready to use, thaw in the fridge overnight before rolling out.
Step-by-Step Instructions for Making a Flaky Gluten Free, Dairy Free Pie Crust
Let’s create a delicious pie crust that’s both flaky and easy to make!
👨🍳 Step 1: Combine Dry Ingredients
In a large mixing bowl, I start by adding the 2 cups of almond flour and 0.25 cup of flaxseed meal. These ingredients are the base of your crust, providing a nutty flavor and excellent texture. I like to whisk them together thoroughly to ensure even distribution, which is essential for a consistent crust.
Next, I sprinkle in 0.5 teaspoon of salt. This enhances the flavor of the crust, balancing the sweetness. Mixing these dry ingredients first helps prevent clumping later when I add the wet ingredients.
🍳 Step 2: Add Wet Ingredients
Now, I melt 0.5 cup of coconut oil until it’s liquid but not too hot. I pour this into the dry mixture along with 1 tablespoon of maple syrup. The maple syrup adds a subtle sweetness that complements the nutty flavor of the almond flour.
I gently mix everything with a spatula until it resembles coarse crumbs. This step is crucial because over-mixing can lead to a dense crust. You want to see little bits of oil and flour without fully blending them into a paste.
⏰ Step 3: Add Water Gradually
Next, I measure out 3-4 tablespoons of chilled water. I add the water one tablespoon at a time, mixing gently after each addition until the dough starts to come together. The goal is for it to be moist but not sticky.
If you find that the dough is too crumbly, I’ll add a little more water. If it feels too wet, just add a bit more almond flour. It’s all about getting the right consistency, so take your time with this step!
🥘 Step 4: Form and Chill the Dough
Once the dough holds together, I shape it into a disc, wrap it in plastic wrap, and place it in the refrigerator for at least 30 minutes. Chilling helps the fats solidify and makes rolling out easier while also preventing shrinkage during baking.
While it chills, I can clean up my workspace and prepare my pie filling. This downtime is essential for achieving that flaky texture we’re aiming for!
🔥 Step 5: Roll Out and Pre-Bake the Crust
After chilling, I remove the dough from the refrigerator and let it sit for about 5 minutes to soften slightly. Then, on a lightly floured surface (using more almond flour), I roll it out into a circle about 12 inches in diameter.
I transfer the rolled-out dough into a pie dish, pressing it gently into place. To pre-bake, I prick the bottom with a fork to prevent bubbling and bake at 350°F for about 10-15 minutes, or until it’s lightly golden. This ensures a crispy crust once I add my filling!
Simple Storage Solutions for Your Gluten-Free, Dairy-Free Pie Crust
Storing your pie crust properly is crucial for maintaining its freshness and flavor. I recommend wrapping any leftover dough tightly in plastic wrap or placing it in an airtight container. This way, it can be kept in the refrigerator for up to one week. 💡
If you want to store the dough for longer, freezing is a great option. Just wrap it in plastic wrap and place it inside a freezer-safe bag, squeezing out as much air as possible. It can last up to three months in the freezer. When you’re ready to use it, simply thaw it overnight in the fridge. ❄️
For pre-baked crusts, allow it to cool completely before storing. Once cooled, wrap it in plastic wrap or foil and store it at room temperature for up to two days. If you need to keep it longer, refrigerate it, and it should last up to a week. Just remember to reheat it gently before adding your filling to ensure it’s crispy! 🔥
Nutrition Facts
200kcal
[recipe_ingredient_scaler]

Trained in classic French technique but raised on slow-cooked ribs and spicy rubs, she blends culinary skill with smoke and soul.
- Recipe for Boneless Pork Chops in Cast Iron Skillet: Sear and Baste to Juicy Perfection - October 3, 2026
- Recipe for Boneless Cross Rib Roast: Slow-Roasted Beef with Herb Crust - October 3, 2026
- Hamburgers in Sauce Recipe Crock Pot: Slow-Cooked Savory Delight - October 3, 2026