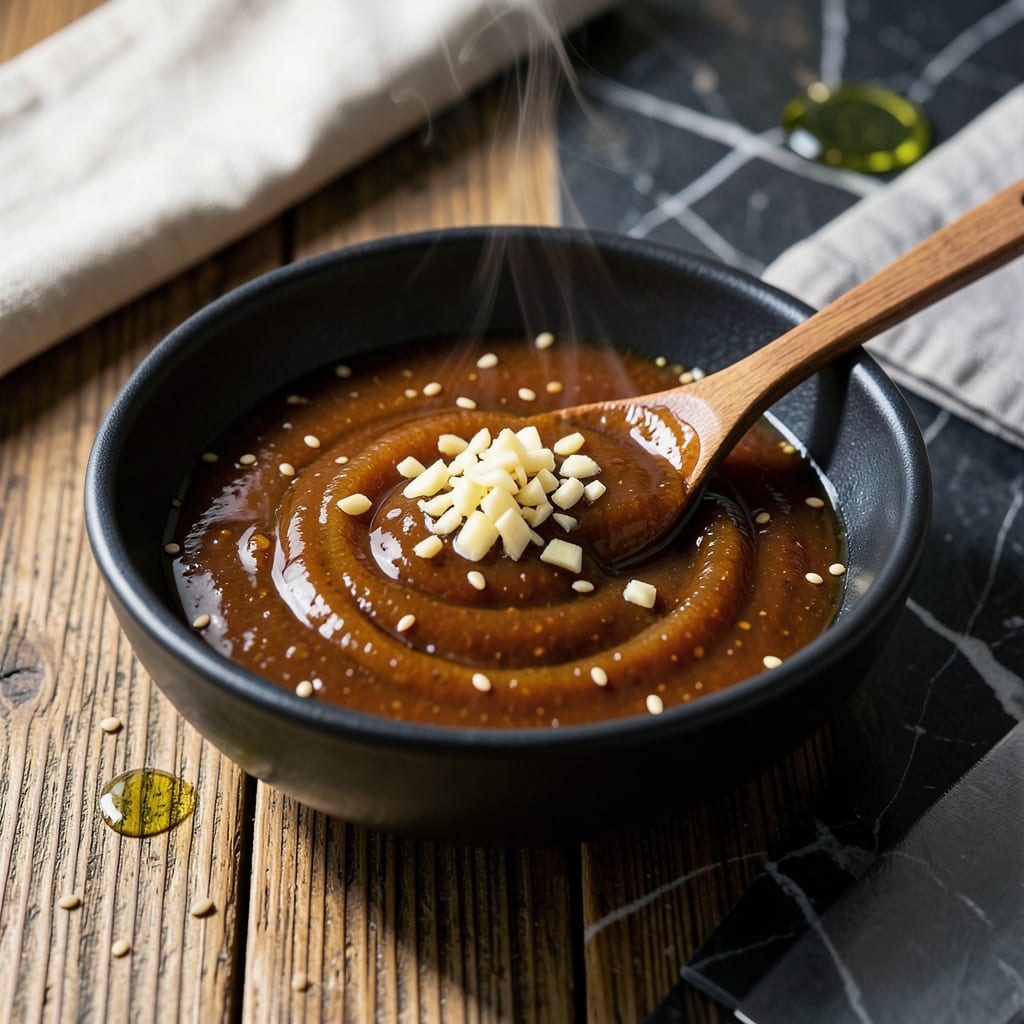
This gluten-free Japanese BBQ sauce captures the deep, savory umami of traditional versions without compromise. I developed this recipe to ensure everyone can enjoy that signature rich, sticky glaze on their favorite grilled proteins and vegetables.
With a balanced blend of sweet, tangy, and salty flavors, it delivers authentic taste while being safe for gluten-sensitive diets. The sauce comes together quickly with simple ingredients and keeps well for future use.
Ingredients for Gluten Free Japanese Bbq Sauce
Nine ingredients create this deep, umami-rich glaze for proteins and vegetables.
| Ingredient | Amount | Notes |
|---|---|---|
| Tamari Soy Sauce 🫒 | ½ cup | Gluten-free, for umami base |
| Rice Vinegar 💧 | ¼ cup | Unseasoned for tangy balance |
| Brown Sugar 🍚 | ⅓ cup | Packed, for caramelized sweetness |
| Mirin 🍶 | 2 tbsp | Sweet rice wine, adds depth |
| Fresh Ginger Root 🌿 | 1 tbsp | Grated, for zesty warmth |
| Garlic Cloves 🧄 | 3 cloves | Minced, for pungent backbone |
| Sesame Oil 🫒 | 1 tsp | Toasted, for nutty aroma |
| Gochujang 🌶️ | 1 tbsp | Korean chili paste, optional heat |
| Dijon Mustard 🟡 | 1 tsp | Smooth, for subtle tang |
[recipe_ingredient_scaler]
The tamari is critical here—San-J or Kikkoman Gluten-Free are reliable brands. Mirin can be tricky to find; look in the Asian foods aisle at Whole Foods or H-Mart. For gochujang, the Sunchang brand offers consistent spice and depth. Always check labels to confirm gluten-free status, as cross-contamination is a risk with some imported products.
No tamari? Coconut aminos at a 1:1 ratio work in a pinch but lack depth. Out of mirin? 1 tbsp sugar mixed with 1 tbsp rice vinegar mimics the sweetness. Fresh ginger is ideal but ground ginger at one-quarter the amount can substitute. The gochujang adds subtle heat—sriracha or a pinch of cayenne can replace it if needed.
This sauce keeps beautifully. Store in an airtight container in the fridge for up to 2 weeks. For longer storage, freeze in ice cube trays, then transfer to a bag—thaw only what you need. The flavors meld and intensify over 24 hours.
Why You’ll Love This Recipe
- 5-Minute Mix: I just dump tamari, rice vinegar, brown sugar, mirin, and grated ginger in a saucepan and it’s done before the grill heats up.
- Sweet Heat: The brown sugar caramelizes while the fresh ginger bites back—balance in every brushstroke.
- Grill or Bowl: I slather it on chicken skewers, toss it with noodles, or drizzle over rice bowls the next day.
- Pantry Hero: All five ingredients live in my cupboard, so I can make this whenever the craving hits.
Step-by-Step Instructions for Gluten Free Japanese BBQ Sauce
This method ensures a perfectly balanced glaze with deep umami flavor and ideal consistency.
Step 1: Bloom Aromatics in Toasted Sesame Oil
Heat a medium saucepan over medium-low heat and add the 1 tsp Sesame Oil. Once the oil shimmers slightly, add the 1 tbsp Fresh Ginger Root and 3 cloves Garlic Cloves, both finely minced.
Sauté for 1-2 minutes until fragrant but not browned—you want to develop the flavors without burning the garlic, which would add bitterness. The mixture should smell intensely aromatic at this stage.
Step 2: Combine Wet Ingredients and Sweeteners
Pour in the 0.5 cup Tamari Soy Sauce, 0.25 cup Rice Vinegar, 2 tbsp Mirin, and 0.33 cup Brown Sugar. Stir well with a silicone spatula, scraping up any browned bits from the bottom of the pan.
The brown sugar should begin dissolving immediately in the warm liquid. Continue stirring until the mixture is fully combined and the sugar is no longer grainy. You’ll notice the sauce taking on a rich, mahogany hue as the tamari and sugar meld together.
Step 3: Incorporate Flavor Enhancers and Simmer
Add the 1 tbsp Gochujang and 1 tsp Dijon Mustard to the saucepan. Whisk vigorously to ensure the gochujang, which can be thick and sticky, fully integrates into the liquid.
Increase the heat to medium and bring the mixture to a gentle simmer. Reduce the heat to medium-low and let it cook for 8-10 minutes, stirring occasionally. The sauce should thicken slightly and develop a glossy sheen.
Step 4: Reduce to Desired Consistency
Continue simmering for another 5-7 minutes until the sauce has reduced by about 25% and coats the back of a spoon. It should be thick enough to leave a visible trail when you run a finger through it on the spoon.
Taste and adjust the balance if needed—though the initial quantities are precise, you may add a splash of water if it reduces too quickly. The final sauce should be rich, tangy, slightly sweet, with a subtle heat from the gochujang.
Step 5: Cool and Store for Optimal Flavor
Remove the saucepan from heat and let the sauce cool to room temperature. The flavors will meld and deepen as it cools, so resist the urge to use it immediately.
Transfer to an airtight container. The sauce will keep in the refrigerator for up to 2 weeks. For best results, allow it to sit for at least 1 hour before using to let the flavors fully harmonize.
Pro Tips For Making Gluten Free Japanese Bbq Sauce
- Simmer, Don’t Boil: Keep the heat at a gentle simmer—boiling the sauce will make the brown sugar caramelize too fast and turn your sauce bitter. I learned this the hard way after ruining a batch with high heat.
- Grate the Ginger: Use a microplane to grate the fresh ginger root instead of mincing it—this releases more of its sharp, aromatic oils and blends seamlessly into the sauce.
- Skip Regular Soy: Resist the urge to substitute regular soy sauce for tamari—it often contains wheat and will defeat the purpose of a gluten-free sauce. Stick to certified gluten-free tamari for peace of mind.
- Dissolve Sugar First: Mix the brown sugar with the rice vinegar and mirin before heating—this prevents clumping and guarantees a smooth, syrupy consistency without stirring forever.
Serving Suggestions for This gluten free japanese bbq sauce
Grilled Proteins
Brush this glaze onto chicken thighs or salmon fillets during the last 5 minutes of grilling. The sugars caramelize beautifully, creating that signature sticky coating. I like to reserve ¼ cup for basting and another ¼ cup for serving on the side. 🔥
Vegetable Pairings
Toss eggplant slices or asparagus spears in the sauce before roasting at 400°F for 15-20 minutes. The umami depth transforms simple veggies into restaurant-worthy sides. Works great with portobello mushrooms too.
Rice Bowls
Drizzle over steamed jasmine rice with grilled proteins and quick-pickled vegetables. I add 1 tbsp to each bowl—just enough to coat without overwhelming. Garnish with sesame seeds and sliced scallions.
Dipping Sauce
Serve as a dip for spring rolls or dumplings. Thin with 1-2 tsp warm water if needed for easier dipping. The balanced sweet-savory profile pairs perfectly with crispy or steamed apps.
Marinade Base
Use as a marinade for tofu or beef skewers—marinate for at least 2 hours (overnight for maximum flavor). The tamari and ginger tenderize while adding layers of complexity. 💛
Finishing Touch
Drizzle over ramen noodles or udon just before serving. A little goes a long way—start with 1 tsp per bowl and adjust to taste. The glossy sheen makes any dish look gourmet.
Nutrition Facts

Trained in classic French technique but raised on slow-cooked ribs and spicy rubs, she blends culinary skill with smoke and soul.
- Recipe for Boneless Pork Chops in Cast Iron Skillet: Sear and Baste to Juicy Perfection - October 3, 2026
- Recipe for Boneless Cross Rib Roast: Slow-Roasted Beef with Herb Crust - October 3, 2026
- Hamburgers in Sauce Recipe Crock Pot: Slow-Cooked Savory Delight - October 3, 2026