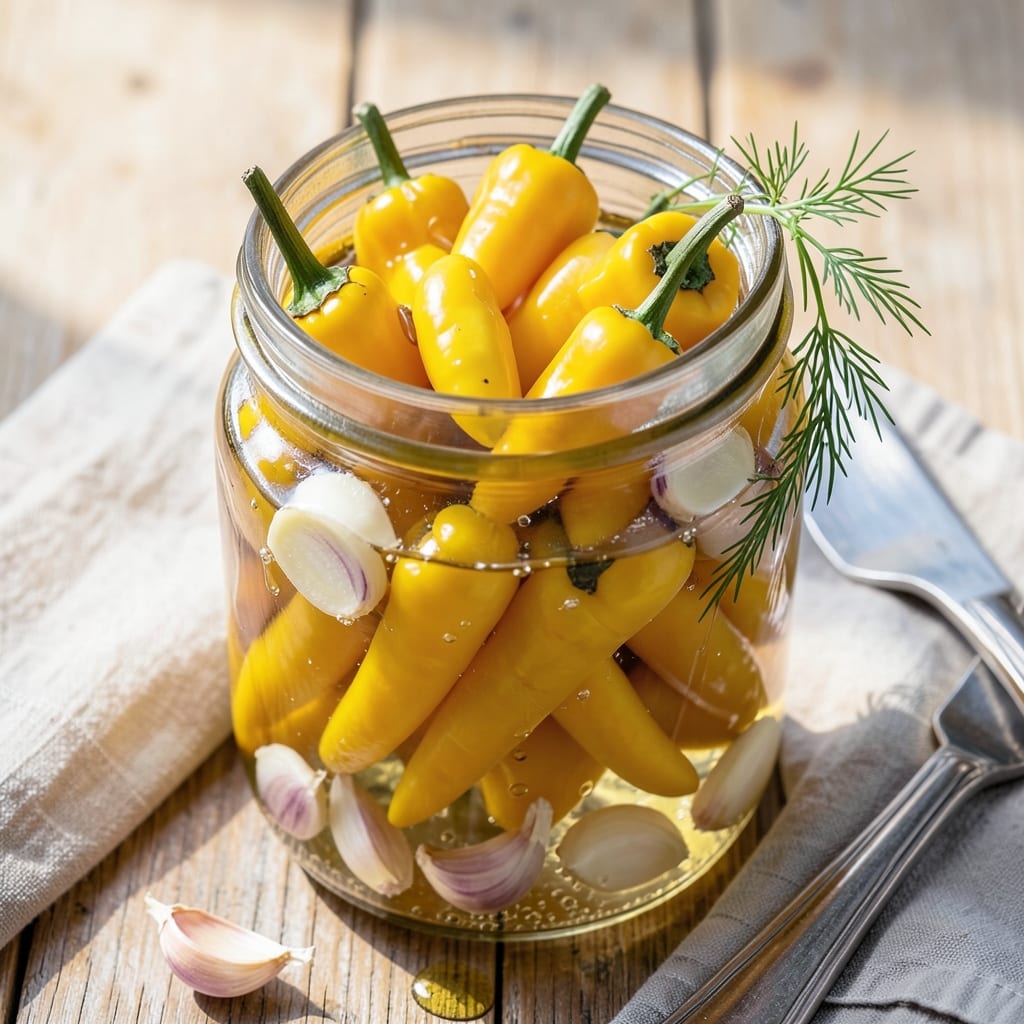
Late nights in the test kitchen taught me that perfect pickled peppers require balance between tang and crunch. This method delivers restaurant-quality results with simple ingredients and precise technique.
The brining process transforms fresh peppers into crisp, tangy delights that elevate any meal. I developed this recipe after chatting with farmers market vendors about their preservation secrets.
You’ll achieve consistent flavor and texture every time with this foolproof vinegar-brining approach. The peppers maintain their vibrant color and satisfying snap for weeks in the jar.
Serve as a garnish, snack, or antipasto component. The technique works for both mild and hot pepper varieties.
Ingredients for Greek Pepperoncini
Fresh peppers, vinegar, and a handful of spices create these tangy, crisp brined delights.
| Ingredient | Amount | Notes |
|---|---|---|
| Pepperoncini Peppers 🌶️ | 1 ½ lb | Fresh, whole, stems intact |
| White Vinegar 💧 | 3 cups | 5% acidity standard |
| Water 💧 | 1 cup | Filtered preferred |
| Kosher Salt 🧂 | 2 tbsp | Diamond Crystal brand |
| Granulated Sugar 🍚 | 2 tbsp | Dissolves quickly in brine |
| Garlic Cloves 🧄 | 6 cloves | Peeled, lightly crushed |
| Dried Oregano 🌿 | 1 tbsp | Greek or Mediterranean variety |
| Black Peppercorns 🌶️ | 1 tsp | Whole, not ground |
| Bay Leaves 🍃 | 2 whole | Fresh or dried |
| Mustard Seeds 🌿 | 1 tsp | Yellow or brown variety |
| Dried Red Pepper Flakes 🔥 | ½ tsp | Adjust for heat preference |
| Extra-Virgin Olive Oil 🫒 | ¼ cup | For finishing, optional garnish |
[recipe_ingredient_scaler]
The pepperoncini quality cannot be overstated—select firm, glossy peppers from a reputable grocer or farmers market. Avoid any with soft spots or wrinkled skins. Diamond Crystal kosher salt is the professional standard for brining due to its pure flavor and consistent grain size. For oregano, seek out Greek or Mediterranean varieties at specialty spice shops like Penzeys for authentic flavor.
Fresh out of pepperoncini? Banana peppers or jalapeños work well as substitutes, though flavor profiles will vary. No whole peppercorns? Pre-ground black pepper at half the amount suffices, but whole delivers superior aroma. For a sweeter brine, apple cider vinegar replaces white vinegar effectively. The garlic can be sliced thinly if crushing feels cumbersome.
Brined peppers keep their vibrant color and crunch for 4-6 weeks refrigerated in sealed jars. The brine itself remains potent for 3 months if kept submerged. For best results, use glass jars with airtight lids and store in the coldest part of your refrigerator.
Why You’ll Love This Recipe
- 5-Minute Prep: I just toss the peppers with vinegar, water, salt, and sugar—no chopping, no fuss.
- Bright Tangy Crunch: The vinegar and sugar balance turns these peppers into a zesty, slightly sweet bite I can’t stop snacking on.
- Fridge Staple: I keep a jar on hand for salads, sandwiches, or straight from the jar when I need a quick flavor punch.
- Pantry Friendly: A pound of pepperoncinis costs pennies and makes multiple batches, so I always have some ready.
Step-by-Step Instructions for Greek Pepperoncini
This traditional brining method transforms fresh peppers into tangy, crisp condiments with authentic Mediterranean flavor.
Step 1: Prepare the Pepperoncini Peppers
Begin by thoroughly washing the 1.5 lb Pepperoncini Peppers under cool running water to remove any dirt or debris. Leave the stems intact as they add visual appeal and help maintain the peppers’ shape during brining.
Using a sharp paring knife, make a small 1/4-inch slit lengthwise along each pepper, just enough to allow the brine to penetrate without splitting the pepper completely. This step ensures the peppers absorb the full flavor profile of the brine mixture.
Step 2: Create the Brine Solution
In a medium saucepan, combine the 3 cups White Vinegar, 1 cup Water, 2 tbsp Kosher Salt, and 2 tbsp Granulated Sugar. Heat over medium-high heat until the sugar and salt dissolve completely, stirring occasionally.
Remove from heat before it reaches a boil—you want the brine hot enough to dissolve the dry ingredients but not so hot it cooks the peppers. The solution should be clear with no visible grains of salt or sugar, typically taking 3-4 minutes to achieve.
Step 3: Add Aromatics and Spices
To the warm brine, add the 6 cloves Garlic Cloves, 1 tbsp Dried Oregano, 1 tsp Black Peppercorns, 2 whole Bay Leaves, 1 tsp Mustard Seeds, and 0.5 tsp Dried Red Pepper Flakes. Stir to combine and let the mixture sit for 5 minutes to allow the spices to begin infusing the liquid.
The garlic should be lightly crushed to release its oils, while the peppercorns and mustard seeds should remain whole to maintain their integrity during the brining process. The oregano and red pepper flakes will create a visible layer on the surface, which is normal.
Step 4: Combine and Begin Brining
Place the prepared Pepperoncini Peppers in a clean, heatproof glass jar or non-reactive container. Pour the hot brine mixture over the peppers, ensuring they are completely submerged. Use a small plate or fermentation weight to keep them below the liquid surface if needed.
Let the mixture cool to room temperature, which typically takes 45-60 minutes. As it cools, you’ll notice the peppers begin to change from bright green to a slightly duller shade, indicating the brining process has begun. The liquid should remain clear with visible spices suspended throughout.
Step 5: Finish and Store
Once cooled, drizzle the 0.25 cup Extra-Virgin Olive Oil over the top of the peppers and brine. This creates a protective layer that helps preserve freshness and adds a rich, silky mouthfeel to the finished product.
Seal the container and refrigerate for at least 24 hours before serving to allow the flavors to fully develop. The peppers will become increasingly tangy and crisp over time, reaching optimal flavor after 3-4 days. Store in the refrigerator for up to 3 months, where they will continue to mature in flavor.
Pro Tips For Making Greek Pepperoncini
- Slice Evenly: Cut the pepperoncini into uniform 1/4-inch rings so they pickle at the same rate—I learned this the hard way after ending up with some mushy and some under-pickled pieces.
- Boil the Brine: Bring the vinegar, water, salt, and sugar to a rolling boil for 2 minutes to fully dissolve the grains and prevent cloudy brine.
- Cool Completely: Always let the brine cool to room temperature before pouring over the peppers, or they’ll turn soft and lose their crisp bite.
- Use Kosher Salt: Stick with kosher salt instead of table salt—it dissolves cleanly and won’t leave a metallic taste in your pepperoncini.
Common Mistakes When Making Perfect Results
Skipping the Slit
I learned the hard way that skipping the 1/4-inch slit in each pepper means the brine can’t properly penetrate. Your peppers will stay bland on the inside while the outside gets all the flavor. This small step makes a huge difference in taste distribution. 💡
Overheating the Brine
Boiling your brine ruins the texture of the peppers. Heat just until the 2 tbsp salt and 2 tbsp sugar dissolve completely, then remove from heat. The ideal temperature is 180-190°F—hot enough to dissolve but not scald the peppers.
Using Wrong Containers
Metal containers react with the vinegar and can impart off-flavors. Always use glass jars or food-grade plastic. I prefer wide-mouth mason jars for easy packing and checking on the peppers during the 24-hour initial brining period.
Incomplete Submersion
Any part of the pepper exposed to air can develop mold. Use a fermentation weight or small plate to keep all peppers under the brine surface. Check daily for the first week to ensure everything stays submerged.
Rushing the Process
While you can eat them after 24 hours, the flavors truly develop after 3-4 days. I tested batches at different intervals and found the tang really comes alive at the 72-hour mark. Patience pays off with better taste.
Ignoring Pepper Quality
Wrinkled or soft peppers won’t crisp up properly in the brine. Select firm, glossy Pepperoncini Peppers from your farmers market. The better the starting pepper, the crisper and more flavorful your final product will be. 🌟
Nutrition Facts
Frequently Asked Questions
How long do these need to brine before eating?
You can sample after 24 hours, but optimal flavor develops after 3-4 days. The tang intensifies over time, reaching peak taste at the 72-hour mark.
Can I use different types of peppers?
Yes! Banana peppers or jalapeños work well as substitutes. Adjust the red pepper flakes to match your preferred heat level. The technique remains the same.
What’s the best way to store these?
Use glass jars with airtight lids and refrigerate. They’ll keep for 3 months if fully submerged in brine. Check weekly to ensure peppers stay below the liquid surface.
Why did my peppers turn soft?
Soft peppers usually mean overheating the brine or using low-quality produce. Always heat to 180-190°F max and start with firm, glossy peppers.

Trained in classic French technique but raised on slow-cooked ribs and spicy rubs, she blends culinary skill with smoke and soul.
- Recipe for Boneless Pork Chops in Cast Iron Skillet: Sear and Baste to Juicy Perfection - October 3, 2026
- Recipe for Boneless Cross Rib Roast: Slow-Roasted Beef with Herb Crust - October 3, 2026
- Hamburgers in Sauce Recipe Crock Pot: Slow-Cooked Savory Delight - October 3, 2026