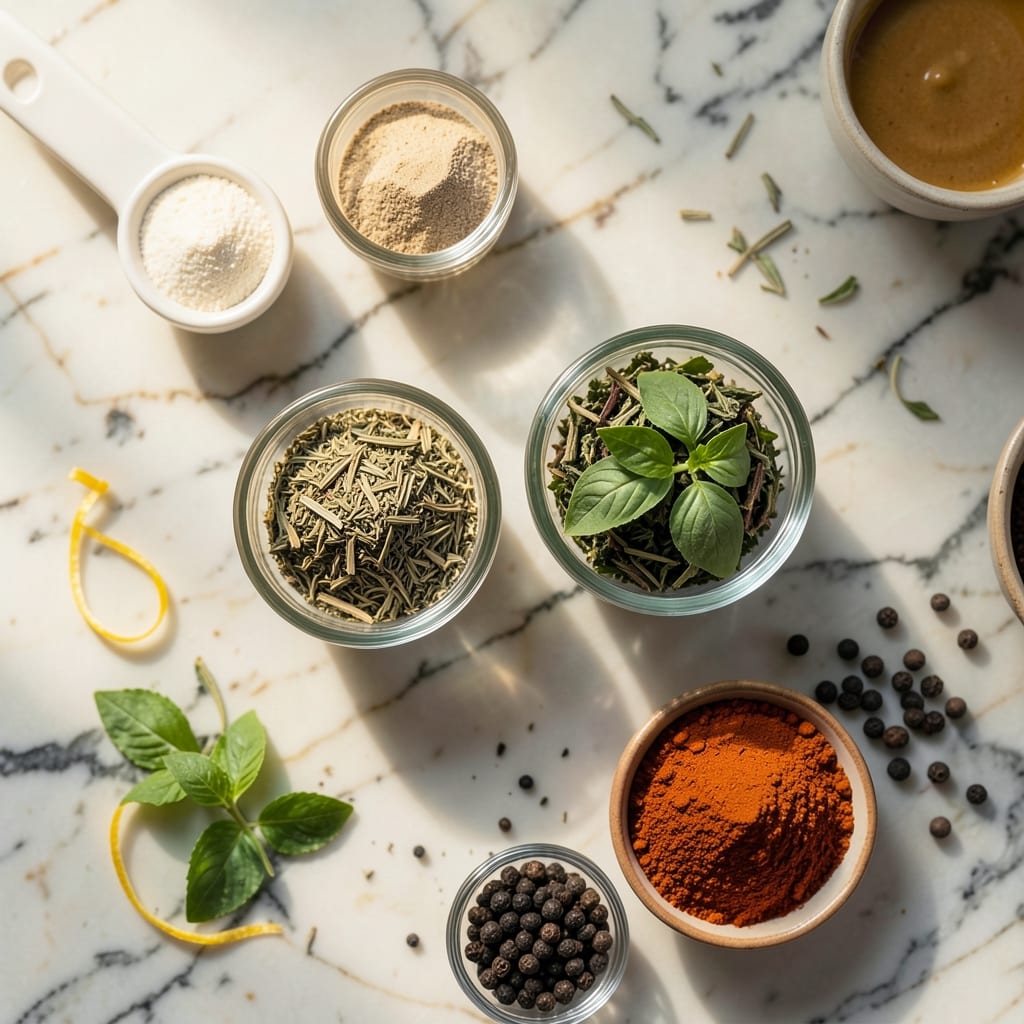
Nothing beats the crispy skin and smoky depth of properly grilled chicken legs. This method delivers that perfect char while keeping the meat juicy and tender throughout.
I’ve refined this technique through years of pitmaster experience, ensuring consistent results every time. The key is patience and proper heat management to achieve that ideal texture.
Ingredients for Grill Chicken Legs
These essential ingredients create perfectly charred, juicy grilled chicken legs with minimal effort.
| Ingredient | Amount | Notes |
|---|---|---|
| Chicken Legs 🍗 | 8 pieces | Skin-on, drumsticks and thighs separated |
| Kosher Salt 🧂 | 2 tbsp | Diamond Crystal preferred for texture |
| Black Pepper 🌶️ | 2 tsp | Freshly ground, coarse |
| Smoked Paprika 🌶️ | 1 ½ tsp | Sweet or hot variety |
| Garlic Powder 🧄 | 1 ½ tsp | Not garlic salt |
| Onion Powder 🧅 | 1 ½ tsp | Fresh ground preferred |
| Dried Oregano 🍃 | 1 tsp | Mediterranean oregano ideal |
| Dried Thyme 🌿 | 1 tsp | Rubbed between fingers to release oils |
| Olive Oil 🫒 | 2 tbsp | Extra-virgin for richness |
| Apple Cider Vinegar 🍏 | 1 tbsp | Balances smoky seasoning |
| Brown Sugar 🍚 | 1 tbsp | Light or dark, packed |
| Lemon Wedges 🍋 | 4 pieces | For serving and brightness |
| Fresh Parsley 🌿 | ¼ cup | Chopped, for garnish |
[recipe_ingredient_scaler]
The chicken legs are non-negotiable—skin-on, bone-in for maximum flavor and that coveted crispy skin. Whole Foods or a trusted butcher will have the best selection. Look for pieces that are uniform in size (about 6-8 oz each) to ensure even cooking. The skin should be intact and not torn. If you find thighs still attached to drumsticks, separate them yourself for better heat penetration.
No smoked paprika? Regular paprika plus a pinch of liquid smoke works in a pinch. Brown sugar can be swapped for honey or maple syrup (though it won’t caramelize quite the same). Fresh herbs like rosemary or sage can replace the dried thyme—use triple the amount. The vinegar is flexible too; white wine or rice vinegar will add similar acidity.
Dry rub can be mixed 24 hours ahead and stored at room temperature. Chicken legs keep in the fridge for 2 days before cooking, or freeze for 3 months. Leftovers? Shred the meat for tacos or salads—it reheats surprisingly well.
Why You’ll Love This Recipe
- Set It and Forget It: I toss the legs with the spices, throw them on the grill, and let the heat do the work—no babysitting required.
- Smoky, Garlicky Bite: The smoked paprika and garlic powder give each bite that deep, savory kick I crave.
- Backyard BBQ Star: Honestly, these are my go-to for summer cookouts, but they’re just as good on a random weeknight.
- Budget-Friendly Feast: A pack of chicken legs costs pennies per serving, and leftovers (if there are any) taste even better the next day.
Step-by-Step Instructions for Grilled Chicken Legs
Master the technique for perfectly charred, juicy chicken with crispy skin every time.
Step 1: Season the Chicken Legs Thoroughly
In a large bowl, combine the 2 tbsp Kosher Salt, 2 tsp Black Pepper, 1.5 tsp Smoked Paprika, 1.5 tsp Garlic Powder, 1.5 tsp Onion Powder, 1 tsp Dried Oregano, and 1 tsp Dried Thyme. Rub this spice blend evenly over the 8 pieces Chicken Legs, ensuring every surface is coated. The coarse texture of Diamond Crystal salt will create a perfect crust.
Drizzle the 2 tbsp Olive Oil and 1 tbsp Apple Cider Vinegar over the seasoned chicken, then add the 1 tbsp Brown Sugar. Toss to coat evenly. The vinegar tenderizes the meat while the sugar promotes caramelization for that signature char. Let the chicken sit at room temperature for 30 minutes to absorb the flavors.
Step 2: Preheat and Prepare the Grill
Preheat your grill to medium-high heat (about 400-450°F). Clean the grates thoroughly with a grill brush to prevent sticking. For charcoal grills, bank the coals to one side to create both direct and indirect heat zones. This setup allows you to sear the chicken legs first, then finish cooking through without burning the skin.
Oil the grates lightly with a folded paper towel dipped in olive oil, using tongs to avoid burning your hands. This step ensures the skin won’t tear when you turn the chicken. The grill is ready when you can hold your hand 3-4 inches above the grates for only 3-4 seconds.
Step 3: Grill to Crispy Perfection
Arrange the chicken legs skin-side down on the grill over direct heat. Cover and cook for 8-10 minutes without moving them. You’ll see the edges start to char and the fat render out—this is the key to achieving crispy skin. Resist the urge to flip early; the skin must form a crust before releasing naturally from the grates.
Flip the chicken legs and move them to the indirect heat side of the grill. Cover and cook for an additional 15-20 minutes, turning occasionally, until the internal temperature reaches 165°F and the juices run clear. The skin should be deep golden brown and crispy, with smoky char marks from the grill.
Step 4: Rest and Garnish for Serving
Transfer the grilled chicken legs to a clean platter and let them rest for 5-10 minutes. This resting period allows the juices to redistribute, ensuring moist, tender meat. Tent loosely with foil if needed to keep warm, but avoid sealing tightly—this can steam the skin and ruin the crispiness you worked so hard to achieve.
Garnish with the 0.25 cup Fresh Parsley, chopped, and serve immediately with the 4 pieces Lemon Wedges on the side. The acidity from the lemon brightens the smoky flavors, while the parsley adds a fresh, herbal note to each bite.
Pro Tips For Making Grill Chicken Legs
- Start Hot, Finish Slow: Sear the chicken legs over direct high heat for 2-3 minutes per side, then move them to indirect heat to finish cooking. I learned this the hard way—burnt outside, raw inside is no one’s idea of a good meal.
- Dry the Skin First: Pat the chicken legs completely dry with paper towels before seasoning. Sounds weird, but it works: the spices stick better and you’ll get that crispy skin everyone fights over.
- Skip the Overcrowding: Leave at least an inch between each piece on the grill. After burning three batches, I finally figured out that steam from crowded chicken just boils it instead of grilling.
- Rest Before Serving: Give the chicken legs a solid 5-10 minutes under foil after grilling. My grandmother swore by this, and she was right: the juices redistribute and every bite stays moist.
Storing and Reheating Leftovers
Refrigerator Storage
Let your grilled chicken legs cool for no more than 2 hours before transferring to airtight containers. I use Pyrex glass containers with locking lids. Store at 40°F or below for up to 4 days. The flavors actually deepen as the spices continue to meld. ❄️
Freezer Storage
For longer storage, freeze grilled chicken legs for up to 3 months without quality loss. I recommend vacuum-sealed bags or heavy-duty freezer bags with all air pressed out. Leave ½ inch headspace for expansion. Label with the date—trust me, you’ll forget otherwise.
Stovetop Reheating
This is my preferred method for maintaining crispiness. Heat a cast iron skillet over medium heat for 3-4 minutes, then add chicken legs skin-side down. Cover and warm for 5-7 minutes, turning once. The skin will re-crisp beautifully. 🔥
Oven Reheating
Preheat oven to 375°F. Place chicken legs on a wire rack over a baking sheet to allow air circulation. Heat for 10-12 minutes until internal temperature reaches 165°F. This method works well for larger batches.
Cold Serving Option
Grilled chicken legs are surprisingly delicious cold. Shred the meat for salads or wraps, or serve whole with a drizzle of olive oil and lemon juice. I often pack them for picnics along my coastal motorcycle rides.
Nutrition Facts

Trained in classic French technique but raised on slow-cooked ribs and spicy rubs, she blends culinary skill with smoke and soul.
- Recipe for Boneless Pork Chops in Cast Iron Skillet: Sear and Baste to Juicy Perfection - October 3, 2026
- Recipe for Boneless Cross Rib Roast: Slow-Roasted Beef with Herb Crust - October 3, 2026
- Hamburgers in Sauce Recipe Crock Pot: Slow-Cooked Savory Delight - October 3, 2026