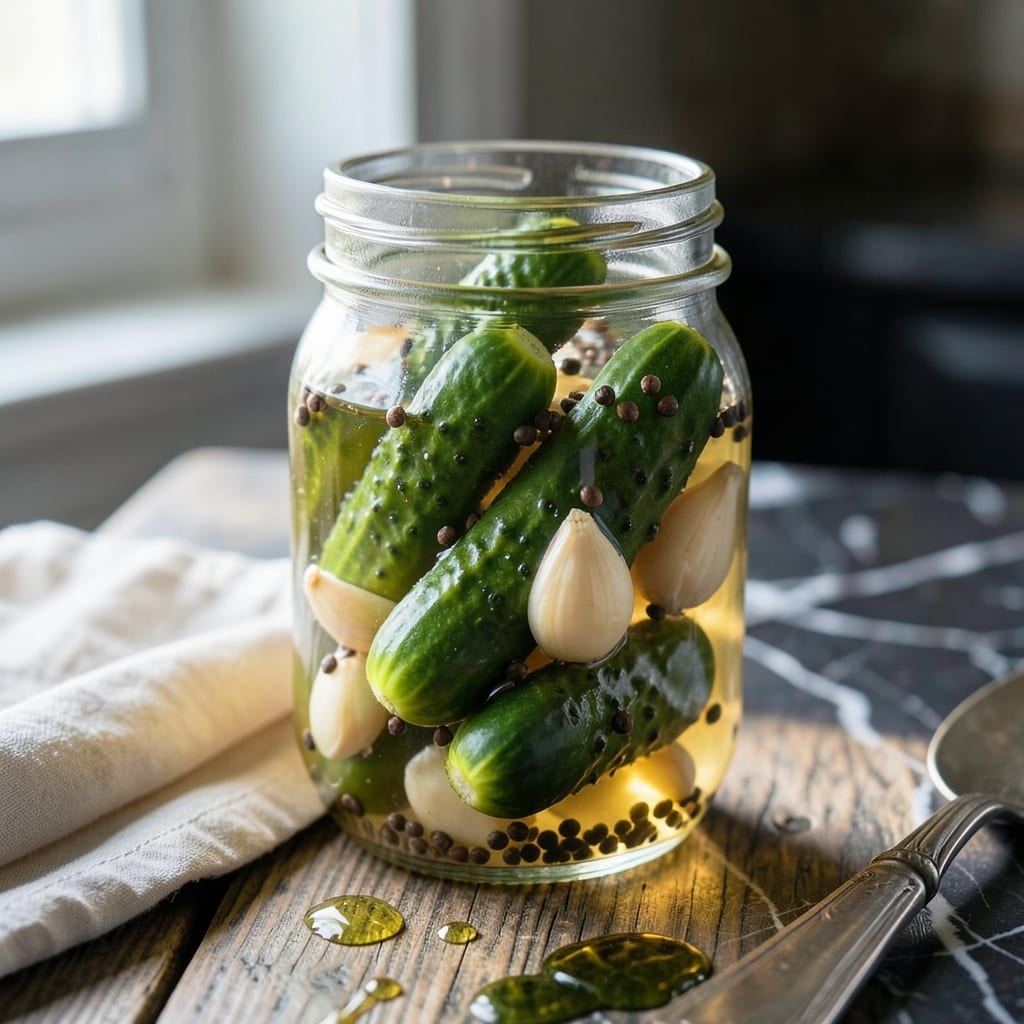
This grilling method transforms ordinary beans into something extraordinary with smoky depth and charred edges. The high heat caramelizes natural sugars while maintaining crisp-tender texture.
I developed this technique after years of competing in local BBQ events, perfecting the balance between fire and finesse. The result is a side dish that stands out on any table.
Ingredients for Grilled Beans
Fresh green beans meet fire and smoke for a side that steals the show every time.
| Ingredient | Amount | Notes |
|---|---|---|
| Fresh Green Beans 🌱 | 1 ½ lb | Trimmed, uniform length preferred |
| Extra-Virgin Olive Oil 🫒 | 3 tbsp | High smoke point preferred |
| Smoked Paprika 🌶️ | 1 tsp | Spanish variety for authenticity |
| Garlic Powder 🧄 | 1 tsp | Not garlic salt substitute |
| Onion Powder 🧅 | ½ tsp | Fresh ground preferred |
| Sea Salt 🧂 | 1 tsp | Fine grain for even coating |
| Black Pepper 🌶️ | ½ tsp | Freshly ground for best flavor |
| Lemon Zest 🍋 | 1 tsp | Finely grated for brightness |
| Lemon Juice 🍋 | 1 tbsp | Freshly squeezed for acidity |
| Maple Syrup 🍁 | 1 tbsp | Pure grade A for caramelization |
| Cayenne Pepper 🔥 | ¼ tsp | Optional for heat adjustment |
| Fresh Parsley 🌿 | ¼ cup | Chopped, for garnish |
[recipe_ingredient_scaler]
The green beans are non-negotiable—fresh, firm pods with vibrant color. Farmers markets in peak season offer the best, but supermarket produce sections work if you inspect carefully. Look for beans that snap crisply when bent. The olive oil must handle high heat; California Olive Ranch is a reliable grocery store option. Smoked paprika from Penzeys delivers authentic BBQ depth.
No fresh green beans? Frozen works in a pinch—thaw and pat completely dry first. Short on smoked paprika? Half the amount of chipotle powder adds similar smokiness. Maple syrup can be swapped for agave, but avoid honey. The lemon zest brightens the charred flavors— Meyer lemons if you can find them. Cayenne is optional, but a pinch elevates the dish.
Prep the beans just before grilling—they wilt quickly. Stored properly in a perforated bag in the fridge, fresh beans keep for 5-7 days. Leftovers taste even better the next day as flavors meld. Reheat briefly on the grill or in a hot pan to revive the char.
Why You’ll Love This Recipe
- One Pan Magic: I just toss fresh green beans with olive oil, smoked paprika, and a shake of garlic and onion powder—no fuss, no extra dishes.
- Smoky Depth: That smoked paprika gives the beans a rich, almost barbecue-like flavor that’s way more interesting than plain steamed greens.
- Weeknight Hero: Honestly, it’s my go-to side for busy evenings—pairs with chicken, fish, or even a quick pasta dish.
- Budget Stretcher: A pound of green beans costs pennies, and this transforms them into something special without breaking the bank.
Step-by-Step Instructions for Grilled Beans
Master the technique for perfectly charred beans with smoky, caramelized edges every time.
Step 1: Prepare and Season the Fresh Green Beans
Begin by trimming the 1.5 lb Fresh Green Beans to uniform length for even cooking. Pat them completely dry with a clean towel—excess moisture prevents proper charring and can cause steaming instead of grilling.
In a large bowl, toss the dried beans with 3 tbsp Extra-Virgin Olive Oil, 1 tsp Smoked Paprika, 1 tsp Garlic Powder, 0.5 tsp Onion Powder, 1 tsp Sea Salt, and 0.5 tsp Black Pepper. Use your hands to ensure every bean is evenly coated with the oil and spices.
Step 2: Grill Over Direct Heat for Charred Edges
Preheat your grill to medium-high heat. Arrange the seasoned beans in a single layer directly on the grill grates. Cook undisturbed for 4-5 minutes until you see char marks forming and the edges begin to blacken slightly.
Use tongs to flip the beans, then cook for another 3-4 minutes until tender with visible grill marks. The beans should have a slight blister on the surface but still retain a crisp bite. If your grill runs hot, reduce the heat slightly to prevent burning before the beans cook through.
Step 3: Finish with Sweet and Tangy Glaze
Transfer the grilled beans to a serving platter while still hot. Immediately drizzle with 1 tbsp Maple Syrup and 1 tbsp Lemon Juice, then sprinkle with 1 tsp Lemon Zest and 0.25 tsp Cayenne Pepper. Toss gently to distribute the glaze evenly.
The heat from the beans will cause the maple syrup to caramelize slightly, creating a glossy, sticky coating. The lemon zest and juice add brightness that balances the smoky char, while the cayenne introduces a subtle, lingering heat.
Step 4: Garnish and Serve Immediately
Sprinkle the beans with 0.25 cup Fresh Parsley just before serving. The parsley adds a pop of color and fresh herbal note that complements the deep, smoky flavors from the grill.
Serve the beans hot, while the charred edges are still crisp. The contrast between the tender beans, caramelized glaze, and fresh parsley makes this dish unforgettable. Leftovers can be reheated briefly on the grill to restore some of the char, but they’re best enjoyed fresh.
Pro Tips For Making Grilled Beans
- Pre-cook the Beans: Blanch the green beans in boiling water for 2 minutes before grilling to soften them just enough—I learned this the hard way after serving undercooked, crunchy beans to guests.
- Coat Evenly: Toss the beans in about 2 tablespoons of olive oil before seasoning so the smoked paprika, garlic powder, and onion powder actually stick instead of falling through the grill grates.
- Use a Grill Basket: Skip the skewers and use a perforated grill basket—it keeps the beans from slipping into the fire and makes flipping a breeze, even if it looks a little bulky.
- Season Twice: Sprinkle half the spices before grilling and the rest right after pulling them off the heat; the second dose adds a fresh pop of flavor that makes a real difference.
Storing and Reheating Leftovers
Refrigerator Storage
Let your grilled beans cool completely before storing. Place them in an airtight container with a paper towel to absorb excess moisture. They’ll keep in the fridge for up to 4 days, and honestly, the flavors deepen overnight. ❄️
Freezer Storage
For longer storage, spread cooled beans on a baking sheet to freeze individually first. Then transfer to a freezer bag with all air removed. They’ll maintain quality for 3 months. I always label with the date—trust me, it’s easy to forget.
Stovetop Reheating
Heat a cast-iron skillet over medium-high heat and add the beans in a single layer. Cook for 3-4 minutes, stirring occasionally, until heated through and slightly charred again. A splash of water prevents sticking.
Grill Reheating
For that fresh-off-the-grill taste, reheat beans on a medium-hot grill for 2-3 minutes per side. Watch closely—they can burn quickly. A light brush of olive oil helps revive the char. 🔥
Microwave Option
Place beans on a microwave-safe plate, cover with a damp paper towel, and heat on high for 1-2 minutes. Stir and repeat if needed. This works in a pinch but loses some texture.
Reviving Leftovers
If your beans seem dry after storage, toss them with a little lemon juice and maple syrup before reheating. The acidity and sweetness bring back that fresh-grilled brightness.
Nutrition Facts

Trained in classic French technique but raised on slow-cooked ribs and spicy rubs, she blends culinary skill with smoke and soul.
- Recipe for Boneless Pork Chops in Cast Iron Skillet: Sear and Baste to Juicy Perfection - October 3, 2026
- Recipe for Boneless Cross Rib Roast: Slow-Roasted Beef with Herb Crust - October 3, 2026
- Hamburgers in Sauce Recipe Crock Pot: Slow-Cooked Savory Delight - October 3, 2026