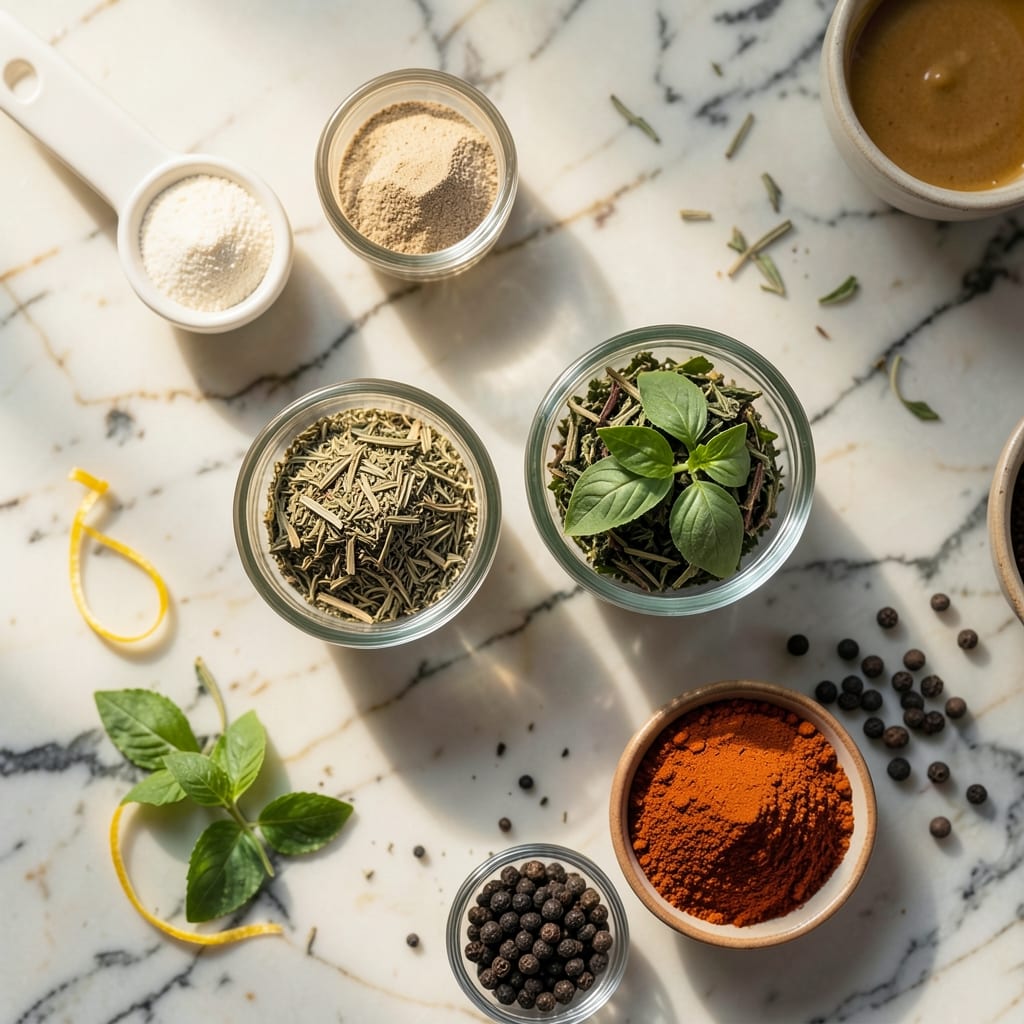
This upright grilling method delivers crispy skin and juicy meat every time. I developed this technique by combining classic French roasting principles with my pitmaster experience.
The beer can keeps the chicken moist while the vertical position allows heat to circulate evenly. You’ll achieve perfectly cooked meat with a golden, crispy exterior that’s impossible to resist.
Ingredients for Grilled Beer Can Chicken
A whole bird, a cold beer, and a handful of spices. That’s the magic combo.
| Ingredient | Amount | Notes |
|---|---|---|
| Whole Chicken 🍗 | 4 lb | Giblets removed, patted dry |
| Beer 🍺 | 12 oz | Any light lager or pilsner |
| Kosher Salt 🧂 | 1 ½ tbsp | Diamond Crystal preferred |
| Black Pepper 🌶️ | 1 tbsp | Freshly ground coarse |
| Garlic Powder 🧄 | 1 tbsp | Not garlic salt |
| Onion Powder 🧅 | 1 tbsp | Fresh and pungent |
| Smoked Paprika 🌶️ | 1 tsp | For depth of flavor |
| Dried Thyme 🌿 | 1 tsp | Crushed between fingers |
| Dried Rosemary 🌿 | 1 tsp | Crushed between fingers |
| Cayenne Pepper 🔥 | ½ tsp | Adjust to heat preference |
| Olive Oil 🫒 | 2 tbsp | For coating chicken skin |
| Lemon 🍋 | 1 whole | Zested and juiced |
| Brown Sugar 🧈 | 1 tbsp | Light or dark variety |
[recipe_ingredient_scaler]
The chicken is the star here—4 lb birds work best for this method. Look for one with smooth, unblemished skin (that’ll get crispy). I grab mine from Whole Foods or Costco—their birds are consistent and the price is right. The beer? Nothing fancy: a light lager or pilsner does the trick. Half the can goes inside the chicken, the rest is for the chef (that’s you).
No beer? Apple cider or chicken broth works in a pinch (use a can for stability). Swap fresh garlic and onion for the powders if you’ve got time to mince. If you’re out of smoked paprika, regular paprika plus a pinch of liquid smoke gets you close. The sugar can be skipped, but it helps the skin caramelize. And yes, you can use a different herb blend—poultry seasoning at half the amount works great.
This is best eaten fresh off the grill, but leftovers keep 3-4 days in the fridge. Reheat in the oven to keep the skin crispy. The rub works on chicken pieces too—just adjust cooking time. Don’t skip the resting step (worth the extra minute).
Why You’ll Love This Recipe
- Set and Forget: It’s just seasoning the chicken, plopping it on the can, and letting the grill do the work.
- Juicy Every Time: The beer steams the inside while the garlic powder and pepper crisp up the skin.
- Backyard Star: I’ve served this at summer BBQs and casual Sunday dinners with equal success.
- Leftovers for Days: One chicken gives us sandwiches, tacos, and a quick soup base—no waste.
Step-by-Step Instructions for Grilled Beer Can Chicken
Here’s how I get that perfectly crispy skin and juicy meat every time.
Step 1: Prep the Chicken with a Flavorful Dry Rub
Pat the 4 lb Whole Chicken completely dry inside and out with paper towels. I can’t stress this enough—moisture is the enemy of crispy skin. In a small bowl, mix the 1.5 tbsp Kosher Salt, 1 tbsp Black Pepper, 1 tbsp Garlic Powder, 1 tbsp Onion Powder, 1 tsp Smoked Paprika, 1 tsp Dried Thyme, 1 tsp Dried Rosemary, and 0.5 tsp Cayenne Pepper.
Rub this spice blend all over the chicken, making sure to get it under the skin and into the cavity. I like to massage it in really well so every bite is packed with flavor. Let the seasoned chicken sit at room temperature for 30 minutes while you prep the grill.
Step 2: Prepare the Beer Can Setup
Pour out about ¼ cup of the 12 oz Beer (this prevents spillage on the grill). Add the zest and juice from the 1 whole Lemon and the 1 tbsp Brown Sugar to the beer. Stir until the sugar dissolves—this creates a sweet-tart steam that infuses the chicken as it cooks.
Drizzle the 2 tbsp Olive Oil over the chicken skin and rub it in to help the seasoning adhere and promote browning. Now, carefully lower the chicken onto the beer can so it sits upright. The can should fit snugly inside the cavity.
Step 3: Grill Over Indirect Heat
Set up your grill for indirect heat. For a charcoal grill, bank the coals on one side. For gas, turn off the center burner(s) and leave the outer ones on. Preheat to 375°F. Place the beer can chicken in the center of the grill, away from direct heat. Close the lid.
Cook for 1 hour to 1 hour 15 minutes, maintaining the temperature as close to 375°F as possible. Don’t peek too often—every time you open the lid, you lose heat and add to the cooking time. You’re looking for internal temperature of 165°F in the breast and 175°F in the thigh.
Step 4: Rest and Serve
When the chicken reaches temperature, carefully remove it from the grill using tongs and a spatula (it’s hot and wobbly!). Place it on a cutting board or platter. Let it rest for 10 minutes—this allows the juices to redistribute so every bite is moist and flavorful.
To serve, lift the chicken off the beer can (use caution—it’s hot and may still have liquid inside). Carve and serve immediately. The skin should be deep golden brown and crispy, while the meat stays incredibly juicy. The aroma alone will have everyone gathered around the table before you even finish carving.
Pro Tips For Making Grilled Beer Can Chicken
- Preheat the Grill: I learned this the hard way—crank your grill to medium-high (around 375°F) before the chicken goes on, or you’ll end up with uneven cooking and a sad, pale skin.
- Pat the Chicken Dry: Sounds tedious, but it works: dry the chicken inside and out with paper towels before seasoning. It guarantees crispy skin instead of steamed, soggy disappointment.
- Skip the Full Beer: Resist the urge to use a full can—half the beer is plenty. Any more just makes the chicken wobble and risks spilling hot liquid when you move it.
- Let It Rest: After pulling it off the grill, tent the chicken with foil and give it a solid 10 minutes. My grandmother swore by this, and she was right: it keeps all the juices from running onto the cutting board.
Creative Variations of These Flavors
Herb-Infused Variation
Swap the dried herbs for 2 tbsp fresh rosemary and 2 tbsp fresh thyme from my farmers market. I forage wild rosemary along the coast sometimes—its piney aroma takes this to another level. The fresh herbs give a brighter, more vibrant flavor profile. 🌿
Spicy Kick Version
Add 1 tbsp chili powder and 1 tsp chipotle powder to the rub mix for a smoky heat. I also like tossing in ½ tsp ground cumin for depth. Use a spicy beer like Sierra Nevada Pale Ale to complement the heat.
Citrus Zing Twist
Zest an additional orange and lime into your beer can along with the lemon. The triple citrus creates an incredibly aromatic steam. I first tried this at a local BBQ competition—it won me second place!
Sweet and Smoky
Increase the brown sugar to 2 tbsp and add 1 tbsp honey to the beer can. This creates a beautiful caramelized glaze on the skin. The sweetness balances perfectly with the smoked paprika in the rub.
Mediterranean Style
Replace the beer with 12 oz chicken broth and add 1 tsp dried oregano plus 1 tsp dried basil to your rub. The herbs give it that classic Mediterranean flair I love from my French training days.
Apple Cider Option
Use 12 oz apple cider instead of beer for a non-alcoholic version. Add 1 cinnamon stick and 2 cloves to the can for warmth. This is my go-to when cooking for the whole family. 🍏
Nutrition Facts

Trained in classic French technique but raised on slow-cooked ribs and spicy rubs, she blends culinary skill with smoke and soul.
- Recipe for Boneless Pork Chops in Cast Iron Skillet: Sear and Baste to Juicy Perfection - October 3, 2026
- Recipe for Boneless Cross Rib Roast: Slow-Roasted Beef with Herb Crust - October 3, 2026
- Hamburgers in Sauce Recipe Crock Pot: Slow-Cooked Savory Delight - October 3, 2026