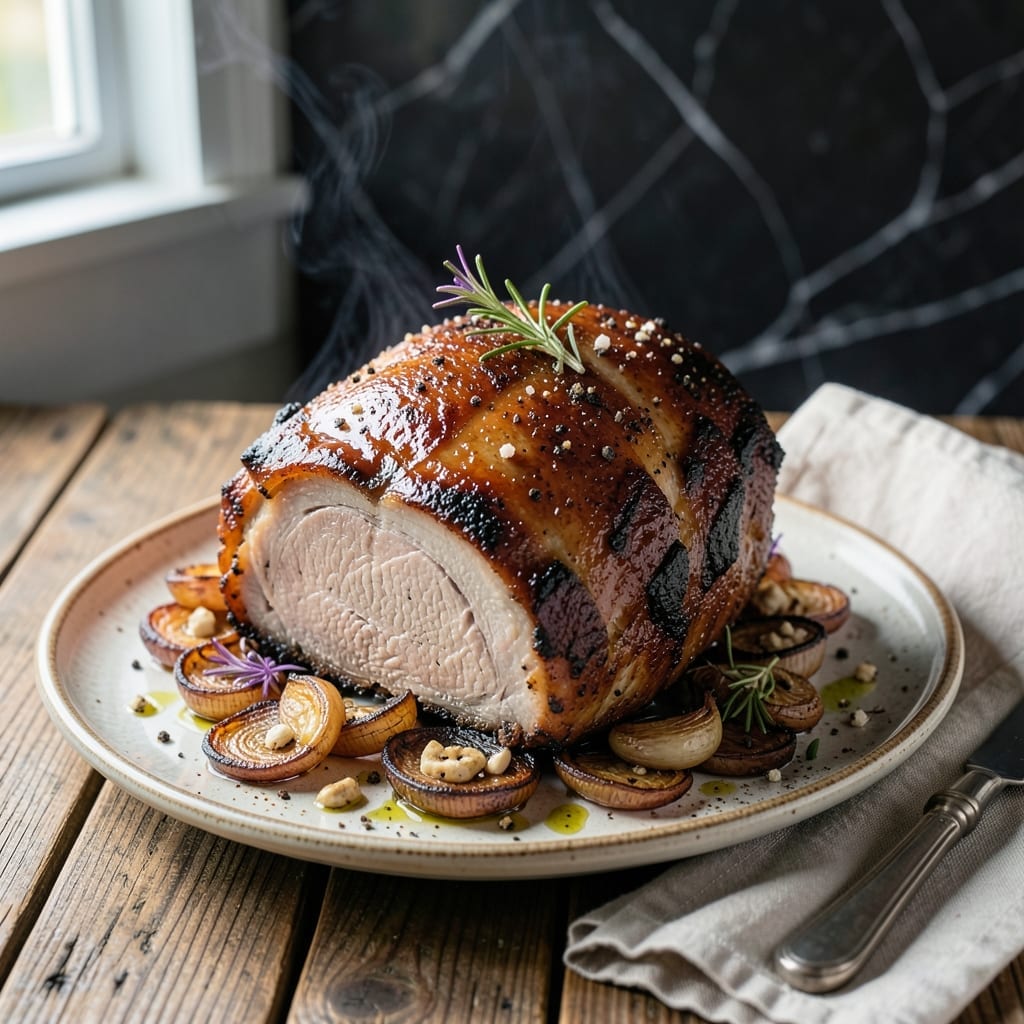
There’s nothing like the aroma of hickory smoke kissing a pork roast on the grill. This method delivers tender meat with a crispy bark that crackles with every bite.
I’ve spent years refining this technique, blending low-and-slow heat with a simple spice rub. The key is patience—letting the smoke work its magic while the fat renders down.
What you’ll get is fall-apart pork with a deep, smoky flavor and a mahogany crust that’s worth the wait. No shortcuts here, just proven pitmaster results.
Serve it sliced or shredded, with pickles and white bread to soak up every last drop of juices.
Ingredients for Grilled Boston Butt Pork Roast
Pantry spices and a quality pork shoulder create that signature smoky, crispy magic.
| Ingredient | Amount | Notes |
|---|---|---|
| Boston Butt Pork Roast 🥩 | 4 lb | Bone-in, untied, fat cap intact |
| Hickory Wood Chunks 🪵 | 4 pieces | For smoking, soaked 1 hour |
| Coarse Kosher Salt 🧂 | 2 tbsp | Diamond Crystal preferred |
| Freshly Ground Black Pepper 🌶️ | 1 tbsp | Coarse grind for bark |
| Garlic Powder 🧄 | 1 tbsp | Not garlic salt |
| Onion Powder 🧅 | 1 tbsp | Fine grind for even coating |
| Smoked Paprika 🌶️ | 1 tbsp | Sweet or hot variety |
| Brown Sugar 🍚 | ½ cup | Light or dark, packed |
| Mustard Powder 🟡 | 1 tsp | For tang and crust formation |
| Cayenne Pepper 🔥 | ½ tsp | Adjust for heat preference |
| Apple Cider Vinegar 💧 | ½ cup | For spritzing during cook |
| Yellow Mustard 🟡 | ¼ cup | Binder for rub adhesion |
| Olive Oil 🫒 | 2 tbsp | For initial searing |
[recipe_ingredient_scaler]
The pork is everything here. Boston butt (despite the name, it’s shoulder) has the fat marbling needed for that fall-apart texture. Costco or Sam’s Club have great prices for 8-10 lb cryovac packs—just portion and freeze what you don’t need. Look for bone-in with a thick fat cap; it renders down beautifully during the long cook. Most butchers will leave it untied if you ask nicely.
No hickory? Apple or cherry wood adds a sweeter note that pairs well with pork. Out of brown sugar? Raw or turbinado sugar works in a pinch (just pulse it fine). The mustard powder can be swapped for Dijon powder if that’s what’s in your spice drawer. For the vinegar spritz, white vinegar with a teaspoon of sugar mimics the tang. Don’t skip the fat cap—it’s your insurance for moist meat.
Rub keeps in an airtight container for up to 3 months, but the pork is best cooked fresh. Leftovers? Shred and freeze for 3 months—perfect for sandwiches. The wood chunks can be reused once if they’re still mostly intact (just check for mold).
Why You’ll Love This Recipe
- I’ll be real: the pulled pork sandwiches I make with the leftovers might be even better the next day.
- Set It and Forget: I just season the butt with salt, pepper, and garlic powder, then let the grill do the work with hickory smoke.
- Smoky Perfection: That hickory wood gives the pork this deep, rich flavor that’s honestly hard to beat.
- Feeds the Crew: One Boston butt roast easily serves a big group, and it’s just as good for Sunday dinner as it is for a backyard party.
Step-by-Step Instructions for Grilled Boston Butt Pork Roast
Master the technique for achieving that ideal balance of smoky depth and crispy exterior.
Step 1: Prepare the Pork Roast and Apply the Rub
Pat the 4 lb Boston Butt Pork Roast completely dry with paper towels, ensuring the fat cap remains intact. This step is crucial for rub adhesion and bark formation. I like to let the roast sit at room temperature for 30 minutes while I prepare the rub.
In a bowl, combine the 2 tbsp Coarse Kosher Salt, 1 tbsp Freshly Ground Black Pepper, 1 tbsp Garlic Powder, 1 tbsp Onion Powder, 1 tbsp Smoked Paprika, 0.5 cup Brown Sugar, 1 tsp Mustard Powder, and 0.5 tsp Cayenne Pepper. Mix thoroughly until the brown sugar is fully incorporated and the mixture is uniform.
Generously apply the rub to all surfaces of the pork roast, pressing it into the meat so it adheres well. The 0.25 cup Yellow Mustard can be used as a binder—brush it lightly over the roast before applying the rub for better coverage. Let the seasoned roast sit for 15-20 minutes to allow the rub to penetrate slightly.
Step 2: Set Up the Grill for Indirect Heat and Smoke
Prepare your grill for indirect heat by banking the coals to one side or using only one burner on a gas grill. Soak the 4 pieces Hickory Wood Chunks in water for at least 1 hour before use to ensure they smolder rather than burn. Place the soaked wood chunks directly on the hot coals or in a smoker box.
Preheat the grill to 250-275°F—this low-and-slow approach is essential for tender pork. Place a drip pan filled with water on the opposite side of the heat source to catch drippings and maintain moisture. You want to see thin, blue smoke (not thick white smoke) rising from the wood.
Once the grill is stable at the target temperature and producing clean smoke, you’re ready to start cooking. Keep the grill lid closed as much as possible to maintain consistent heat and smoke flow.
Step 3: Smoke the Pork Roast to Perfection
Place the roast fat-side up on the grill grate over the drip pan, away from direct heat. Insert a meat thermometer into the thickest part of the roast, avoiding the fat cap. Smoke the pork for 4-5 hours or until the internal temperature reaches 165°F—this is when the stall typically begins.
During the cook, spritz the roast every 60-90 minutes with the 0.5 cup Apple Cider Vinegar to keep the surface moist and enhance bark formation. This step is critical for achieving that crispy exterior. If the grill temperature drops below 225°F, add more fuel or adjust the burners to maintain steady heat.
Resist the urge to peek or flip the roast. The fat cap should be facing up throughout the cook to baste the meat naturally. You’ll know the bark is forming when it develops a deep mahogany color and a slightly tacky texture.
Step 4: Finish with a Sear and Rest for Optimal Tenderness
Once the roast reaches an internal temperature of 195-203°F, it’s ready to come off the grill. The pork should be probe-tender, meaning a thermometer or skewer slides in with little to no resistance, like butter. This typically takes 8-10 hours total, depending on your grill’s consistency.
For an extra layer of flavor, brush the roast lightly with the 2 tbsp Olive Oil and move it directly over the hot coals for 2-3 minutes per side to develop a deeper crust. Watch closely to avoid burning the bark you’ve worked so hard to create.
Transfer the roast to a cutting board, tent loosely with foil, and let it rest for 30-45 minutes. This resting period allows the juices to redistribute, ensuring moist, tender meat. The internal temperature will rise 5-10°F during this time—this is normal and expected.
Slice against the grain or pull the pork apart for serving. The result should be incredibly tender with a crispy, flavorful bark that captures the essence of smoke and spice.
Pro Tips For Making Grilled Boston Butt Pork Roast
- Dry the Roast First: Pat the Boston butt completely dry with paper towels before seasoning—it guarantees the rub sticks better and forms a proper bark while grilling.
- Use a Two-Zone Fire: Set up your grill with hot coals on one side and none on the other, so you can sear over direct heat then move it to indirect for slow cooking with hickory smoke.
- Skip the Over-Trimming: I learned this the hard way—leave a thin layer of fat on the roast; it renders down during grilling and keeps the meat juicy, especially with a tough cut like Boston butt.
- Rest Before Slicing: Tent the roast under foil for at least 15 minutes after grilling—it lets the juices redistribute, so they don’t all spill out when you cut into it.
Wine and Beer Pairings for grilled boston butt pork roast
Bold Red Wines
For this smoky creation, I love a full-bodied Zinfandel from California’s Dry Creek Valley. Its jammy fruit and peppery notes complement the pork’s richness. Ravenswood Old Vine is my go-to—I always keep a bottle on hand for grill days. 🍷
Fruity Whites
A crisp Viognier with its stone fruit and floral notes cuts through the fat beautifully. Try Yalumba from Australia. The wine’s natural acidity refreshes your palate between bites of tender, spice-rubbed meat.
Dark Beer Pairings
Nothing beats a Porter with chocolate and coffee undertones. Deschutes Black Butte is perfect—its roasty character mirrors the grill’s smokiness. Serve slightly chilled to enhance its smoothness. 🍺
Light Beer Options
A Hefeweizen with banana and clove esters offers a refreshing contrast. Weihenstephaner from Germany is ideal. The wheat beer’s effervescence cleanses your palate after each smoky, spicy bite.
Cider Alternative
For non-beer drinkers, a dry hard cider like Angry Orchard Traditional Dry works wonders. The apple notes echo the cider vinegar in the recipe, creating a harmonious pairing.
Nutrition Facts
Frequently Asked Questions
What’s the ideal internal temperature for tenderness?
Aim for 195-203°F internally. At this range, collagen breaks down into gelatin, giving you that fall-apart texture. Use a thermometer to check—probe-tender means it’s ready.
Can I use a gas grill instead of charcoal?
Set up for indirect heat with one burner off. Add wood chips in a smoker box for that essential smoke flavor. Maintain 250-275°F for the same low-and-slow result.
How do I prevent the bark from burning?
Keep your grill at a steady 250-275°F and avoid direct heat. Spritz with apple cider vinegar every 60-90 minutes to keep the surface moist. The bark will darken but shouldn’t char.
Why does the temperature stall around 165°F?
This is normal! The stall happens as moisture evaporates from the surface, cooling the meat. Be patient—it’ll push through after 1-2 hours. Wrapping in foil can speed it up.

Trained in classic French technique but raised on slow-cooked ribs and spicy rubs, she blends culinary skill with smoke and soul.
- Recipe for Fried Pork Chops With Flour: Crispy Crust and Juicy Centers - October 3, 2026
- Octopus Recipe Pan Fried: Crispy Edges With Tender Bites - October 3, 2026
- Recipe For Fried Pork Chops In An Iron Skillet: Crispy Crust With Juicy Centers - October 3, 2026