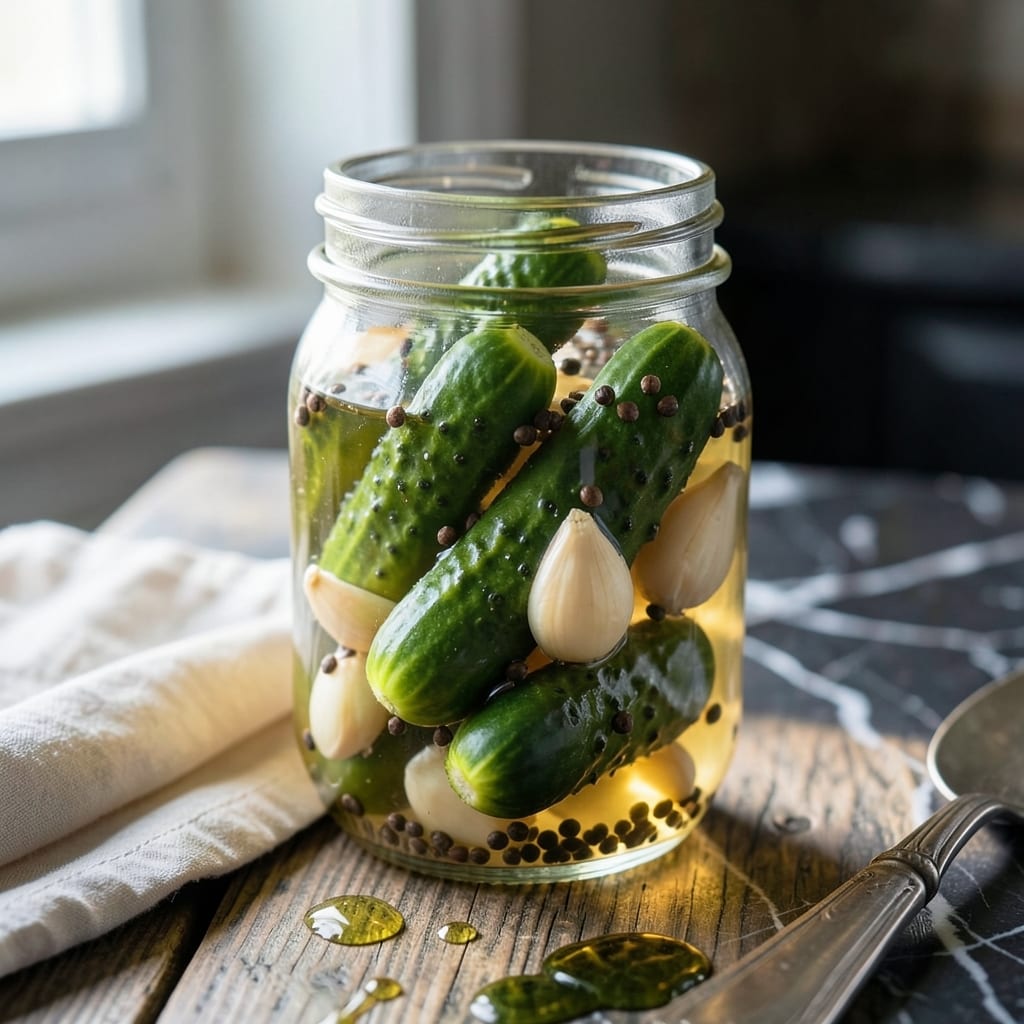
This simple brine solution transforms ordinary chicken into juicy, flavorful masterpieces on the grill. The salt water penetrates the meat, locking in moisture before cooking begins.
With just a few ingredients and 12 hours of soaking time, you’ll achieve restaurant-quality results every time. The process is straightforward, but the impact on texture and taste is undeniable.
Ingredients for Grilled Chicken Brine
Nine ingredients create this flavor-infusing brine for perfectly juicy grilled chicken.
| Ingredient | Amount | Notes |
|---|---|---|
| Water 💧 | 4 cups | Cold, filtered preferred |
| Kosher Salt 🧂 | ½ cup | Diamond Crystal brand preferred |
| Granulated Sugar 🍚 | ¼ cup | Balances saltiness in brine |
| Black Peppercorns 🌶️ | 1 tbsp | Lightly crushed for infusion |
| Garlic Cloves 🧄 | 4 cloves | Smashed to release flavor |
| Fresh Rosemary Sprigs 🌿 | 2 whole | Stems intact for easy removal |
| Fresh Thyme Sprigs 🍃 | 4 whole | Optional but recommended |
| Lemon Slices 🍋 | 2 slices | Thin, for subtle citrus note |
| Bay Leaves 🍂 | 2 whole | Dried, for aromatic depth |
[recipe_ingredient_scaler]
The salt is critical—Diamond Crystal kosher salt dissolves cleanly and delivers consistent results. Use filtered water if your tap has a strong taste (chlorine can affect flavor). Fresh herbs like rosemary and thyme add depth, but dried work in a pinch at one-third the quantity. Most supermarkets carry everything needed; Whole Foods has excellent bulk spice options for the peppercorns.
No kosher salt? Table salt at half the volume works, but measure carefully—it’s denser. Skip the sugar if you prefer, though it helps balance the salt’s intensity. Out of fresh herbs? Dried bay leaves and garlic powder still infuse flavor. The lemon can be swapped for lime or orange for variation (just avoid bitter pith).
This brine keeps refrigerated for 24 hours before use. Discard after brining—never reuse. The aromatics lose potency after 12 hours, so plan accordingly for optimal flavor infusion.
Why You’ll Love This Recipe
- 5-Minute Mix: I toss the salt, sugar, peppercorns, and garlic into hot water and it’s ready before the grill heats up.
- Juicy Every Time: The brine locks in moisture so the chicken stays tender, and that garlic-kissed crust is ridiculously good.
- Meal Prep Hero: I brine a batch on Sunday and grill through the week—dinner’s half done before I walk in the door.
- Pantry Staples: Water, salt, sugar, and a few spices I always have on hand mean I can make this without a grocery run.
Step-by-Step Instructions for Grilled Chicken Brine
This method ensures maximum flavor penetration and moisture retention for perfect grilled chicken.
Step 1: Combine Water with Salt and Sugar
In a large pot, pour in the 4 cups Water and set it over medium-high heat. Add the 0.5 cup Kosher Salt and 0.25 cup Granulated Sugar, then stir until both are completely dissolved in the liquid.
This creates the base solution that will both season the meat and help it retain moisture during grilling. The sugar balances the saltiness while aiding in caramelization on the grill.
Step 2: Toast and Infuse Aromatics
Add the 1 tbsp Black Peppercorns to the pot and toast for 1 minute to release their essential oils. Then add the 4 cloves Garlic Cloves, 2 whole Fresh Rosemary Sprigs, 4 whole Fresh Thyme Sprigs, 2 slices Lemon Slices, and 2 whole Bay Leaves.
Reduce heat to medium and allow the mixture to steep for 5 minutes. This infuses the brine with layered aromatic flavors that will penetrate the chicken.
Step 3: Cool the Brine Completely
Remove the pot from heat and let the brine cool to room temperature. This is critical—submerging chicken in hot brine would begin cooking it prematurely and result in dry, overcooked meat.
For faster cooling, you can place the pot in an ice bath or divide the liquid between two containers. The brine must be fully cool before using, which typically takes 30-45 minutes at room temperature.
Step 4: Submerge and Refrigerate the Chicken
Place your chicken in a brining bag or container large enough to hold both the meat and the brine. Pour the cooled solution over the chicken, ensuring it is fully submerged.
Seal and refrigerate for 4-12 hours. The longer the chicken brines, the more pronounced the seasoning will be, but don’t exceed 12 hours as the salt can begin to break down the meat’s texture.
Pro Tips For Making Grilled Chicken Brine
- Chill the Brine: Always refrigerate your brine before using— lukwarm water can start cooking the chicken and turn the texture mushy. I learned this the hard way after a batch came out stringy.
- Smash the Garlic: Lightly crush the garlic cloves before adding to the brine to release more flavor without making the brine bitter. Sounds weird, but it works.
- Don’t Over-Salt: Stick to the kosher salt measurement—it’s less salty by volume than table salt. After ruining a batch with table salt, I finally figured out why my chicken tasted like the ocean.
- Brine 4-12 Hours: Give it at least 4 hours for noticeable juiciness, but don’t exceed 12 or the chicken starts to taste like a salt lick. I skip this when I’m lazy, but the dish is noticeably better when I don’t.
Troubleshooting This Dish
Brine Too Salty
If your brine tastes overly salty, you likely used too much salt or didn’t dissolve it completely. I recommend using Diamond Crystal kosher salt as it dissolves evenly. For a quick fix, dilute with an extra 1 cup water and taste again. 💡
Chicken Floaters
When chicken floats to the top, it won’t brine evenly. Use a heavy plate or a brining bag with a zip-top to keep it submerged. I weigh mine down with a mason jar filled with water—works like a charm.
Cloudy Brine
Cloudiness usually comes from undissolved salt or impurities in tap water. Switch to filtered water and ensure the salt fully dissolves before adding aromatics. This keeps your brine clear and your chicken flavor clean.
Short on Time
If you’re in a rush, you can brine for as little as 2 hours, but the flavor won’t penetrate as deeply. For best results, I’d still aim for at least 4 hours—any less and you’re just skimming the surface.
Brine Not Cooling
Never add chicken to warm brine. Speed up cooling by dividing the brine into shallow containers or setting the pot in an ice bath. I’ve found that 30 minutes in the freezer (stirring occasionally) does the trick. ❄️
Herbs Too Strong
If your brine tastes too herbal, reduce the rosemary and thyme to 1 sprig each. Or, remove the aromatics after 4 hours of brining to prevent over-infusion. Balance is key—you want hint, not overload.
Nutrition Facts

Trained in classic French technique but raised on slow-cooked ribs and spicy rubs, she blends culinary skill with smoke and soul.
- Recipe for Boneless Pork Chops in Cast Iron Skillet: Sear and Baste to Juicy Perfection - October 3, 2026
- Recipe for Boneless Cross Rib Roast: Slow-Roasted Beef with Herb Crust - October 3, 2026
- Hamburgers in Sauce Recipe Crock Pot: Slow-Cooked Savory Delight - October 3, 2026