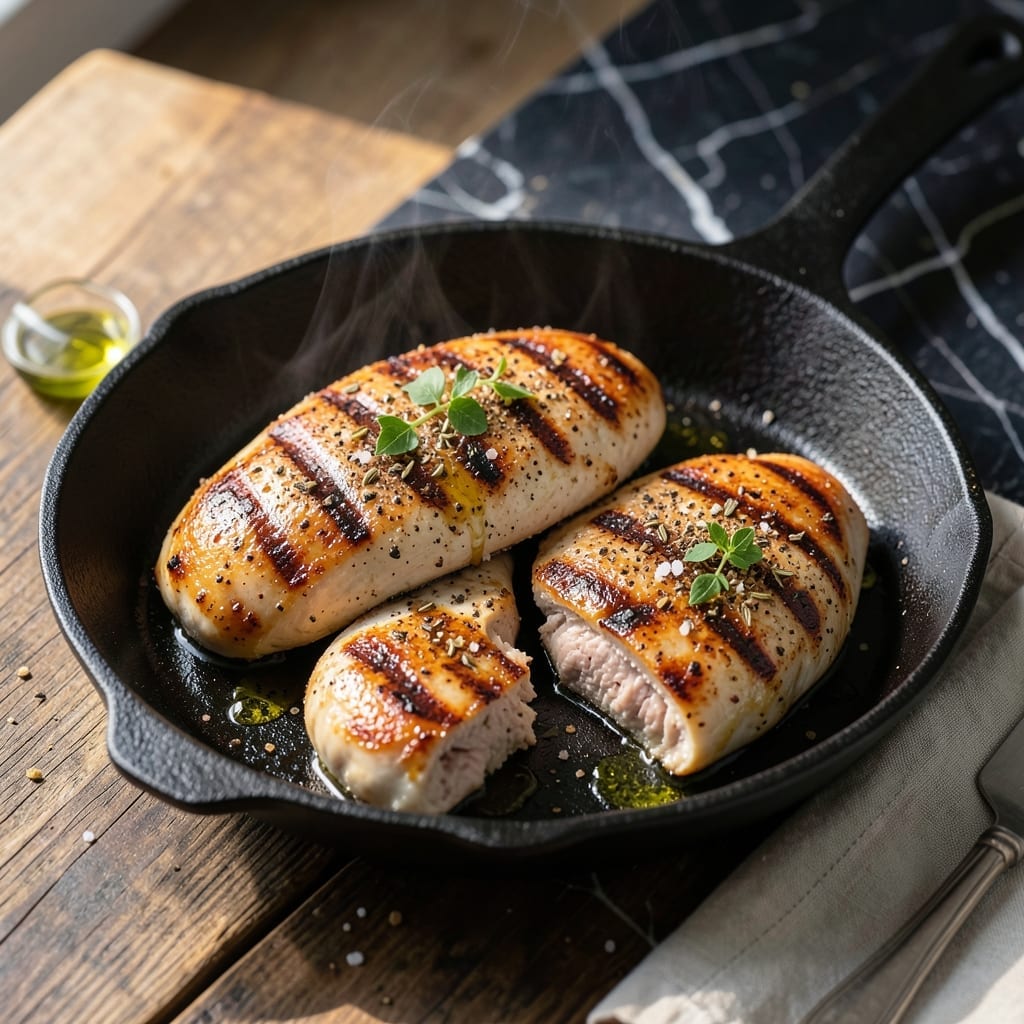
Achieving juicy chicken with a golden crust on your stovetop is absolutely possible with the right technique. I’ve perfected this method through years of testing, ensuring every bite stays tender and flavorful.
This approach delivers restaurant-quality results at home, using simple ingredients and precise timing. The key is controlling the heat to sear the outside while keeping the inside perfectly moist.
Ingredients for Grilled Chicken Recipe on Stove
Simple ingredients deliver restaurant-quality pan-seared chicken with juicy centers and golden crust.
| Ingredient | Amount | Notes |
|---|---|---|
| Boneless, Skinless Chicken Breasts 🍗 | 1 ½ lb | Pounded to even thickness |
| Kosher Salt 🧂 | 1 ½ tsp | Diamond Crystal preferred |
| Freshly Ground Black Pepper 🌶️ | ½ tsp | Coarsely ground for texture |
| Garlic Powder 🧄 | 1 tsp | Not garlic salt substitute |
| Smoked Paprika 🌶️ | ½ tsp | For depth of flavor |
| Dried Oregano 🍃 | ½ tsp | Mediterranean variety preferred |
| Olive Oil 🫒 | 2 tbsp | High smoke point variety |
| Unsalted Butter 🧈 | 1 tbsp | For basting golden crust |
| Fresh Thyme Sprigs 🌿 | 4 sprigs | Optional for aromatics |
| Fresh Rosemary Sprigs 🌿 | 2 sprigs | Optional for aromatics |
| Lemon 🍋 | ½ whole | For finishing brightness |
[recipe_ingredient_scaler]
The chicken quality is paramount. Opt for air-chilled, antibiotic-free breasts from Whole Foods or your local butcher—avoid those pre-brined in solutions that dilute flavor. Pounding to even thickness ensures consistent cooking; aim for ¾-inch uniformity. Diamond Crystal kosher salt dissolves beautifully and seasons more evenly than table salt.
Need to swap herbs? Dried thyme at one-third the amount works, though fresh delivers superior aroma. No smoked paprika? Regular paprika plus a pinch of cayenne mimics the smokiness. If avoiding dairy, avocado oil replaces butter for basting. For extra juiciness, brine the chicken in salted water for 30 minutes before cooking.
Store raw chicken in its original packaging on the bottom fridge shelf—use within 2 days or freeze for 9 months. Cooked chicken keeps 4 days refrigerated. Always bring meat to room temperature before cooking for even doneness. The herbs can be wrapped in damp paper towels and stored 1 week in the crisper.
Why You’ll Love This Recipe
- No Oven Needed: I love that I can get that grilled char on stovetop with just a pan and these spices.
- Smoky Depth: The smoked paprika and garlic powder give it that authentic BBQ flavor without firing up the grill.
- Meal Prep Hero: I make a batch Sunday and it’s ready for salads, wraps, or pasta all week.
- Budget Stretcher: Boneless chicken breasts are affordable, and this recipe makes them taste way more expensive.
Step-by-Step Instructions for Grilled Chicken on Stove
This stovetop method delivers perfectly seared, tender chicken with minimal equipment and maximum flavor.
Step 1: Season and Prepare the Chicken Breasts
Pat the 1.5 lb boneless, skinless chicken breasts completely dry with paper towels. Even moisture prevents proper browning. Pound them to an even ¾-inch thickness using a meat mallet—this ensures uniform cooking.
In a small bowl, combine the 1.5 tsp kosher salt, 0.5 tsp freshly ground black pepper, 1 tsp garlic powder, 0.5 tsp smoked paprika, and 0.5 tsp dried oregano. Rub this mixture evenly over all surfaces of the chicken. I always press the seasoning in firmly so it adheres during cooking.
Step 2: Preheat the Skillet and Add Aromatics
Place a heavy skillet (cast iron works best) over medium-high heat until hot. Add the 2 tbsp olive oil and swirl to coat the pan evenly. The oil should shimmer but not smoke—if it smokes, your heat is too high.
Add the 4 sprigs fresh thyme and 2 sprigs fresh rosemary to the skillet, then place the chicken in the pan. The herbs will infuse the oil with aroma as the chicken cooks. Leave space between pieces to prevent steaming—crowding the pan is the enemy of a good sear.
Step 3: Sear and Baste for Maximum Flavor
Cook the chicken undisturbed for 5-6 minutes until golden brown and the meat releases easily from the pan. Resist the urge to move it—this develops the crust. Flip the chicken and immediately add the 1 tbsp unsalted butter to the skillet.
As the butter melts, tilt the pan slightly and use a spoon to baste the chicken with the foaming butter and herb-infused oil for 1-2 minutes. This basting technique adds rich flavor and helps cook the chicken through. Continue cooking for another 4-5 minutes until the internal temperature reaches 165°F.
Step 4: Rest and Finish with Citrus
Transfer the chicken to a cutting board and let it rest for 5 minutes. This allows the juices to redistribute, ensuring moist meat. During this time, squeeze the 0.5 whole lemon over the chicken—just 1-2 teaspoons of juice adds bright acidity without overpowering.
Slice the chicken against the grain into ½-inch thick pieces. The result should be juicy, tender meat with a beautifully browned exterior. Serve immediately while hot, with any pan juices spooned over the top for extra flavor.
Pro Tips For Making Grilled Chicken Recipe On Stove
- Pound the Breasts: Use a meat mallet to even out the thickness to ½ inch—this guarantees they cook through without drying out the thin edges. I learned this the hard way after too many dry, rubbery ends.
- Heat the Pan First: Get your skillet screaming hot before adding the chicken, about 2-3 minutes on medium-high. Sounds obvious, but skipping this means pale, steamed meat instead of that smoky grilled crust.
- Skip the Overcrowding: Resist the urge to fit all the pieces in at once—give each breast at least an inch of space so they sear instead of steam. After ruining a batch this way, I now cook in shifts if needed.
- Rest Under Foil: Tent the cooked chicken with foil and let it sit for 5-10 minutes before slicing. This keeps the juices inside where they belong—my grandmother swore by it, and she never served dry chicken.
Dietary Considerations for This Dish
Gluten-Free Friendly
This dish is naturally gluten-free since it relies on simple seasonings and fresh chicken. Just ensure your spices are pure and not mixed with any wheat-based fillers. I always check labels at my local butcher shop to confirm.
Low-Carb Option
With 0 grams of carbs per serving (excluding any sides), this recipe fits perfectly into low-carb or keto lifestyles. The protein keeps you full while the herbs and butter add rich flavor without any sugar.
Dairy-Free Adaptation
Skip the butter and use an additional 1 tbsp of olive oil for basting. The result will still be juicy and flavorful—just as tender as the original. I often do this for friends with dairy sensitivities.
Lower Sodium Version
Reduce the kosher salt to ½ tsp and skip added salt in any sides. The garlic powder and herbs still provide plenty of flavor. Fresh herbs can also boost taste without increasing sodium. 💡
Allergen Note
This recipe is free from the top 8 allergens if you use pure spices and fresh ingredients. Double-check spice blends for hidden allergens like soy or wheat, which sometimes appear in pre-mixed seasonings.
High-Protein Focus
Each serving delivers about 40 grams of protein from the chicken alone. This makes it ideal for muscle building or maintaining energy. I often pair it with a simple green salad for a complete, protein-packed meal. 💪
Nutrition Facts

Trained in classic French technique but raised on slow-cooked ribs and spicy rubs, she blends culinary skill with smoke and soul.
- Recipe for Boneless Pork Chops in Cast Iron Skillet: Sear and Baste to Juicy Perfection - October 3, 2026
- Recipe for Boneless Cross Rib Roast: Slow-Roasted Beef with Herb Crust - October 3, 2026
- Hamburgers in Sauce Recipe Crock Pot: Slow-Cooked Savory Delight - October 3, 2026