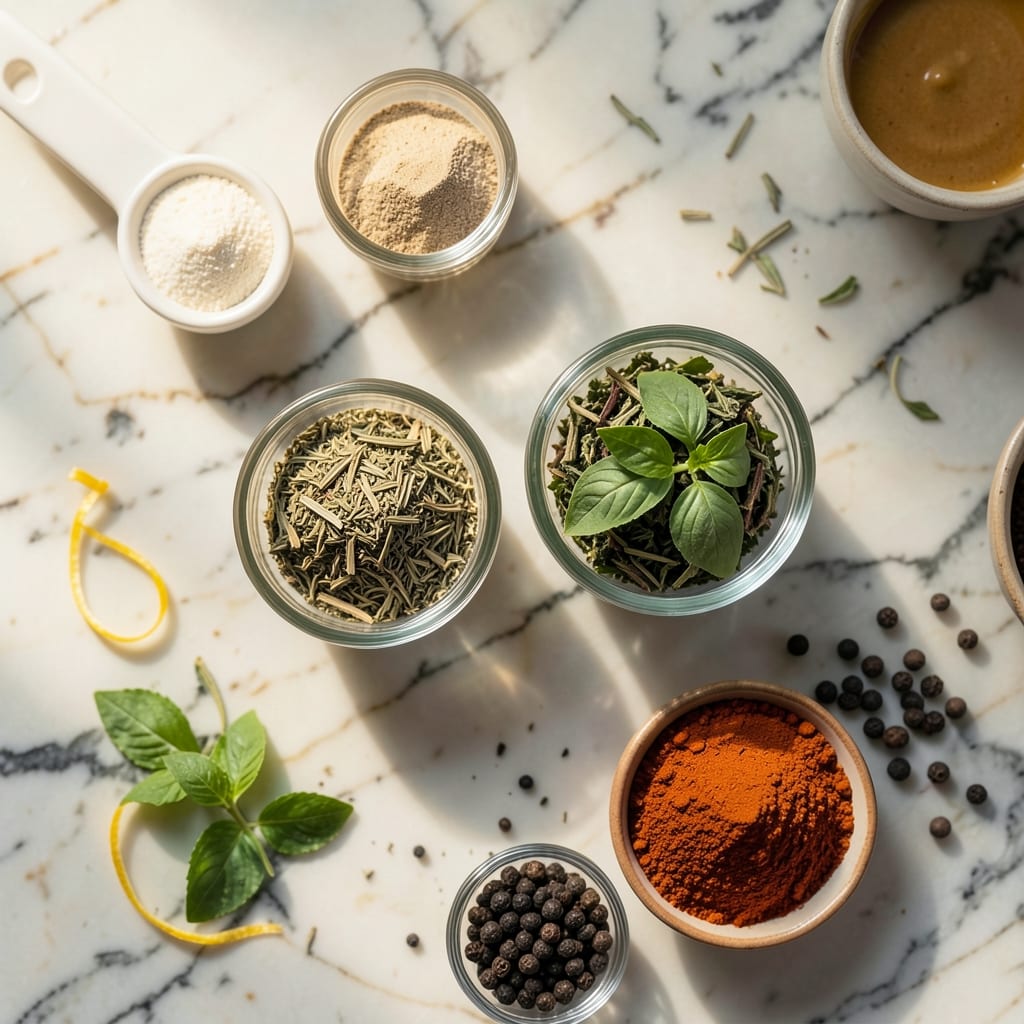
There’s nothing like the smoky char of perfectly grilled chicken strips fresh off the heat. My method ensures each piece stays juicy inside while developing that coveted crisp exterior.
I rely on a simple marinade and precise timing to deliver restaurant-quality results every time. The secret is in the balance of heat and patience, letting the flames work their magic without drying out the meat.
Ingredients for Grilled Chicken Strips
Pantry staples and fresh chicken deliver that smoky, juicy magic you crave.
| Ingredient | Amount | Notes |
|---|---|---|
| Boneless Skinless Chicken Breasts 🍗 | 1 ½ lb | Cut into 1-inch strips |
| Olive Oil 🫒 | ¼ cup | Extra-virgin for marinade |
| Soy Sauce 🥢 | 3 tbsp | Low-sodium preferred |
| Honey 🍯 | 2 tbsp | For caramelized char |
| Garlic Cloves 🧄 | 3 cloves | Minced finely |
| Lemon Juice 🍋 | 2 tbsp | Freshly squeezed |
| Worcestershire Sauce 🍶 | 1 tbsp | Adds depth to marinade |
| Smoked Paprika 🌶️ | 1 tsp | For smoky flavor |
| Dried Oregano 🌿 | 1 tsp | Mediterranean blend works |
| Salt 🧂 | 1 tsp | Kosher or sea salt |
| Black Pepper 🌶️ | ½ tsp | Freshly ground |
| Vegetable Oil 🫒 | 1 tbsp | High smoke point for grilling |
[recipe_ingredient_scaler]
The chicken is everything here. Boneless, skinless breasts give you the juiciest strips—thighs work but have a different texture. Look for pieces that are uniform in thickness (about 1-inch) so they cook evenly. I grab mine from Whole Foods or Costco—both have reliable quality. If your butcher offers air-chilled chicken, spring for it (less water retention, better sear).
No honey? Maple syrup or brown sugar at the same amount works fine. Out of soy sauce? Tamari or coconut aminos are solid swaps. The Worcestershire adds umami—leave it out if avoiding fish (it contains anchovies). Smoked paprika is key for that charred flavor, but regular paprika plus a pinch of cayenne gets you close. Fresh lemon juice is non-negotiable (bottled tastes flat).
Marinate the chicken for at least 2 hours (overnight is ideal). Grill immediately after marinating—don’t let it sit out. Leftovers keep 3-4 days in the fridge, but they’re best fresh off the grill. Freeze cooked strips for up to 3 months if needed.
Why You’ll Love This Recipe
- 20-Minute Marvel: Honestly, I can prep these while the grill heats up—just slice, toss in the soy-honey mix, and they’re ready faster than takeout.
- Sweet-Savory Magic: The honey and garlic caramelize on the grill, giving each strip that sticky, smoky depth I crave.
- Meal Prep MVP: I batch-cook these Sunday night and they’re perfect in salads, wraps, or straight from the fridge for three days.
- Budget-Friendly Protein: One pound of chicken breasts makes four generous servings, and the pantry staples cost pennies.
Step-by-Step Instructions for Grilled Chicken Strips
Here’s the method I swear by for juicy, char-kissed strips every single time.
Step 1: Marinate the Chicken Strips
In a large bowl, whisk together the 0.25 cup olive oil, 3 tbsp soy sauce, 2 tbsp honey, 2 tbsp lemon juice, 1 tbsp Worcestershire sauce, 1 tsp smoked paprika, 1 tsp dried oregano, 1 tsp salt, and 0.5 tsp black pepper until fully combined. The honey should dissolve into the liquid, leaving a glossy, well-blended marinade.
Add the 1.5 lb boneless skinless chicken breasts, cut into 1-inch strips, and the 3 cloves minced garlic cloves to the bowl. Toss to coat every piece evenly, pressing gently to ensure the marinade penetrates. Cover and refrigerate for at least 30 minutes—I often let it sit for 2 hours for deeper flavor.
Step 2: Preheat and Prep the Grill
Preheat your grill to medium-high heat (around 400°F). Clean the grates thoroughly with a grill brush to remove any residual debris. This prevents the chicken from sticking and ensures those beautiful grill marks.
Once the grill is hot, use tongs to oil the grates lightly with the 1 tbsp vegetable oil. The oil should sizzle on contact but not smoke excessively. This step creates a non-stick surface and adds a subtle char to the chicken as it cooks.
Step 3: Grill to Perfection
Remove the chicken strips from the marinade, letting any excess drip off. Arrange them on the grill in a single layer, ensuring each strip has direct contact with the grates. Cook for 4-5 minutes per side, resisting the urge to move them—this is how you get those perfect sear marks.
You’ll know they’re ready to flip when the edges turn opaque and the bottoms release easily. The chicken should reach an internal temperature of 165°F and have a slight char on the outside. If any pieces cook faster than others, move them to a cooler part of the grill to finish evenly.
Step 4: Rest and Serve
Transfer the grilled chicken strips to a clean plate and let them rest for 5 minutes. This allows the juices to redistribute throughout the meat, ensuring every bite stays moist and flavorful. The strips should glisten slightly, with a golden-brown crust and a hint of smokiness from the paprika.
Serve immediately while still warm. The chicken should be tender and juicy, with a subtle sweetness from the honey and a smoky depth from the grill. Pair with a fresh salad or your favorite dipping sauce for a meal that’s both satisfying and simple.
Pro Tips For Making Grilled Chicken Strips
- Prevent Dry Chicken: Pound the chicken breasts to an even 1/2-inch thickness before cutting into strips—this guarantees even cooking and juicy meat every time, no more dry ends and raw centers.
- Marinate Longer: Let the chicken soak in the soy-honey-garlic mix for at least 30 minutes (or up to 4 hours). I learned this the hard way—short marinating time means weak flavor.
- Oil the Grill First: Brush the grill grates with olive oil just before cooking. Sounds obvious, but it’s the only way to stop those skinny strips from sticking and tearing apart.
- Use High Heat: Crank the grill to medium-high and sear the strips for 2-3 minutes per side. After burning a few batches, I finally realized lower heat just steams them instead of grilling.
Storing and Reheating This Recipe
Refrigerator Storage
Let your strips cool completely before storing—I spread them on a wire rack to speed this up. Transfer to airtight containers or zip-top bags within 2 hours of cooking. They’ll keep in the fridge at 40°F or below for 3-4 days without losing moisture. ❄️
Freezer Method
For longer storage, flash-freeze strips on a baking sheet for 1 hour before transferring to freezer bags. This prevents them from sticking together. They’ll maintain quality for 3 months at 0°F. I always label bags with the date using masking tape.
Stovetop Reheating
My preferred method: warm strips in a skillet over medium heat with 1 tbsp water or chicken broth for 3-4 minutes, turning once. Cover the pan to trap steam. This keeps them juicy while restoring that just-grilled texture.
Microwave Option
Arrange strips on a microwave-safe plate, cover with a damp paper towel, and heat on 70% power for 1-2 minutes. Check and repeat in 30-second bursts until reaching 165°F. The towel prevents drying.
Oven Revival
Preheat oven to 350°F. Spread strips on a baking sheet, drizzle with 1 tsp olive oil, and heat for 8-10 minutes. This works best for larger batches. The oil helps recreate some of that original char.
Pro Tip
Reheated strips make great salad toppings or wrap fillings. I often chop them for quick chicken tacos—just warm the tortillas separately. The flavors actually deepen after a day in the fridge. 💡
Nutrition Facts

Trained in classic French technique but raised on slow-cooked ribs and spicy rubs, she blends culinary skill with smoke and soul.
- Recipe for Boneless Pork Chops in Cast Iron Skillet: Sear and Baste to Juicy Perfection - October 3, 2026
- Recipe for Boneless Cross Rib Roast: Slow-Roasted Beef with Herb Crust - October 3, 2026
- Hamburgers in Sauce Recipe Crock Pot: Slow-Cooked Savory Delight - October 3, 2026