Nothing beats the aroma of pita bread toasting over open flame, creating warm, pillowy pockets with perfect char marks. This method transforms store-bought pita into something extraordinary.
With just 2 minutes per side over medium-high heat, you’ll achieve restaurant-quality results. The heat creates a satisfying crispness while keeping the interior soft and flexible for stuffing.
Ingredients for Grilled Pita Bread
Minimal ingredients transform store-bought pita into something extraordinary with perfect char marks.
| Ingredient | Amount | Notes |
|---|---|---|
| Store-Bought Pita Bread 🥙 | 4 pieces | White or whole wheat rounds |
| Extra-Virgin Olive Oil 🫒 | 2 tbsp | For brushing, high quality |
| Garlic Cloves 🧄 | 2 cloves | Minced for flavor (optional) |
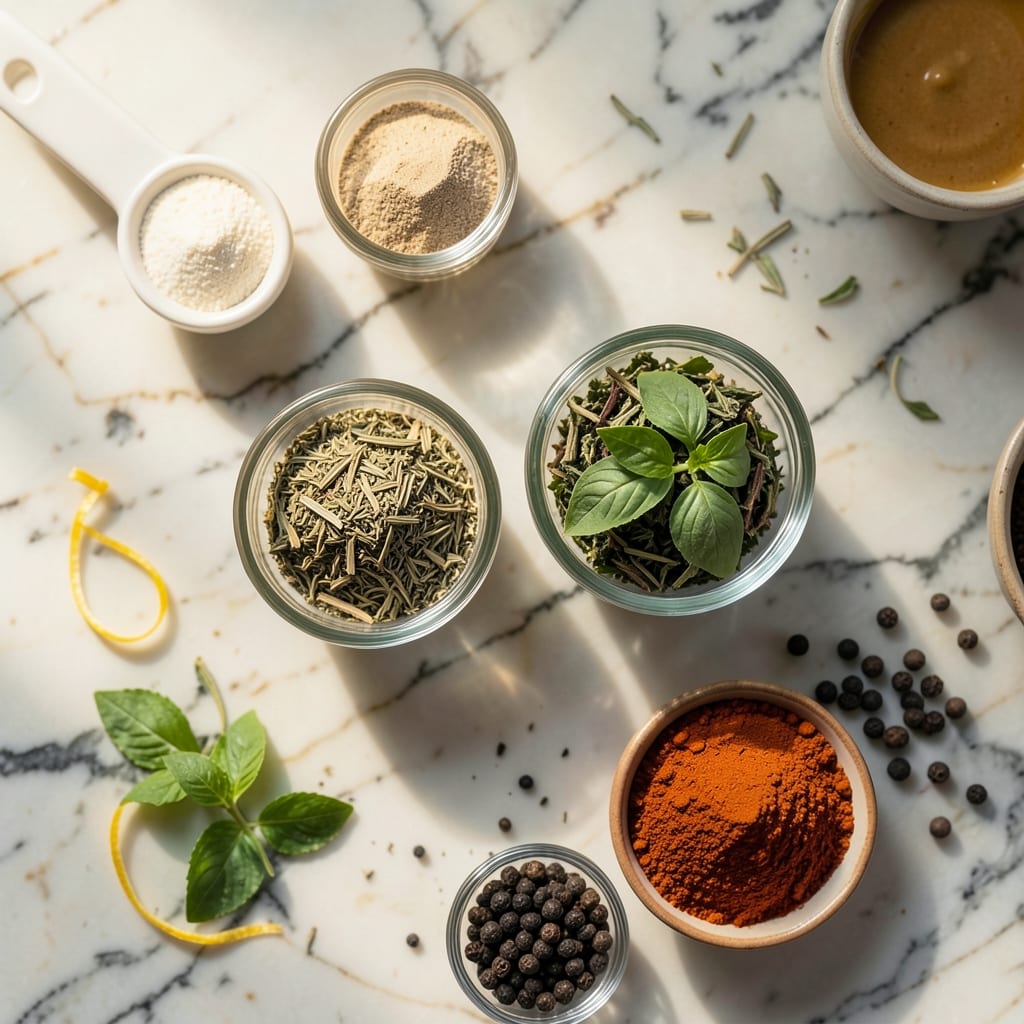
| Dried Oregano 🌿 | 1 tsp | Mediterranean variety preferred |
| Sea Salt 🧂 | ½ tsp | Flaky or fine grain |
| Ground Black Pepper 🌶️ | ¼ tsp | Freshly ground for best flavor |
| Lemon Zest 🍋 | 1 tsp | Freshly grated (optional) |
| Smoked Paprika 🌶️ | ¼ tsp | For depth of flavor (optional) |
| Fresh Parsley 🌿 | 2 tbsp | Chopped, for garnish (optional) |
| Red Pepper Flakes 🌶️ | ¼ tsp | Adjust for heat preference |
[recipe_ingredient_scaler]
The pita quality matters most here. Trader Joe’s or local bakery pitas have the right thickness and flexibility for charring without burning. Look for rounds that are soft but not sticky—freshly made is ideal. Avoid those with preservatives; they crisp unevenly. For the olive oil, California Olive Ranch or Cobram Estate deliver consistent quality for brushing.
No fresh herbs? Dried parsley at half the amount works fine, though the flavor is more muted. Skip the garlic if you prefer a cleaner taste—garlic powder at one-quarter teaspoon is a decent substitute. For heat, cayenne at a pinch replaces red pepper flakes. The lemon zest is optional but adds brightness; bottled juice won’t work here.
Pitas stay fresh for 3-4 days in an airtight bag at room temperature. Grilled pitas are best served immediately but reheat well in a dry skillet for 30 seconds per side. The flavored oil keeps for 1 week in the fridge—perfect for your next batch.
Why You’ll Love This Recipe
- 5-Minute Magic: Honestly, it’s just brush, season, grill—no dough to knead or proof.
- Garlic-Kissed Crisp: That sizzle when the olive oil and minced garlic hit the hot pita? Ridiculously good.
- Dinner or Snack: I serve these warm wedges with hummus for lunch, then use leftovers for sandwiches the next day.
- Pantry Hero: Store-bought pitas, a few spices, and I’ve got a crowd-pleaser for under five bucks.
Step-by-Step Instructions for Grilled Pita Bread
Transform store-bought pita into warm, charred pockets with this straightforward method.
Step 1: Prepare the Flavored Oil Infusion
In a small bowl, combine the 2 tbsp Extra-Virgin Olive Oil with minced 2 cloves Garlic Cloves, 1 tsp Dried Oregano, 0.5 tsp Sea Salt, 0.25 tsp Ground Black Pepper, 1 tsp Lemon Zest, and 0.25 tsp Smoked Paprika.
Whisk until fully incorporated, ensuring the herbs and spices distribute evenly. This aromatic oil will infuse each bite with Mediterranean character. Let it rest for 5 minutes to allow the flavors to meld before brushing.
Step 2: Brush and Preheat the Pita
Using a pastry brush, generously coat both sides of each of the 4 pieces Store-Bought Pita Bread with the infused oil. Press down gently to ensure full coverage, especially along the edges where the oil tends to pool.
Preheat your grill or grill pan to medium-high heat. You want it hot enough to create those coveted char marks without burning the bread. A quick test: sprinkle a few drops of water on the surface—if they sizzle and evaporate immediately, it’s ready.
Step 3: Grill to Charred Perfection
Place the oiled pita bread directly on the grill grates. Cook for 1-2 minutes per side until light char marks appear and the bread puffs slightly in spots. Watch closely—pita can go from perfectly toasted to burnt quickly.
Use tongs to flip each piece, pressing down lightly to ensure even contact with the grates. The bread should develop a golden-brown hue with darker grill lines. If some pieces cook faster than others, remove them as they finish and keep warm in a clean kitchen towel.
Step 4: Finish and Garnish
Transfer the grilled pita to a serving plate. While still warm, sprinkle with 2 tbsp Fresh Parsley and 0.25 tsp Red Pepper Flakes if using. The heat from the bread will release the parsley’s fresh aroma and temper the red pepper flakes’ spice.
Serve immediately while the bread remains soft and pliable. The pockets should be warm throughout with a satisfying crispness on the exterior. Tear or cut into wedges for sharing, or serve whole for individual portions.
Pro Tips For Making Grilled Pita Bread
- Heat the Grill First: Crank your grill to medium-high and let it preheat for at least 5 minutes—I learned this the hard way after my first batch came out soggy instead of crisp.
- Brush Generously: Don’t skimp on the olive oil; use about 1 tablespoon per pita and coat both sides evenly. Sounds excessive, but it’s what gives that golden, crispy texture.
- Skip the Overcrowding: Resist the urge to grill all the pitas at once. Leave space between them so they crisp up instead of steaming each other.
- Press Garlic In: After brushing with oil, press minced garlic into the surface with your fingers—this keeps it from burning and infuses way more flavor.
Pro Cooking Tips for Perfect Results
Heat Control
Your grill needs to hit that sweet spot of medium-high heat—about 375-400°F. I test my grill by holding my hand 5 inches above the grates. If I can only keep it there for 2-3 seconds, it’s perfect for pita. Too hot and you’ll burn before charring. 🌡️
Oil Application
Use a pastry brush for even oil distribution. Dip it in the infused oil and brush both sides of each pita round generously. Don’t skimp—this oil prevents sticking and adds flavor. I prefer California Olive Ranch oil for its clean taste.
Grill Timing
Pita cooks fast—1-2 minutes per side max. Watch for those telltale bubbles forming on the surface. That’s your cue to flip. Press down lightly with tongs to ensure full contact with the grates for even charring.
Char Mark Perfection
For professional-looking results, don’t move the pita around too much. Place it on the grill and let it sear undisturbed for 30-45 seconds before checking. This patience creates those beautiful, defined grill marks everyone loves.
Resting Trick
After grilling, wrap the pitas in a clean kitchen towel. This keeps them warm and allows the steam to soften any overly crisp areas. I learned this trick at my first BBQ competition—it makes all the difference for that perfect texture.
Equipment Tip
A cast iron grill pan works wonders if you don’t have outdoor space. Heat it over medium-high until smoking hot, then grill as usual. Just ensure your kitchen is well-ventilated to handle the smoke. 🔥
Nutrition Facts

Trained in classic French technique but raised on slow-cooked ribs and spicy rubs, she blends culinary skill with smoke and soul.
- Recipe for Boneless Pork Chops in Cast Iron Skillet: Sear and Baste to Juicy Perfection - October 3, 2026
- Recipe for Boneless Cross Rib Roast: Slow-Roasted Beef with Herb Crust - October 3, 2026
- Hamburgers in Sauce Recipe Crock Pot: Slow-Cooked Savory Delight - October 3, 2026