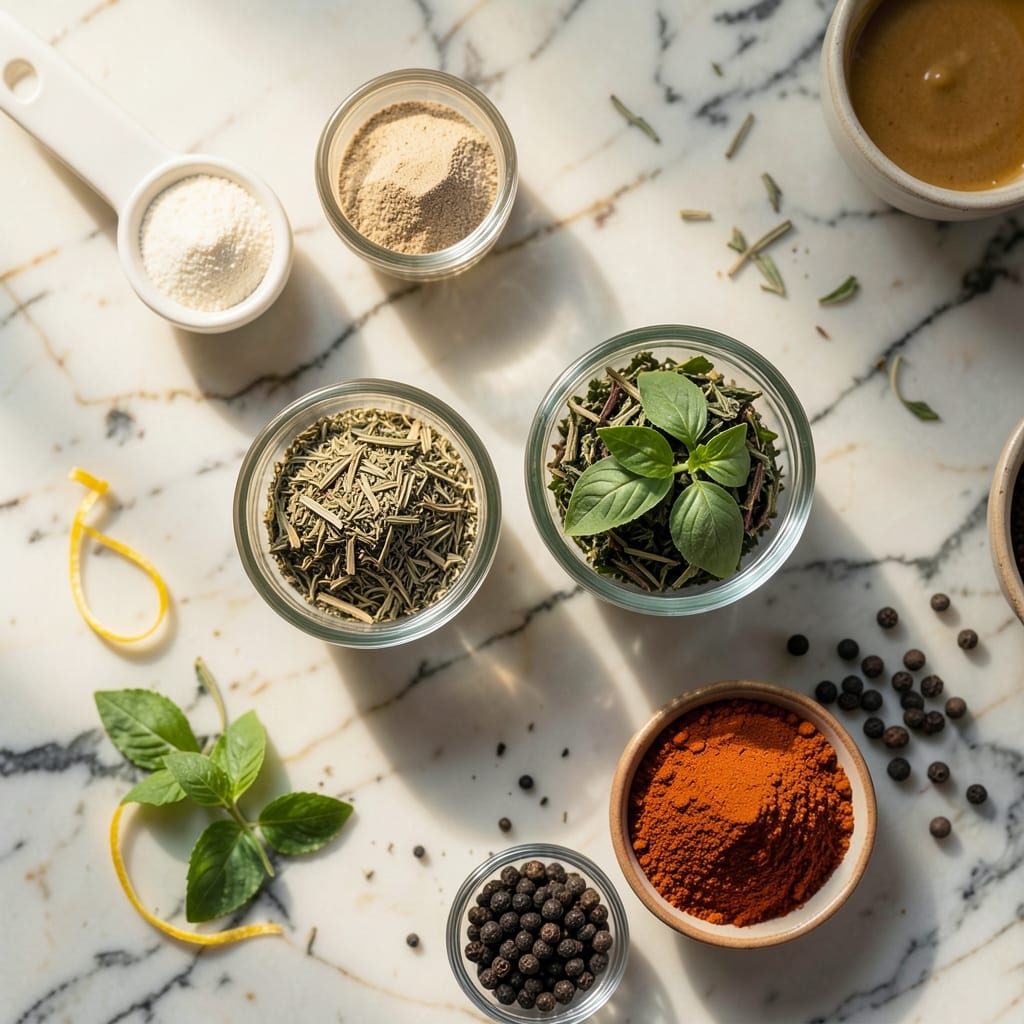
I developed this method after years of perfecting grill techniques for unexpected ingredients. The key is achieving that crispy exterior while maintaining a tender, gooey center.
Simple ingredients transform into restaurant-quality bites with just the right heat and timing. This approach delivers consistent results every time you fire up the grill.
Ingredients for Grilled Rice Balls
Simple yet precise ingredients deliver restaurant-quality results with every bite of this dish.
| Ingredient | Amount | Notes |
|---|---|---|
| Sushi Rice 🍚 | 2 cups | Short-grain, cooked and cooled |
| Eggs 🥚 | 2 whole | Large, beaten for binding |
| Parmesan Cheese 🧀 | ½ cup | Freshly grated for best texture |
| Panko Breadcrumbs 🍞 | 1 cup | Japanese-style for crispiness |
| Green Onions 🧅 | 4 whole | Thinly sliced, green parts only |
| Garlic Cloves 🧄 | 2 cloves | Minced for flavor depth |
| Olive Oil 🫒 | ¼ cup | For grilling and moisture |
| Soy Sauce 🥢 | 2 tbsp | Low-sodium preferred for balance |
| Sesame Oil 🫒 | 1 tsp | Toasted for aroma |
| Salt 🧂 | ½ tsp | Kosher or sea salt |
| Black Pepper 🌶️ | ¼ tsp | Freshly ground for best results |
| Red Pepper Flakes 🌶️ | ¼ tsp | Optional for heat |
[recipe_ingredient_scaler]
The rice is fundamental here. Short-grain sushi rice provides the essential stickiness for binding—jasmine or basmati won’t work as they lack the necessary cohesion. Cook and cool completely before forming the balls to prevent falling apart on the grill. Japanese markets or the international aisle at Whole Foods typically carry the right variety.
No sushi rice on hand? Arborio rice can substitute in a pinch, though it may be slightly less sticky. For a gluten-free version, swap panko for crushed rice crackers. The Parmesan isn’t mandatory—nutritional yeast works for a dairy-free alternative. Don’t skip the egg though; it’s critical for holding everything together during grilling.
Assembled rice balls can rest in the fridge for 1 hour before grilling to firm up. Leftovers keep for 2-3 days refrigerated, though they’re best fresh. Reheat in a toaster oven to revive that crispy exterior.
Why You’ll Love This Recipe
- No-Fuss Assembly: I just mix cooked sushi rice with egg, roll into balls, coat with panko, and grill—no fancy steps.
- Umami Bomb: That crispy panko shell gives way to creamy rice with sharp parmesan and fresh green onion in every bite.
- Party or Lunchbox: I pack these for picnics or serve as appetizers—easy to make ahead and reheat or eat cold.
- Budget Stretcher: Honestly, a little rice and cheap pantry staples feed my family of four with leftovers for tomorrow.
Step-by-Step Instructions for Grilled Rice Balls
Master the technique for achieving that perfect contrast of textures in every bite.
Step 1: Prepare and Season the Rice Mixture
In a large bowl, combine the cooked and cooled 2 cups sushi rice with the 2 whole beaten eggs, 0.5 cup Parmesan cheese, 4 whole thinly sliced green onions, and 2 minced garlic cloves. This binding mixture is what gives your rice balls structure and depth of flavor.
Season with 0.5 tsp salt, 0.25 tsp black pepper, and 0.25 tsp red pepper flakes for a subtle kick. Mix thoroughly with your hands—this tactile approach ensures even distribution of all ingredients and helps the rice hold together during grilling.
Step 2: Form and Coat the Rice Balls
Using damp hands (to prevent sticking), form the rice mixture into 8 equal-sized balls, each about the size of a tennis ball. The moisture from your hands helps create a smooth surface while keeping the rice from clumping to your palms.
Roll each ball in the 1 cup panko breadcrumbs, pressing gently to ensure full coverage. The panko’s coarse texture creates that promised crispy exterior while the finer rice mixture maintains a soft, gooey interior. Place the coated balls on a parchment-lined tray.
Step 3: Grill to Crispy Perfection
Heat 0.25 cup olive oil in a large skillet or griddle over medium-high heat. Once the oil shimmers, carefully place the rice balls in the pan, leaving space between each. Cook undisturbed for 4-5 minutes until the bottoms develop a deep golden brown crust.
Gently flip each ball and cook for another 4-5 minutes until all sides are evenly crisped. Avoid pressing down with your spatula—this can squeeze out the gooey center we’re aiming for. The balls should be firm enough to hold their shape but still yield slightly when pressed.
Step 4: Finish with Aromatic Sauce
While the rice balls cook, whisk together the 2 tbsp soy sauce and 1 tsp sesame oil in a small bowl. This simple but flavorful sauce adds an umami depth that complements the crispy texture.
Once the rice balls are golden all over, transfer them to a serving platter and drizzle with the soy-sesame mixture. Serve immediately while the exterior is still at its crispest and the interior remains deliciously gooey.
Pro Tips For Making Grilled Rice Balls
- Chill the Rice: After cooking the sushi rice, spread it on a tray and refrigerate for 20-30 minutes before shaping—it’s stickier and holds together way better on the grill. I learned this the hard way after my first batch fell apart mid-flip.
- Double Coat Breadcrumb: Dip the rice balls in egg, then panko, then egg again, then panko once more for that extra-crispy crust that doesn’t burn. Sounds tedious, but it works.
- Skip Dry Panko: Lightly moisten the panko breadcrumbs with a spray of water before coating—this helps them cling better and brown evenly without flying off the grill.
- Use Medium Heat: Grill over medium heat, not high, to cook the egg through without charring the outside before the cheese melts. After burning three batches, I finally figured out the sweet spot.
Perfect Pairings for This grilled rice balls
Dipping Sauces
I love pairing these with a creamy sriracha mayo—just mix ½ cup mayo with 1 tbsp sriracha. The heat cuts through the richness beautifully. For a milder option, try spicy ketchup with 1 tsp gochujang stirred into ¼ cup ketchup. 🌶️
Fresh Accompaniments
A simple cucumber salad with rice vinegar and sesame seeds adds refreshing crunch. I toss 2 cups thinly sliced cucumbers with 1 tbsp rice vinegar and ½ tsp sugar. The coolness balances the warm, crispy rice balls perfectly.
Beer Pairings
An ice-cold Asahi Super Dry or Sapporo complements the umami flavors wonderfully. The crisp, clean finish cleanses your palate between bites. For craft beer lovers, a light lager like Lagunitas Pils works just as well. 🍺
Vegetable Sides
Quick-pickled radishes add vibrant color and tangy crunch. Thinly slice 4 radishes and soak in ½ cup rice vinegar with 1 tsp salt for 30 minutes. The acidity brightens up the richness of the grilled rice balls.
Extra Garnishes
Sprinkle with toasted sesame seeds and extra chopped green onions right before serving. I also like adding a drizzle of chili crisp for those who love extra heat and texture. The contrast of colors makes the dish pop on the plate.
Nutrition Facts

Trained in classic French technique but raised on slow-cooked ribs and spicy rubs, she blends culinary skill with smoke and soul.
- Recipe for Boneless Pork Chops in Cast Iron Skillet: Sear and Baste to Juicy Perfection - October 3, 2026
- Recipe for Boneless Cross Rib Roast: Slow-Roasted Beef with Herb Crust - October 3, 2026
- Hamburgers in Sauce Recipe Crock Pot: Slow-Cooked Savory Delight - October 3, 2026