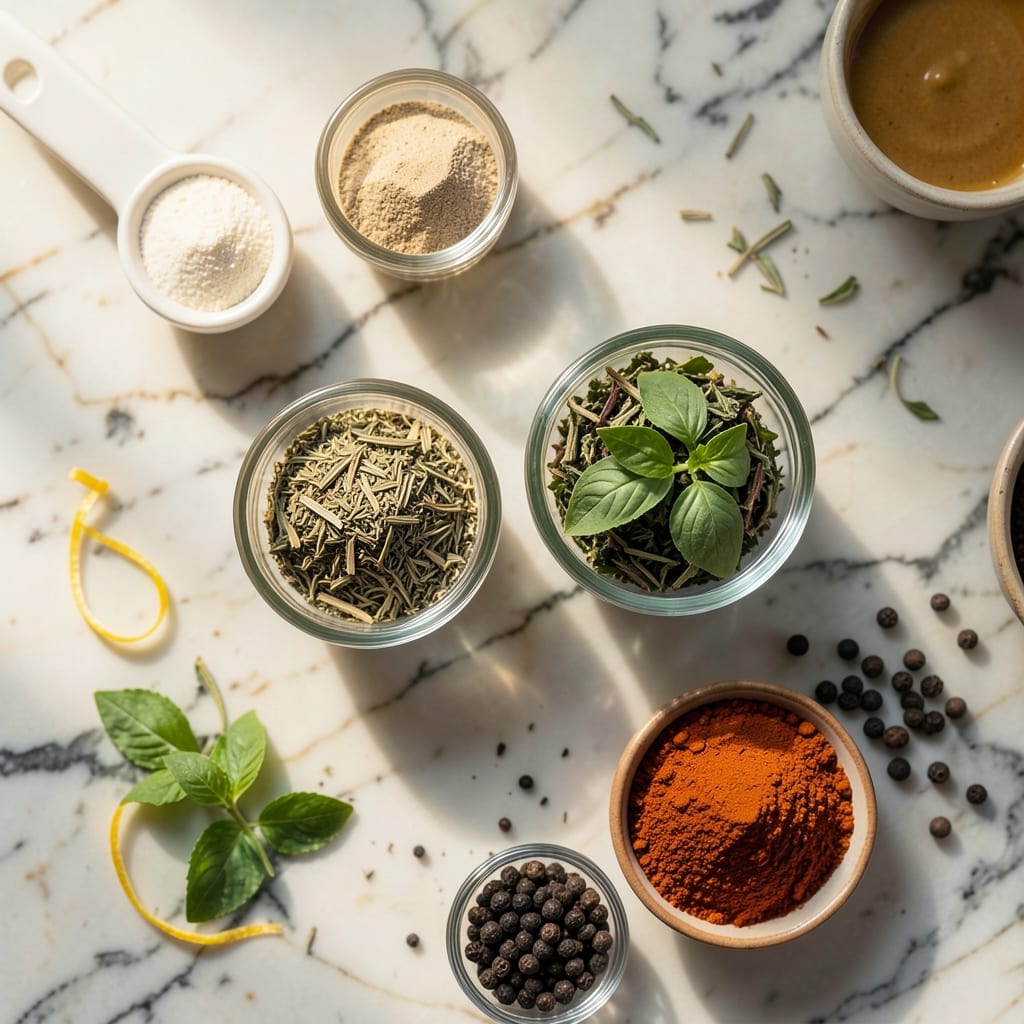
Achieving grill-quality shrimp indoors is possible with this oven method. The key is high heat and a broiler that mimics open flames.
This technique delivers smoky, charred results without outdoor equipment. Simple seasoning and precise timing ensure perfect texture every time.
Ingredients for Grilled Shrimp Recipe in Oven
Achieve authentic grill flavor indoors with these carefully selected ingredients for perfect shrimp every time.
| Ingredient | Amount | Notes |
|---|---|---|
| Large Shrimp 🍤 | 1 ½ lb | Peeled, deveined, tails on or off |
| Olive Oil 🫒 | 3 tbsp | Extra-virgin for best flavor |
| Smoked Paprika 🌶️ | 1 ½ tsp | Adds smoky depth to flavor |
| Garlic Powder 🧄 | 1 tsp | Granulated for even coating |
| Onion Powder 🧅 | 1 tsp | Balances the seasoning blend |
| Dried Oregano 🌿 | 1 tsp | Mediterranean oregano preferred |
| Ground Cumin 🌿 | ½ tsp | Earthy warmth to complement shrimp |
| Cayenne Pepper 🔥 | ¼ tsp | Adjust for heat preference |
| Kosher Salt 🧂 | 1 tsp | Diamond Crystal preferred for texture |
| Freshly Ground Black Pepper 🌶️ | ½ tsp | Coarse grind for texture |
| Lemon 🍋 | 1 whole | Zested and juiced for brightness |
| Fresh Parsley 🌿 | ¼ cup | Chopped, for garnish |
[recipe_ingredient_scaler]
Shrimp quality is paramount here. Wild-caught shrimp from Whole Foods or a trusted seafood counter ensures optimal texture and flavor. Look for 16/20 count (16-20 shrimp per pound) for even cooking and substantial bites. The smoked paprika is critical for that charred, grill-like essence—Penzeys offers an excellent Spanish variety that delivers authentic smokiness without artificial additives.
No smoked paprika? Chipotle powder at half the amount provides similar smokiness with added heat. Fresh garlic cloves (3-4, minced) can replace garlic powder, but reduce olive oil slightly to compensate for moisture. Lime juice works in place of lemon if that’s what you have on hand. For those avoiding heat, omit the cayenne entirely without affecting the core flavor profile.
The seasoned shrimp can marinate for up to 30 minutes before cooking, but don’t exceed this as the acid from lemon will begin to cook the shrimp. Cooked shrimp stores well in the refrigerator for 2-3 days, though best enjoyed immediately. Freezing cooked shrimp is possible but may alter texture slightly.
Why You’ll Love This Recipe
- One Pan Wonder: I toss the shrimp with olive oil and spices, spread them out, and let the oven do the work—no grill, no fuss.
- Smoky Depth: The smoked paprika gives these shrimp a rich, almost charred flavor without stepping outside.
- Weeknight Hero: Honestly, I make this for quick dinners, meal prep, or even when guests drop by unexpected.
- Budget Friendly: Large shrimp stretch further than you think, and the spices are pantry staples I always have on hand.
Step-by-Step Instructions for Oven-Grilled Shrimp
This method delivers authentic grilled flavor using your oven’s broiler functionality.
Step 1: Season the Shrimp Thoroughly
Pat the 1.5 lb large shrimp completely dry with paper towels. This is critical for achieving a good sear rather than steaming. In a large bowl, combine the shrimp with 3 tbsp olive oil, 1.5 tsp smoked paprika, 1 tsp garlic powder, 1 tsp onion powder, 1 tsp dried oregano, 0.5 tsp ground cumin, 0.25 tsp cayenne pepper, 1 tsp kosher salt, and 0.5 tsp freshly ground black pepper.
Toss gently until each piece is evenly coated. The spices should cling to the shrimp without pooling at the bottom. Let the shrimp marinate at room temperature for 10-15 minutes while you preheat the oven—this allows the flavors to penetrate.
Step 2: Prepare the Oven and Broiler Pan
Position your oven rack 4-6 inches from the broiler element. Preheat the broiler on high for at least 5 minutes so it reaches maximum temperature. This mimics the intense direct heat of a grill.
Line a rimmed baking sheet with aluminum foil for easy cleanup. Place a wire rack on top of the baking sheet—this elevates the shrimp, allowing air to circulate underneath for even cooking and better charring. Lightly oil the rack to prevent sticking.
Step 3: Broil the Shrimp to Perfection
Arrange the shrimp in a single layer on the prepared rack, ensuring they don’t touch. Broil for 3-4 minutes until the tops turn opaque and lightly charred. Watch closely—the high heat means they can go from perfect to overcooked quickly.
Flip the shrimp using tongs and broil for another 2-3 minutes until they’re fully opaque and have developed those characteristic grill marks. The shrimp should curl slightly and feel firm to the touch. Remove from the oven immediately to prevent overcooking.
Step 4: Finish with Citrus and Herbs
Zest the lemon directly over the hot shrimp, then squeeze 1 tbsp of juice over the top. The heat will help the zest release its aromatic oils. Toss gently to distribute the citrus evenly.
Sprinkle with 0.25 cup chopped fresh parsley and serve immediately while hot. The parsley adds a pop of color and freshness that balances the smoky spices. Each shrimp should glisten with oil and have visible char marks, delivering that authentic grilled appearance and flavor.
Pro Tips For Making Grilled Shrimp Recipe In Oven
- Preheat the Broiler: Crank your oven to broil on high for at least 10 minutes before cooking—I learned this the hard way after my first batch came out soggy instead of charred.
- Pat Shrimp Dry: Use a paper towel to thoroughly dry the shrimp before tossing in olive oil and spices. Sounds tedious, but it actually changes the outcome by letting the seasoning stick and promoting better browning.
- Skip Overcrowding: Spread the shrimp in a single layer on the baking sheet with a little space between each. After burning a few batches, I finally figured out that steam from crowded shrimp makes them boil instead of grill.
- Add Lemon Last: Toss the shrimp with a squeeze of fresh lemon juice right after they come out of the oven—my grandmother swore by this, and she was right: it keeps the flavor bright without making the shrimp tough.
Essential Equipment for grilled shrimp recipe in oven
Broiler Pan Setup
A rimmed baking sheet with a wire rack is essential for proper air circulation. I use a half-sheet pan from Nordic Ware—it’s sturdy and won’t warp under high heat. The rack elevates the shrimp, allowing heat to reach all sides for even charring.
Thermometer Importance
An oven thermometer ensures your broiler is reaching true high heat. I trust my Taylor Precision model—it’s accurate within 2°F. Many home ovens run cooler than their settings, which affects cooking time and results.
Tongs for Flipping
Use 12-inch locking tongs for safe flipping under the broiler. I prefer OXO’s stainless steel version—the silicone tips won’t scratch your pans. They give you the reach needed to avoid burning your hands on the hot rack. 🔥
Heat-Resistant Gloves
Broiler doors get extremely hot—silicone oven mitts are a must. I wear Gorilla Grip gloves that protect up to 484°F. They allow me to adjust racks or remove pans without waiting for things to cool.
Citrus Tool
A microplane makes quick work of zesting the lemon. I’ve used my OXO Good Grips zester for years—it creates fine zest that distributes evenly. The sharp blades also work for mincing garlic if you’re using fresh instead of powder.
Cooling Rack
After cooking, transfer shrimp to a wire cooling rack to prevent steaming. This maintains the crisp texture you worked so hard to achieve. I keep a spare rack just for this purpose, separate from my baking setup.
Nutrition Facts

Trained in classic French technique but raised on slow-cooked ribs and spicy rubs, she blends culinary skill with smoke and soul.
- Recipe for Boneless Pork Chops in Cast Iron Skillet: Sear and Baste to Juicy Perfection - October 3, 2026
- Recipe for Boneless Cross Rib Roast: Slow-Roasted Beef with Herb Crust - October 3, 2026
- Hamburgers in Sauce Recipe Crock Pot: Slow-Cooked Savory Delight - October 3, 2026