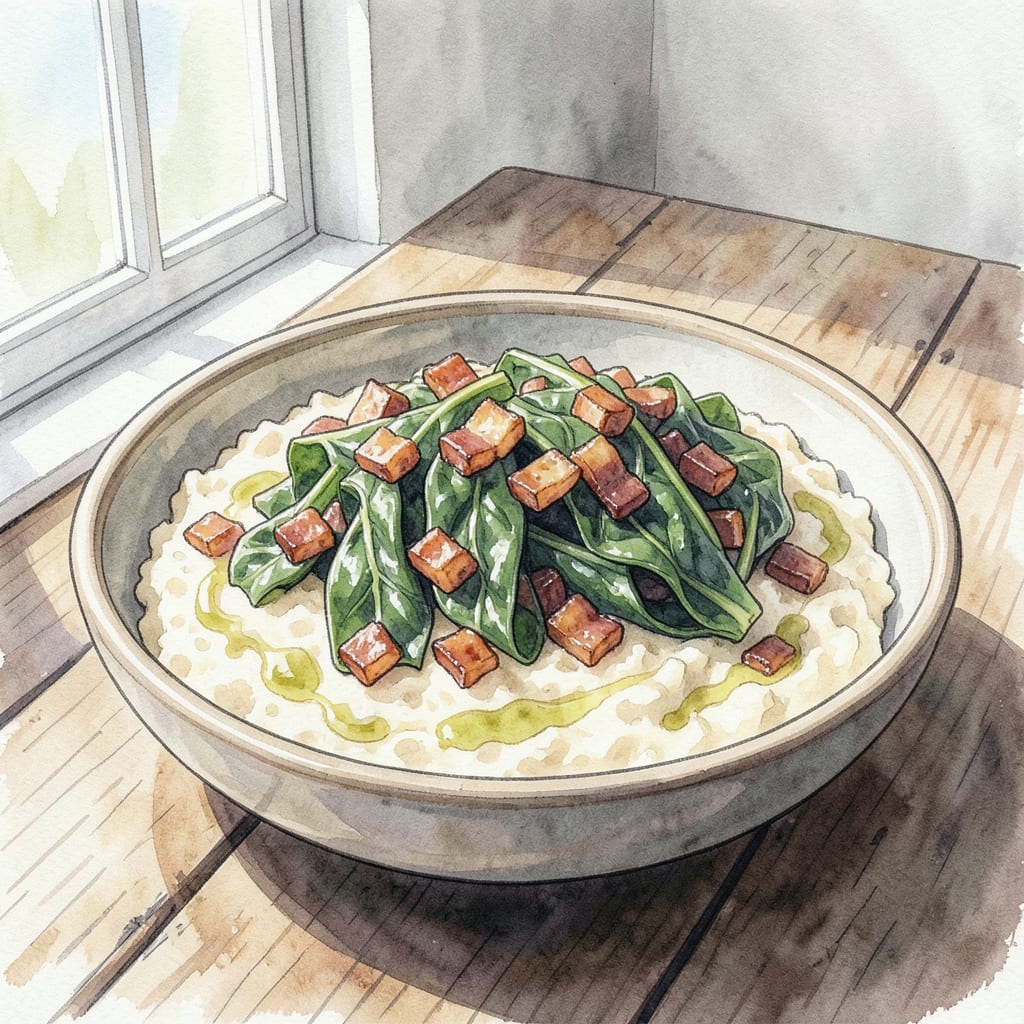
Grits and greens – the ultimate Southern comfort food. I grew up on this classic combination, and I’m excited to share my version that brings together creamy grits and sautéed greens in perfect harmony. This dish is a staple for a reason.
By combining rich, stone-ground grits with quickly sautéed greens like kale or collard greens, you’ll create a bowl that’s both nourishing and indulgent. Let’s get cooking and bring a taste of Southern comfort to your table with this simple, satisfying recipe.
Ingredients for Grits and Greens
Gather these simple ingredients to create a comforting bowl of grits and greens.
| Ingredient | Amount | Notes |
|---|---|---|
| Stone-Ground Grits 🌾 | 1 cup | Not instant grits |
| Water 💧 | 4 cups | For cooking grits |
| Collard Greens 🥦 | 2 cups | Chopped, stems removed |
| Olive Oil 🫒 | 2 tbsp | For sautéing greens |
| Garlic Cloves 🧄 | 3 cloves | Minced |
| Smoked Bacon 🥓 | 4 slices | Diced, optional |
| Unsalted Butter 🧈 | 2 tbsp | For finishing grits |
| Parmesan Cheese 🧀 | ½ cup | Grated, optional |
| Salt 🧂 | 1 tsp | Kosher or sea salt |
| Black Pepper 🌶️ | ½ tsp | Freshly ground |
| Red Pepper Flakes 🔥 | ¼ tsp | Optional, for heat |
[recipe_ingredient_scaler]
For the best grits, look for stone-ground at Southern grocery stores or online. Regular supermarkets usually have it too, just check the specialty grains section. If you’re feeling fancy, try Bob’s Red Mill for that authentic texture. Fresh greens matter—kale or collards work best, whatever’s fresh at the farmer’s market.
No collard greens? Use kale or mustard greens instead. For a vegan version, skip the bacon and add more garlic or roasted vegetables. Want it creamier? Stir in some heavy cream or half-and-half. The bacon adds depth, but you can omit it for a lighter version. Red pepper flakes give a nice kick if you like a bit of heat.
Leftover grits keep for 3-4 days in the fridge—reheat with extra broth or water. The greens can be prepped ahead and stored in an airtight container for 2 days. Freeze individual portions for up to 3 months.
Step-by-Step Instructions for Grits and Greens
Let’s cook up some Southern comfort. Here’s the straightforward method that delivers creamy grits and perfectly cooked greens every time.
Step 1: Cook the Grits to Creamy Perfection
Bring the 4 cups Water to a boil in a medium saucepan over high heat. Once boiling, gradually whisk in the 1 cup Stone-Ground Grits. Reduce the heat to low and simmer, covered, for 20-25 minutes, stirring occasionally, until the grits are smooth and creamy. You’ll know they’re done when they’re no longer grainy and have thickened to your liking.
Remove the grits from the heat and stir in the 2 tbsp Unsalted Butter until fully melted. This adds richness and helps create a silky texture. Season with 1 tsp Salt and 0.5 tsp Black Pepper to taste. If you’re using 0.5 cup Parmesan Cheese, stir it in now until well combined. The residual heat will melt the cheese perfectly.
Step 2: Prepare the Collard Greens with Smoked Bacon
In a large skillet, cook the 4 slices Smoked Bacon over medium heat for 6-8 minutes until crispy. Remove the bacon from the skillet with a slotted spoon and set aside on a paper towel-lined plate. Leave the rendered fat in the skillet as it adds incredible flavor to the greens.
Add the 2 tbsp Olive Oil to the same skillet and sauté the 3 cloves Garlic Cloves for 1 minute until fragrant. Be careful not to burn the garlic. Then add the 2 cups Collard Greens and cook, stirring occasionally, for 5-7 minutes until they’ve wilted and reached your desired tenderness. If using 0.25 tsp Red Pepper Flakes, add them now for an extra kick.
Step 3: Combine and Serve
Divide the creamy grits among four bowls. Top with the sautéed collard greens and crumble the cooked smoked bacon over the top. The combination of the creamy grits, slightly bitter greens, and smoky bacon creates a perfect harmony of flavors and textures. Serve immediately while everything is hot and enjoy the comforting warmth.
Storing and Reheating grits and greens
Refrigerator Storage Tips
Cool the grits to room temperature within 2 hours to prevent bacterial growth. Transfer to an airtight container and store in the refrigerator for up to 3-4 days. The greens can be stored separately in an airtight container for up to 2 days. ❄️
Freezer Storage Options
Grits freeze well for up to 3 months. Portion them into individual freezer-safe containers or heavy-duty freezer bags. Leave about 1 inch of headspace for expansion. Label containers with the date and contents. Frozen grits are perfect for meal prep.
Reheating on Stovetop
Reheat grits over low heat, adding a splash of water or broth to achieve the desired consistency. Stir frequently to prevent sticking. For greens, reheat in a skillet with a bit of olive oil over medium heat until warmed through. 🔥
Microwave Reheating
For quick reheating, use a microwave-safe bowl. Cover grits with a microwave-safe lid or plastic wrap, leaving a small vent. Heat on medium power for 1-2 minutes, stirring every 30 seconds until hot. Be careful as containers can get very hot.
Tips for Best Results
When reheating, taste and adjust seasoning as needed. Grits may need a pinch of salt or a pat of butter. For greens, add a squeeze of fresh lemon juice to brighten flavors. Reheated grits and greens can be just as delicious as when freshly made, I promise!
Meal Prep Strategies
Cook grits and greens in bulk on the weekend, then portion into individual containers for easy weekday meals. Reheat as needed throughout the week. This Southern comfort food is perfect for busy days when you need a nourishing, home-cooked meal quickly.
Nutrition Facts

Trained in classic French technique but raised on slow-cooked ribs and spicy rubs, she blends culinary skill with smoke and soul.
- Recipe for Boneless Pork Chops in Cast Iron Skillet: Sear and Baste to Juicy Perfection - October 3, 2026
- Recipe for Boneless Cross Rib Roast: Slow-Roasted Beef with Herb Crust - October 3, 2026
- Hamburgers in Sauce Recipe Crock Pot: Slow-Cooked Savory Delight - October 3, 2026