Making gyoza dough from scratch is easier than you think, and it makes all the difference in these delicious dumplings. With just a few simple ingredients, you’ll be on your way to creating tender and chewy wrappers that will elevate your gyoza game.
By following this recipe, you’ll be able to create homemade gyoza wrappers that are perfect for filling with your favorite ingredients and cooking to perfection. Let’s get started!
Ingredients for Gyoza Dough
Simple ingredients for tender gyoza wrappers. Quality flour matters most here.
| Ingredient | Amount | Notes |
|---|---|---|
| All-Purpose Flour 🌾 | 2 cups | Unbleached, unbromated preferred |
| Salt 🧂 | ½ tsp | Kosher or sea salt |
| Warm Water 💧 | ¾ cup | Not boiling, just warm |
[recipe_ingredient_scaler]
For the best results, use high-protein flour like King Arthur or Bob’s Red Mill. The quality of flour directly impacts the texture of your gyoza wrappers. I prefer unbleached, unbromated flour for a more natural taste and better dough structure. You can find these at most health food stores or specialty grocery stores.
If you’re new to making dough, don’t worry—this recipe is very forgiving. You can substitute all-purpose flour with bread flour for a chewier texture, but keep in mind that it will yield a slightly different result. The water should be warm, not hot—hot water can start cooking the dough prematurely. If you’re unsure, test the water temperature with your finger—it should feel warm but not uncomfortable.
This dough keeps well wrapped in plastic wrap at room temperature for up to 24 hours. You can also refrigerate it for up to 2 days or freeze it for up to 3 months. When you’re ready to use it, let it rest at room temperature for at least 30 minutes before rolling out. This resting period is crucial for achieving the right texture.
Step-by-Step Instructions for Gyoza Dough
Here’s the method for making perfect gyoza dough from scratch, easy as can be.
Step 1: Combine Dry Ingredients
In a large mixing bowl, whisk together 2 cups of All-Purpose Flour and 0.5 tsp of Salt until well combined. I like to use a balloon whisk for this step as it incorporates air into the flour, making the dough more tender.
The flour should be sifted or fluffed before measuring to ensure you don’t end up with too dense a dough. I always use unbleached, unbromated flour for the best flavor and texture.
Step 2: Mix in Warm Water
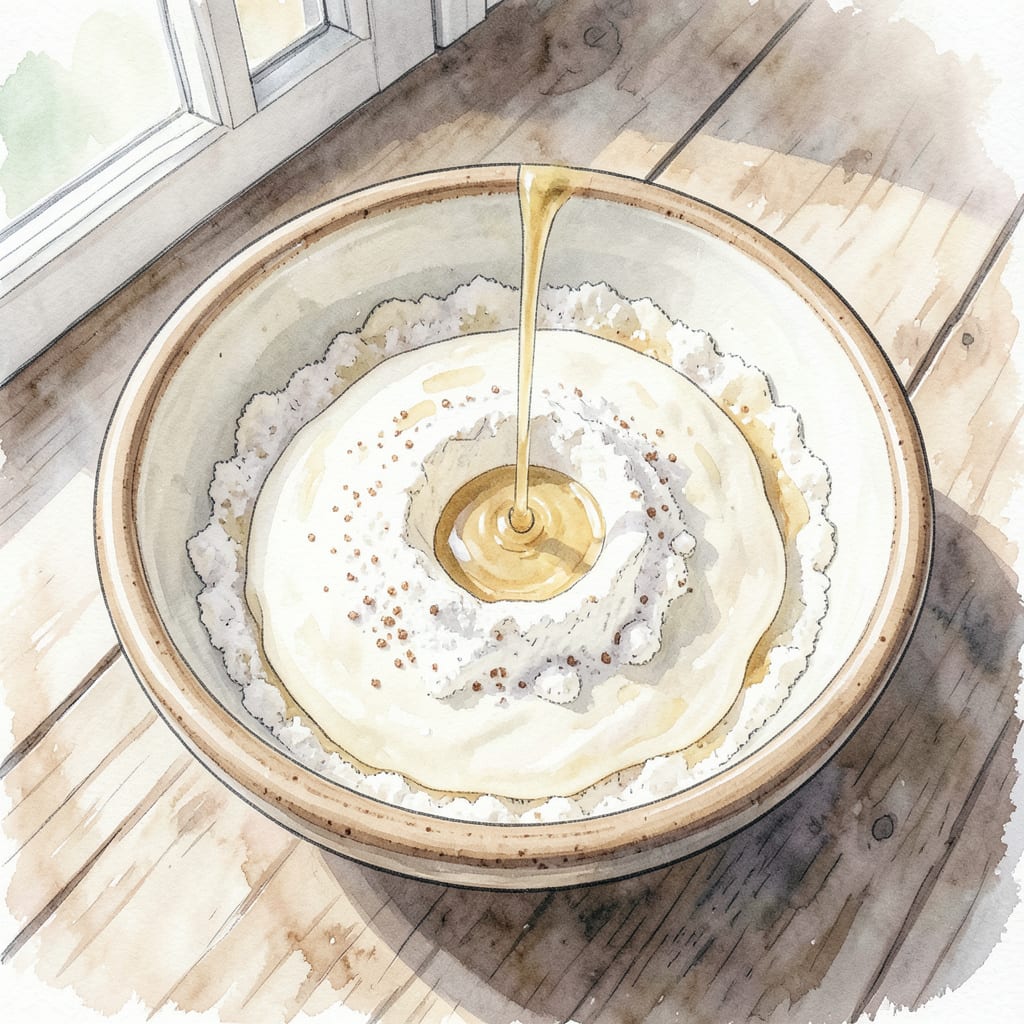
Make a well in the center of the flour mixture and pour in 0.75 cup of Warm Water. Use a wooden spoon or chopsticks to mix the ingredients together, starting from the inside of the well.
As you mix, you’ll notice the dough coming together in a shaggy mass. Don’t worry if it looks rough at this stage – it will come together with kneading. The warm water should be around 100°F to 110°F for optimal gluten development.
Step 3: Knead to Smooth Dough
Transfer the dough to a lightly floured surface and knead for 5-7 minutes until the dough becomes smooth and elastic. You’ll know it’s ready when it springs back quickly after a poke.
I like to use a push-fold-turn motion while kneading: push down with the heel of your hand, fold the dough back, and turn it 90 degrees. This develops the gluten evenly and gives you a tender wrapper.
Step 4: Rest the Dough
Form the dough into a ball and place it in a lightly oiled bowl, turning it to coat all sides. Cover with plastic wrap or a damp kitchen towel and let rest at room temperature for at least 30 minutes.
This resting period allows the gluten to relax, making the dough easier to roll out thinly. You’ll notice it becomes more pliable and less likely to spring back when you try to roll it.
Pro Cooking Tips for This Recipe
Kneading Techniques
The kneading process is crucial for developing the right texture in your gyoza dough. I use a push-fold-turn motion: push down with the heel of your hand, fold the dough back, and turn it 90 degrees. This develops gluten evenly and creates tender wrappers.
Knead for 5-7 minutes until the dough becomes smooth and elastic. You’ll know it’s ready when it springs back quickly after a gentle poke. Proper kneading prevents wrappers from becoming tough during cooking.
Dough Resting Tips
After kneading, let the dough rest at room temperature for at least 30 minutes. This resting period allows the gluten to relax, making the dough easier to roll out thinly. I like to cover mine with plastic wrap or a damp towel to prevent drying.
A well-rested dough will be more pliable and less likely to spring back when rolling. This step is crucial for achieving that perfect gyoza wrapper texture. You can rest the dough for up to 2 hours if needed.
Rolling Out Wrappers
Divide your rested dough into 4 equal pieces and work with one piece at a time. Use a rolling pin to roll each piece into a thin circle, about 1/16 inch thick. I prefer using a Japanese mandoline to achieve consistent thickness.
Keep the remaining dough covered while you work to prevent drying. Dust your surface lightly with flour as needed to prevent sticking. The goal is to get the dough as thin as possible without tearing.
Common Mistakes
One common mistake is overworking the dough during kneading, which can make wrappers tough. Another is not resting the dough long enough, resulting in wrappers that spring back when rolling. Keep your water warm but not hot – around 100°F to 110°F is ideal.
Using too much flour during rolling can make the dough tough and affect the texture of your cooked gyoza. I recommend using just a light dusting of flour to prevent sticking. 🔥
Storage Tips
You can store your gyoza dough in an airtight container at room temperature for up to 24 hours. For longer storage, wrap it tightly in plastic wrap and refrigerate for up to 2 days. Let it come to room temperature before using.
For longer-term storage, you can freeze the dough for up to 3 months. Wrap it tightly in plastic wrap and place in a freezer bag. Thaw in the refrigerator overnight before using. This flexibility makes meal planning easier.
Nutrition Facts

Trained in classic French technique but raised on slow-cooked ribs and spicy rubs, she blends culinary skill with smoke and soul.
- Recipe for Boneless Pork Chops in Cast Iron Skillet: Sear and Baste to Juicy Perfection - October 3, 2026
- Recipe for Boneless Cross Rib Roast: Slow-Roasted Beef with Herb Crust - October 3, 2026
- Hamburgers in Sauce Recipe Crock Pot: Slow-Cooked Savory Delight - October 3, 2026