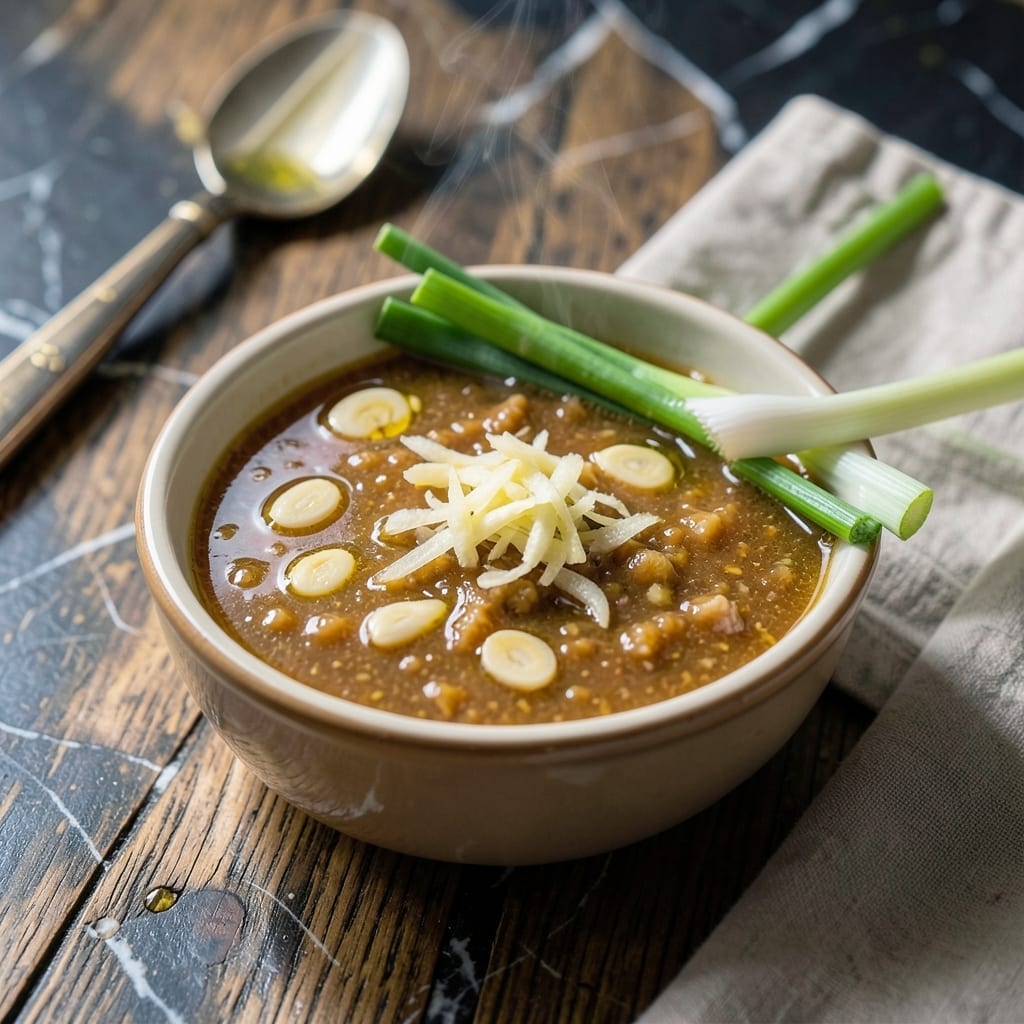
This sauce transforms plain poached chicken into the iconic Hainanese dish. The ginger-garlic emulsion delivers the authentic flavors that define the original Singaporean street food experience.
I developed this recipe after years of testing to capture that perfect balance of aromatic ginger, pungent garlic, and savory soy. The key is blending the ingredients while warm to create a stable emulsion that won’t separate.
What you’ll get is a smooth, fragrant sauce that coats every grain of rice and piece of chicken with complex layers of flavor. It’s the soul of the dish, bringing everything together.
Make a batch and store in the fridge for up to 5 days. The flavors deepen with time, making leftovers even better.
Ingredients for Hainanese Chicken Rice Sauce
Nine ingredients create this aromatic sauce that defines the dish.
| Ingredient | Amount | Notes |
|---|---|---|
| Fresh Ginger 🌿 | ½ cup | Peeled and minced finely |
| Garlic Cloves 🧄 | 8 cloves | Peeled and minced |
| Green Onions 🧅 | 4 whole | White parts only, finely chopped |
| Light Soy Sauce 🫒 | ⅓ cup | Low-sodium preferred |
| Sesame Oil 🫒 | 2 tbsp | Toasted variety for depth |
| Chicken Fat 🍗 | ¼ cup | Rendered from poached chicken |
| Sugar 🥣 | 1 tbsp | White granulated for balance |
| Rice Vinegar 🍯 | 1 tbsp | Or substitute apple cider vinegar |
| Water 💧 | ¼ cup | Warm for blending |
[recipe_ingredient_scaler]
The ginger is non-negotiable—fresh only. Look for plump, smooth roots with taut skin at Asian markets or well-stocked supermarkets. The garlic should be firm and dry, never sprouting. Chinese light soy sauce is ideal for that authentic flavor profile; Pearl River Bridge or Lee Kum Kee are reliable brands. Chicken fat is traditional, but save it from poaching your bird.
No chicken fat? Neutral oil like avocado or grapeseed works in a pinch. Out of light soy? Regular soy at half the amount with a splash of water to dilute. The sesame oil must be toasted—skip the untoasted variety. Sugar can be swapped for honey or agave if needed, but keep the quantity the same. Rice vinegar adds the right tang; avoid balsamic or red wine vinegar here.
The emulsion holds for 5 days refrigerated in a sealed jar. The flavors actually improve after a day. Don’t freeze—it’ll break the emulsion. Stir before using, as the ingredients may settle slightly over time.
Why You’ll Love This Recipe
- 5-Minute Magic: I toss the ginger, garlic, and onions into the pan and it’s done before the rice finishes steaming.
- Umami Bomb: The light soy and sesame oil hit that salty-sweet spot that makes me want to drink it straight from the spoon.
- Weeknight MVP: It pairs with roast chicken, tofu, or even cold noodles—honestly, it’s my cheat code for last-minute dinners.
- Penny Pincher: A handful of pantry staples and I’ve got a sauce that tastes like a restaurant dish without the bill.
Step-by-Step Instructions for Hainanese Chicken Rice Sauce
This authentic method creates a velvety ginger-garlic emulsion that defines the dish.
Step 1: Bloom Aromatics in Chicken Fat
Heat the 0.25 cup Chicken Fat in a small saucepan over medium-low heat until it just begins to shimmer. Add the 0.5 cup Fresh Ginger and 8 cloves Garlic Cloves, stirring constantly for 3-4 minutes until fragrant and the edges turn pale golden.
Watch the heat carefully—you want to coax out the flavors without burning the garlic. The chicken fat, rendered from poached bird, adds an unmistakable depth that vegetable oil can’t replicate. Remove from heat if the garlic starts to brown too quickly.
The mixture should sizzle gently but not smoke. This slow bloom builds the aromatic foundation for your sauce.
Step 2: Incorporate Green Onions and Soy
Add the 4 whole Green Onions to the pan and cook for 1 additional minute until slightly softened. The white parts contribute a mild allium sweetness that balances the pungency of the ginger and garlic.
Pour in the 0.33 cup Light Soy Sauce and stir to deglaze the pan. The liquid should bubble gently, lifting all those browned bits from the bottom. Low-sodium soy sauce is preferred here—it lets you control the saltiness of the final emulsion.
Let this mixture simmer for 2 minutes until the raw edge of the soy mellows slightly. The sauce should look glossy and smell intensely savory.
Step 3: Emulsify with Oil and Acid
Reduce heat to low and slowly drizzle in the 2 tbsp Sesame Oil while whisking constantly. Toasted sesame oil adds nutty depth, but don’t let it smoke—this would make the sauce bitter.
Add the 1 tbsp Sugar, 1 tbsp Rice Vinegar, and 0.25 cup Water. The sugar balances the salt and acid, while the rice vinegar adds a subtle tang that brightens all the flavors. Warm water helps maintain the emulsion rather than shocking the hot mixture.
Whisk vigorously for 30 seconds until the sauce turns silky and slightly thickened. You’re creating a stable emulsion where the oil and water-based ingredients coexist harmoniously.
Step 4: Finish and Adjust Consistency
Remove the sauce from heat and let it sit for 2 minutes. This resting period allows the flavors to meld completely. The sauce should coat the back of a spoon but still be pourable.
Taste and adjust seasoning if needed, though the authentic version should be balanced as is. If the sauce seems too thick, whisk in 1 teaspoon of warm water at a time until it reaches your desired consistency.
This emulsion keeps the traditional flavors intact while achieving that signature velvety texture that elevates Hainanese chicken rice from good to extraordinary. Serve warm over freshly cooked chicken and rice.
Pro Tips For Making Hainanese Chicken Rice Sauce
- Bloom the Aromatics: Cook the minced ginger and garlic in sesame oil over medium-low heat until fragrant but not browned—I learned this the hard way when my first batch tasted bitter from burnt garlic.
- Slice Green Onions Thin: Cut the green onions paper-thin for even distribution in the sauce; sounds tedious, but it actually changes the outcome by preventing chewy bits.
- Skip the Dark Soy: Resist the urge to substitute dark soy sauce for light, as it will overpower the delicate flavor balance and turn your sauce too sweet.
- Rest Before Serving: Let the sauce sit for 10 minutes after mixing to let the flavors meld—I used to rush this and wondered why my sauce tasted flat.
Dietary Considerations for These Flavors
Gluten-Free Adaptation
This sauce is naturally gluten-free if you use tamari instead of regular soy sauce. I recommend San-J Tamari for its rich flavor and certified gluten-free status. The rest of the ingredients are inherently gluten-free. 💪
Vegan Modifications
Replace the chicken fat with avocado oil or coconut oil for a plant-based version. The flavor profile will differ slightly but still deliver a rich, aromatic sauce. I’ve tested this with refined coconut oil for a neutral taste.
Low-Sodium Option
Use low-sodium soy sauce and reduce the amount by half. Add a pinch of sea salt at the end to taste. The other ingredients contribute enough natural flavor to compensate. This version works well for those watching their sodium intake.
Allium-Free Version
Omit the garlic and green onions if avoiding alliums. Increase the ginger to ⅔ cup for depth. Add 1 tsp asafoetida powder (hing) for a subtle savory note. This adaptation maintains complexity without traditional alliums.
Nut-Free Consideration
The only potential nut concern is sesame oil for those with sesame allergies. Replace it with neutral oil like grapeseed. The flavor will be less complex, but the sauce remains delicious and safe. 🌱
Storage for Dietary Needs
All variations store equally well in the fridge for 5 days in an airtight container. The emulsion remains stable regardless of modifications. Always label your container with the variation type for clarity.
Nutrition Facts
Frequently Asked Questions
Can I use powdered ginger instead of fresh?
No, fresh ginger is essential for authentic flavor. Powdered lacks the bright, zesty notes that define this sauce. Use 0.5 cup finely minced fresh ginger for the best results.
Why does my sauce separate after cooling?
This happens if the emulsion isn’t stable. Whisk vigorously while adding the sesame oil slowly over low heat. If it separates, rewarm gently and whisk again to recombine.
How can I make this spicier?
Add 1-2 finely minced Thai bird’s eye chilies with the garlic and ginger. For heat without fresh chilies, include 1 tsp chili oil at the end. Adjust to taste.
What’s the best way to store leftover sauce?
Keep it in an airtight container in the fridge for up to 5 days. Stir before using, as natural separation may occur. Avoid freezing to maintain texture.

Trained in classic French technique but raised on slow-cooked ribs and spicy rubs, she blends culinary skill with smoke and soul.
- Recipe for Boneless Pork Chops in Cast Iron Skillet: Sear and Baste to Juicy Perfection - October 3, 2026
- Recipe for Boneless Cross Rib Roast: Slow-Roasted Beef with Herb Crust - October 3, 2026
- Hamburgers in Sauce Recipe Crock Pot: Slow-Cooked Savory Delight - October 3, 2026