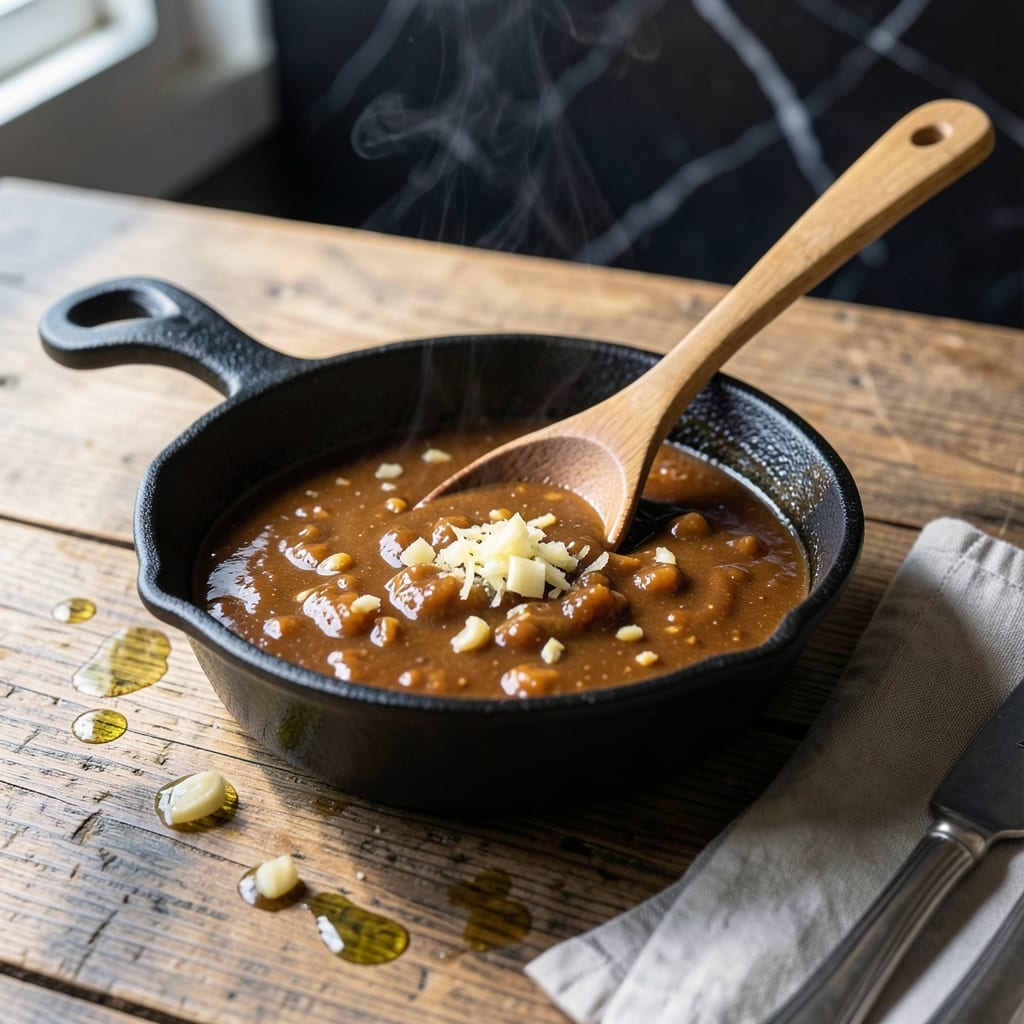
I developed this sauce to bring authentic teppanyaki flavors to home cooking. The combination of soy sauce, garlic, and ginger creates a sweet-savory glaze that elevates any protein.
This recipe stays true to traditional hibachi style while using simple, accessible ingredients. The secret is balancing sweetness with umami depth through careful reduction.
You’ll achieve a thick, glossy sauce that clings perfectly to vegetables, shrimp, or chicken. It keeps well in the fridge for up to two weeks.
Use it as a finishing glaze or dipping sauce for your next homemade teppanyaki meal.
Ingredients for Hibachi Brown Sauce
Nine simple ingredients create that signature sweet-savory hibachi glaze you crave.
| Ingredient | Amount | Notes |
|---|---|---|
| Soy Sauce 🥢 | ½ cup | Low-sodium recommended for balance |
| Dark Brown Sugar 🍚 | ½ cup | Packed, for deep caramel notes |
| Garlic Cloves 🧄 | 4 cloves | Minced finely for even distribution |
| Fresh Ginger Root 🌿 | 1 tbsp | Grated, no fibers |
| Rice Vinegar 🍯 | 2 tbsp | For bright acidity |
| Sesame Oil 🫒 | 1 tsp | Toasted for nutty aroma |
| Cornstarch 🌾 | 1 tbsp | Mixed with 1 tbsp water |
| Water 💧 | ¼ cup | For thinning as needed |
| Butter 🧈 | 2 tbsp | Unsalted, for richness |
[recipe_ingredient_scaler]
The soy sauce is non-negotiable here—Kikkoman or Yamasa are my go-tos (find them at any grocery store). Dark brown sugar gives that deep molasses note you taste at the hibachi table. Fresh ginger and garlic are a must (the jarred stuff just doesn’t have the same punch). Trader Joe’s has great prices on both if you’re restocking.
No dark brown sugar? Light brown plus 1 tsp molasses works in a pinch. Out of rice vinegar? Apple cider vinegar at half the amount—it’s stronger. The cornstarch slurry is what gives this sauce that glossy, clingy texture (don’t skip it). Want more depth? Add 1 tsp fish sauce (vegetarian oyster sauce works too).
Keeps 10-14 days in the fridge in a sealed jar. The butter might solidify—just warm it gently. Freezes for 3 months if you want to make a big batch. Stir before using, as it thickens when cold.
Why You’ll Love This Recipe
- 5-Minute Magic: Honestly, it’s just dump, stir, and simmer—soy, sugar, garlic, ginger, vinegar. No fancy steps.
- Umami Bomb: That first hit of sweet, salty, garlicky depth from the brown sugar and fresh ginger? Ridiculously good.
- Endless Pairings: I drizzle it on rice, chicken, veggies, even scrambled eggs. Between us, it’s my secret weapon for leftovers.
- Pantry Staples: I always have these ingredients on hand, so it’s a last-minute flavor savior. Saves me a takeout run every time.
Step-by-Step Instructions for Hibachi Brown Sauce
This method delivers that signature sweet-savory glaze you know and love from teppanyaki restaurants.
Step 1: Sauté Aromatics in Butter
Melt the 2 tablespoons Butter in a small saucepan over medium heat. Once foaming subsides, add the 4 cloves Garlic Cloves (minced) and 1 tablespoon Fresh Ginger Root (grated). Sauté for 1-2 minutes until fragrant but not browned.
Watch carefully—the garlic should sizzle gently without burning. This base layer builds the aromatic foundation that defines the sauce’s depth. The butter helps mellow the sharpness of the raw garlic and ginger while adding richness.
Step 2: Build the Sweet-Savory Base
Pour in the 0.5 cup Soy Sauce, 0.5 cup Dark Brown Sugar (packed), and 2 tablespoons Rice Vinegar. Stir until the sugar begins to dissolve, about 2 minutes. The mixture will look thin at first but will thicken as the sugar incorporates.
Here’s the thing—this is where the magic starts happening. The soy sauce provides the umami backbone, while the brown sugar adds that caramelized sweetness characteristic of hibachi sauce. The rice vinegar cuts through the richness with a subtle tang.
Bring to a gentle simmer and let it cook for 3-4 minutes, stirring occasionally. You’ll notice the sauce darkening slightly as it reduces.
Step 3: Create the Slurry and Thicken
In a small bowl, whisk together the 1 tablespoon Cornstarch with 1 tablespoon Water to create a smooth slurry. Slowly pour this into the saucepan while stirring constantly to prevent lumps.
The sauce will begin to thicken immediately. Continue cooking for 2-3 minutes until it reaches your desired consistency—it should coat the back of a spoon but still be pourable. If it thickens too much, add some of the remaining 0.25 cup Water 1 teaspoon at a time.
Step 4: Finish with Sesame Oil
Remove the saucepan from heat and stir in the 1 teaspoon Sesame Oil. This final addition provides that distinctive nutty aroma that makes hibachi sauce so recognizable. The heat from the sauce will gently toast the sesame oil’s flavor without making it bitter.
Let the sauce cool for 5 minutes before using. It will thicken slightly more as it cools. Taste and adjust seasoning if needed—though with the balanced ingredients, it should be perfect as is.
This makes enough for 4 servings of teppanyaki-style dishes. Store any leftovers in an airtight container in the refrigerator for up to 1 week.
Pro Tips For Making Hibachi Brown Sauce
- Simmer, Don’t Boil: Keep the heat at a gentle simmer—boiling the soy sauce and brown sugar too hard can make it thicken unevenly or even burn. I learned this the hard way after scraping a pan full of bitter, over-reduced sauce.
- Grate the Ginger: Fresh ginger root can be fibrous, so use a microplane to grate it finely instead of mincing. This ensures no stringy bits in your sauce and better flavor distribution.
- Balance the Sweet: Taste before adding all the brown sugar—some brands of soy sauce are saltier than others. I was skeptical until I tried it, but adjusting the sugar to taste makes the sauce perfectly balanced.
- Bloom the Aromatics: Cook the garlic and ginger in a little oil for 30 seconds before adding liquids. Sounds weird, but it works: this step deepens their flavor and removes any raw bite.
Dietary Considerations for This Recipe
Gluten-Free Adaptation
Use tamari instead of soy sauce—it’s naturally gluten-free with the same deep umami flavor. San-J brand is my trusted choice. The rest of the ingredients remain unchanged, and the flavor difference is minimal. 💡
Reduced Sugar Option
Cut the brown sugar to ¼ cup and add 2 tbsp honey or maple syrup for natural sweetness. The sauce will be slightly thinner, so simmer an extra 2-3 minutes to achieve the right consistency.
Vegan Modification
Swap the butter for vegan butter or coconut oil. I prefer Miyoko’s for its rich flavor. The sesame oil and soy sauce are already plant-based, so no other changes are needed.
Sodium-Conscious Version
Use low-sodium soy sauce and reduce the total amount by 2 tbsp. Boost umami with 1 tsp mushroom powder or ½ tsp white miso paste to compensate without adding salt. 🌱
Allergen-Free Notes
This recipe contains soy and sesame. For soy allergies, try coconut aminos as a substitute. For sesame allergies, use neutral oil like avocado oil instead of sesame oil.
Nutrition Facts
Frequently Asked Questions
Can I use honey instead of brown sugar?
Yes, substitute ½ cup honey for the sugar. Reduce other liquids by 1-2 tablespoons to balance the added moisture. The flavor will be slightly different but still delicious.
Why does my sauce turn out too thin?
This usually means the cornstarch slurry didn’t activate properly. Simmer for an extra 2-3 minutes after adding it, stirring constantly. Ensure you’re using cold water for the slurry.
How long does homemade sauce last?
Stored in an airtight container in the fridge, it keeps for 10-14 days. For longer storage, freeze for up to 3 months. Stir well after thawing.
Can I make this without cornstarch?
Yes, simmer the sauce longer to reduce naturally. It won’t be as thick but will still have great flavor. Alternatively, use 1 tbsp arrowroot powder as a substitute.

Trained in classic French technique but raised on slow-cooked ribs and spicy rubs, she blends culinary skill with smoke and soul.
- Recipe for Boneless Pork Chops in Cast Iron Skillet: Sear and Baste to Juicy Perfection - October 3, 2026
- Recipe for Boneless Cross Rib Roast: Slow-Roasted Beef with Herb Crust - October 3, 2026
- Hamburgers in Sauce Recipe Crock Pot: Slow-Cooked Savory Delight - October 3, 2026