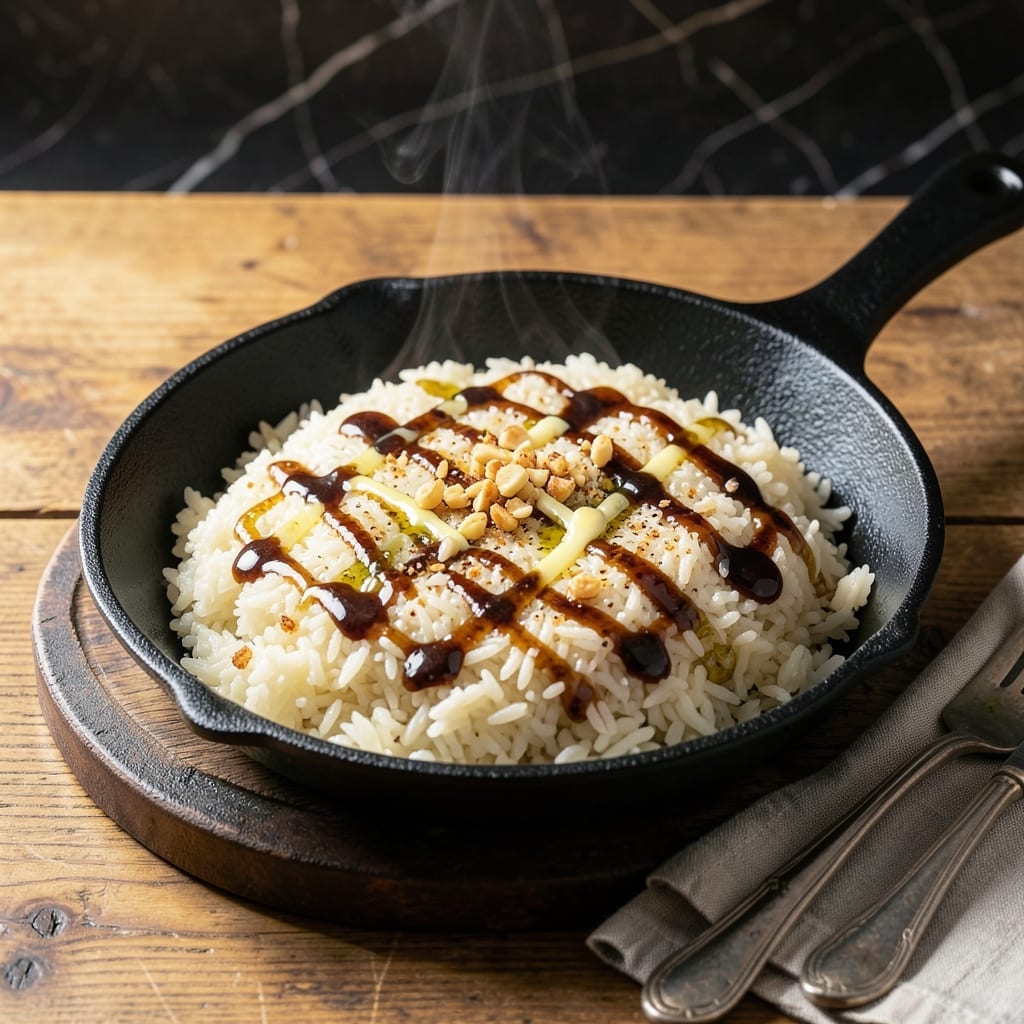
This hibachi rice delivers the signature buttery flavor and subtle char you love from the grill. The secret is cooking the rice slightly firm, then finishing it on high heat for that authentic wok-tossed texture.
With just a few ingredients and 15 minutes of hands-on time, you’ll create a side dish that perfectly complements any protein. The technique is simple but precise, ensuring restaurant-quality results every time.
Ingredients for Hibachi Grill Rice
Short list. Big flavor. Just the essentials for that signature hibachi taste.
| Ingredient | Amount | Notes |
|---|---|---|
| Jasmine Rice 🍚 | 2 cups | Uncooked, long-grain preferred |
| Water 💧 | 2 ½ cups | For cooking rice |
| Unsalted Butter 🧈 | 4 tbsp | Divided for cooking and finishing |
| Soy Sauce 🫒 | 3 tbsp | Low-sodium preferred |
| Sesame Oil 🫒 | 1 tbsp | Toasted for best flavor |
| Garlic Cloves 🧄 | 3 cloves | Minced for maximum flavor |
| White Onion 🧅 | ½ whole | Finely diced |
| Granulated Sugar 🍚 | 1 tsp | Balances the soy sauce |
| Salt 🧂 | ½ tsp | Kosher or sea salt |
| Black Pepper 🌶️ | ¼ tsp | Freshly ground |
| Green Onions 🧅 | 2 whole | Thinly sliced for garnish |
[recipe_ingredient_scaler]
The rice is non-negotiable here. Jasmine gives you that sticky, slightly sweet bite that clings to the wok. Trader Joe’s and most Asian markets carry it in bulk—cheaper and you can buy exactly what you need. Butter quality matters too (the good stuff, not the margarine). I’ve tried this with short-grain and basmati, but jasmine hits that restaurant vibe every time.
No jasmine rice? Short-grain sushi rice works in a pinch, but it’ll be stickier. Out of sesame oil? Avocado oil plus a pinch of toasted sesame seeds gets you close. Low-sodium soy sauce is key—regular can be overwhelming. The sugar might seem odd, but it’s doing important work (trust me on this). Fresh garlic and onion only—no shortcuts here.
Leftover rice? Spread it on a tray to cool completely before storing. Keeps 4-5 days in the fridge, freezes for 3 months. Reheat in a skillet with a splash of water to bring back that fresh-off-the-grill texture.
Why You’ll Love This Recipe
- 20-Minute Magic: It’s just rice, butter, and a splash of soy and sesame—no fancy steps, no stress.
- Buttery Umami Bomb: The butter and soy sauce give every grain this rich, savory depth that’s honestly hard to stop eating.
- Meal Prep MVP: I make a big batch Sunday and it reheats like a dream for lunches all week.
- Pocket-Friendly Feast: Jasmine rice and pantry staples stretch into a filling meal that costs pennies per serving.
Step-by-Step Instructions for Hibachi Grill Rice
This method delivers that signature buttery, slightly charred flavor you crave from your favorite Japanese steakhouse.
Step 1: Cook the Jasmine Rice
Rinse the 2 cups jasmine rice under cold water until the water runs clear—this removes excess starch for fluffier grains. Combine the rice with 2.5 cups water in a pot, add 0.5 tsp salt, and bring to a boil.
Once boiling, reduce heat to low, cover, and simmer for 15 minutes. Then, remove from heat and let it steam, covered, for another 10 minutes. You want the rice fully cooked but still firm enough to hold its shape when tossed in the next steps.
Step 2: Sauté Aromatics Until Fragrant
In a large skillet or wok over medium-high heat, melt 2 tbsp unsalted butter. Add finely diced 0.5 whole white onion and cook for 3-4 minutes until translucent. Stir in minced 3 cloves garlic cloves and cook for 30 seconds—just until fragrant but not browned.
Here’s the thing—if your garlic browns, it’ll turn bitter. Keep it moving in the pan to prevent hot spots. The onion should soften without coloring much, creating a sweet base for the rice.
Step 3: Toss Rice with Sauce and Butter
Add the cooked rice to the skillet, breaking up any clumps with a spatula. Drizzle 3 tbsp soy sauce, 1 tbsp sesame oil, and 1 tsp granulated sugar evenly over the rice. Toss everything together with 0.25 tsp black pepper and the remaining 2 tbsp unsalted butter.
Cook for 5-7 minutes over medium-high heat, pressing the rice against the pan occasionally to create those coveted golden, slightly crispy bits. The rice should take on a glossy sheen from the soy and sesame oil.
Step 4: Garnish and Serve Immediately
Remove from heat and fold in thinly sliced 2 whole green onions, reserving a pinch for garnish. Taste and adjust seasoning if needed—though the soy sauce usually provides enough saltiness.
Transfer to a serving plate, top with the reserved green onions, and serve hot. The rice should have distinct grains with a light char and rich, buttery-savory flavor in every bite. This dish doesn’t wait well, so dig in right away for the best texture.
Pro Tips For Making Hibachi Grill Rice
- Rinse the Rice: Wash jasmine rice under cold water until the water runs clear to remove excess starch—this keeps the grains separate and prevents mushy hibachi rice.
- Use Day-Old Rice: Cook the rice a day ahead and refrigerate it; cold, dry rice fries up better on the grill and absorbs the soy sauce and sesame oil more evenly.
- High Heat Only: Crank the grill or pan to high heat before adding the rice to get that signature slightly charred, crispy texture hibachi rice is known for.
- Butter Last: Stir in the unsalted butter at the very end so it melts into the rice without burning, giving it that rich, smooth finish without bitterness.
Creative Variations of This hibachi grill rice
Spicy Sriracha Kick
Add 1 tbsp sriracha to the soy sauce mixture before tossing with the rice. The heat cuts through the richness beautifully. I also sprinkle ½ tsp red pepper flakes while cooking for extra warmth. Serve with extra sriracha on the side for heat lovers. 🌶️
Vegetable Medley Boost
Stir in ½ cup each of diced carrots, zucchini, and mushrooms when sautéing the onions. Cook until tender-crisp before adding the rice. This adds color and texture while keeping the dish light and fresh.
Teriyaki Glaze Twist
Replace the soy sauce with ¼ cup teriyaki sauce for a sweeter, glossier finish. I use Kikkoman Teriyaki for consistent flavor. Drizzle an extra 1 tbsp over the finished rice for that restaurant-style shine.
Cheesy Umami Bomb
Sprinkle ¼ cup grated parmesan over the rice during the final toss. The cheese melts into the butter and soy sauce, creating a rich, umami-packed bite. Garnish with extra green onions for a pop of color.
Lemon Zest Brightness
Add 1 tsp lemon zest and the juice of ½ lemon at the end for a citrusy lift. This balances the richness and adds a refreshing note. I learned this trick from a coastal chef friend.
Bacon Crumble Surprise
Cook 4 strips crispy bacon, crumble, and fold into the rice just before serving. The smoky saltiness pairs perfectly with the buttery rice. This is my go-to for impressing guests at backyard cookouts.
Nutrition Facts
Frequently Asked Questions
Can I use leftover rice for this?
Cold, day-old rice works even better as it’s drier and less likely to turn mushy. Just break up any clumps before adding to the pan.
Why press the rice against the pan?
It creates those crispy, golden bits that mimic the wok-tossed texture of restaurant hibachi. Skip this step and you’ll miss the signature char.
What if I don’t have sesame oil?
Substitute with 1 tbsp neutral oil plus ½ tsp toasted sesame seeds for similar flavor. Avoid skipping it entirely—the aroma is key.
Can I make this ahead of time?
Best served fresh, but you can prep components early. Cook rice up to a day ahead, or chop veggies 2 hours in advance.

Trained in classic French technique but raised on slow-cooked ribs and spicy rubs, she blends culinary skill with smoke and soul.
- Recipe for Boneless Pork Chops in Cast Iron Skillet: Sear and Baste to Juicy Perfection - October 3, 2026
- Recipe for Boneless Cross Rib Roast: Slow-Roasted Beef with Herb Crust - October 3, 2026
- Hamburgers in Sauce Recipe Crock Pot: Slow-Cooked Savory Delight - October 3, 2026