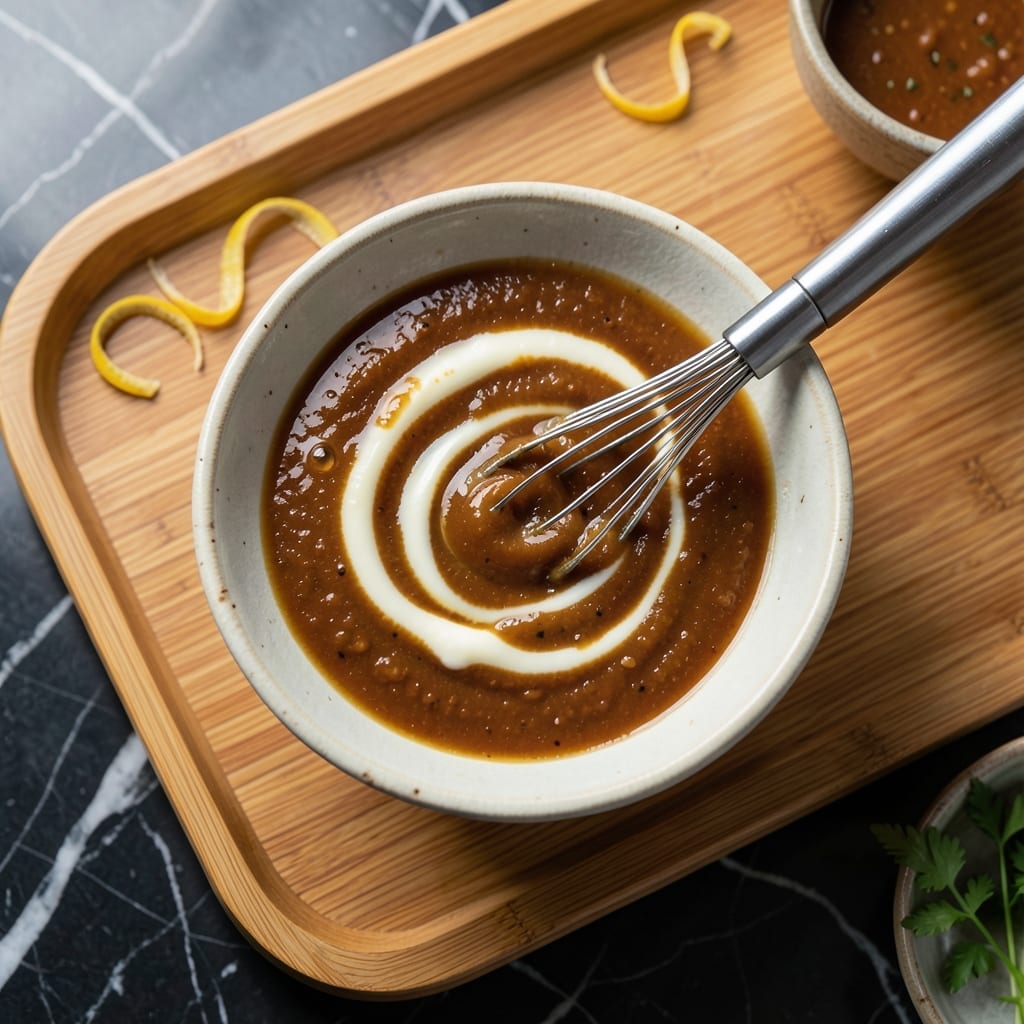
This tangy, umami-rich sauce transforms grilled proteins and vegetables into restaurant-quality dishes. I developed it after years of perfecting hibachi-style flavors at home.
With just 5 ingredients and 5 minutes of prep, this versatile drizzle adds depth to any meal. David always requests a double batch for his weekly grilling sessions.
Ingredients for Hibachi Sauce
Five ingredients create this umami-packed sauce for grilled favorites and more.
| Ingredient | Amount | Notes |
|---|---|---|
| Mayonnaise 🥚 | 1 cup | Full-fat for creaminess |
| Soy Sauce 🫒 | ¼ cup | Low-sodium preferred |
| Rice Vinegar 🍚 | 2 tbsp | Unseasoned variety |
| Granulated Sugar 🍚 | 2 tbsp | Dissolves completely |
| Garlic Powder 🧄 | 1 tsp | Not garlic salt |
[recipe_ingredient_scaler]
The mayonnaise base is critical here. Duke’s or Hellmann’s provide the right thickness and neutral flavor. Avoid light or low-fat versions—they lack the richness needed to balance the soy and vinegar. Soy sauce quality matters too: Kikkoman is the standard for hibachi-style dishes, though any good-quality brand will work. Rice vinegar should be unseasoned to avoid added sweetness.
No rice vinegar? Apple cider vinegar at half the amount works in a pinch, though the flavor profile shifts slightly. Garlic powder is the easiest form here, but fresh minced garlic at one-third the quantity can be used if you prefer. For a tangier sauce, increase the vinegar by 1 tablespoon and reduce sugar slightly. The sugar is essential—don’t omit it, as it balances the saltiness.
Store in an airtight container in the fridge for up to 1 week. The sauce thickens slightly when chilled. For longer storage, freeze in ice cube trays, then transfer to a bag for up to 3 months. Thaw overnight before using.
Why You’ll Love This Recipe
- 5-Minute Mix: Honestly, I just dump everything in a bowl and stir—no cooking, no fuss, just creamy mayo meeting tangy rice vinegar in seconds.
- Umami Bomb: The soy sauce and garlic powder hit that perfect balance of salty, sweet, and savory I crave with every hibachi bite.
- Drizzle on Everything: I slather it on steak, rice, even veggies—my kids beg for it on chicken tenders too. (Yes, even on a Tuesday night)
- Budget Stretch: Five pantry staples, one sauce that lasts a week in the fridge—I’ll be real: this saves me both money and takeout runs.
Step-by-Step Instructions for Hibachi Sauce
This straightforward method yields a perfectly balanced sauce with minimal effort.
Step 1: Combine the Wet Ingredients
In a medium bowl, whisk together the 1 cup Mayonnaise and 0.25 cup Soy Sauce until fully smooth and homogeneous. I use a wire whisk for this as it emulsifies the mixture better than a spoon, creating a stable base for the remaining ingredients.
Watch for the color to turn a consistent pale tan throughout—this indicates the soy sauce is evenly distributed. If you see any streaks of dark soy sauce, continue whisking until they disappear completely.
Step 2: Incorporate the Acidic and Sweet Components
Add the 2 tbsp Rice Vinegar and 2 tbsp Granulated Sugar to the mayonnaise mixture. The vinegar will initially cause the emulsion to loosen slightly as it reacts with the mayonnaise, but this is normal and will tighten up again as you whisk.
Vigorously whisk for 1-2 minutes until the sugar begins to dissolve. You’ll notice the mixture start to thicken slightly as the sugar incorporates. The texture should be smooth with no visible sugar granules—this ensures even flavor distribution in every bite.
Step 3: Add the Aromatic Finishing Touch
Sprinkle in the 1 tsp Garlic Powder and whisk for an additional 30 seconds to fully integrate. Garlic powder can clump if not properly dispersed, so make sure to break up any small lumps that form on the surface.
The sauce will take on a slightly more complex aroma at this point, with the garlic’s pungency complementing the sweet and tangy elements. Taste and adjust—if you prefer a stronger garlic presence, you could add up to another ½ tsp, but I find the original amount provides the perfect subtle depth.
Step 4: Rest and Allow Flavors to Marry
Cover the bowl with plastic wrap and refrigerate for at least 30 minutes. This resting period allows the flavors to meld completely and the sugar to finish dissolving, resulting in a more cohesive and balanced final product.
During this time, the sauce will thicken slightly as it chills. For best results, I recommend letting it rest for 1-2 hours if possible. The flavor develops significantly more complexity with this additional time, though it will still be delicious if used immediately.
Pro Tips For Making Hibachi Sauce
- Whisk Until Smooth: I learned this the hard way—lumpy sauce ruins the texture. Whisk the mayo and vinegar together for at least 30 seconds before adding the rest.
- Dissolve the Sugar: Mix the sugar with the rice vinegar first and let it sit for 5 minutes. This prevents grainy bits in your finished sauce.
- Skip the Low-Quality Mayo: After a few failed batches, I finally figured out that full-fat, name-brand mayo makes a real difference in flavor and creaminess.
- Rest Before Using: Give the sauce a solid 30 minutes in the fridge before serving—it lets the flavors meld together properly.
Health Benefits of This Dish
Rich in Healthy Fats
This sauce gets its creamy texture from mayonnaise, which provides healthy monounsaturated fats that support heart health. One serving contains about 10g of fat, mostly from the oil in mayo. These fats help your body absorb fat-soluble vitamins. 💪
Soy Sauce Benefits
Soy sauce adds umami depth while providing essential amino acids and small amounts of iron. Low-sodium versions reduce salt intake while maintaining flavor. I always keep Kikkoman in my pantry for its balanced taste.
Low Calorie Option
At about 120 calories per 2-tbsp serving, this sauce lets you add bold flavor without excessive calories. The rice vinegar contributes minimal calories while brightening the rich mayo base. David never guesses it’s lighter than restaurant versions.
No Artificial Additives
When you make this at home, you control the ingredients—no preservatives or artificial flavors. The granulated sugar is the only sweetener, and you can reduce it slightly if preferred. I love knowing exactly what’s in our family’s food.
Versatile Nutrition Boost
Use this sauce to make veggies more appealing to kids—Emma and Jack love dipping broccoli in it. The garlic powder adds immune-boosting properties. It’s an easy way to add flavor without heavy sauces. 💛
Balanced Flavor Profile
The combination of sweet, tangy, and umami means you can use less sauce while still getting maximum flavor impact. This makes it easier to control portions and calories. I’ve found it enhances meals without overpowering them.
Nutrition Facts
Frequently Asked Questions
Can I use a different type of vinegar?
Yes, but adjust carefully. Apple cider vinegar works at half the amount, but may alter the flavor slightly. Avoid balsamic—it’s too strong for this balance.
How long does it keep in the fridge?
Store in an airtight container for up to 1 week. For longer storage, freeze in ice cube trays for up to 3 months. Thaw overnight before using.
Why does my sauce taste too salty?
Low-sodium soy sauce helps control saltiness. If it’s still too strong, add a pinch of sugar or a splash of water to balance. Always taste before adjusting.
Can I make it spicy?
Add ½ tsp sriracha or a pinch of cayenne for heat. Start small—you can always add more to suit your preference.

Trained in classic French technique but raised on slow-cooked ribs and spicy rubs, she blends culinary skill with smoke and soul.
- Recipe for Boneless Pork Chops in Cast Iron Skillet: Sear and Baste to Juicy Perfection - October 3, 2026
- Recipe for Boneless Cross Rib Roast: Slow-Roasted Beef with Herb Crust - October 3, 2026
- Hamburgers in Sauce Recipe Crock Pot: Slow-Cooked Savory Delight - October 3, 2026