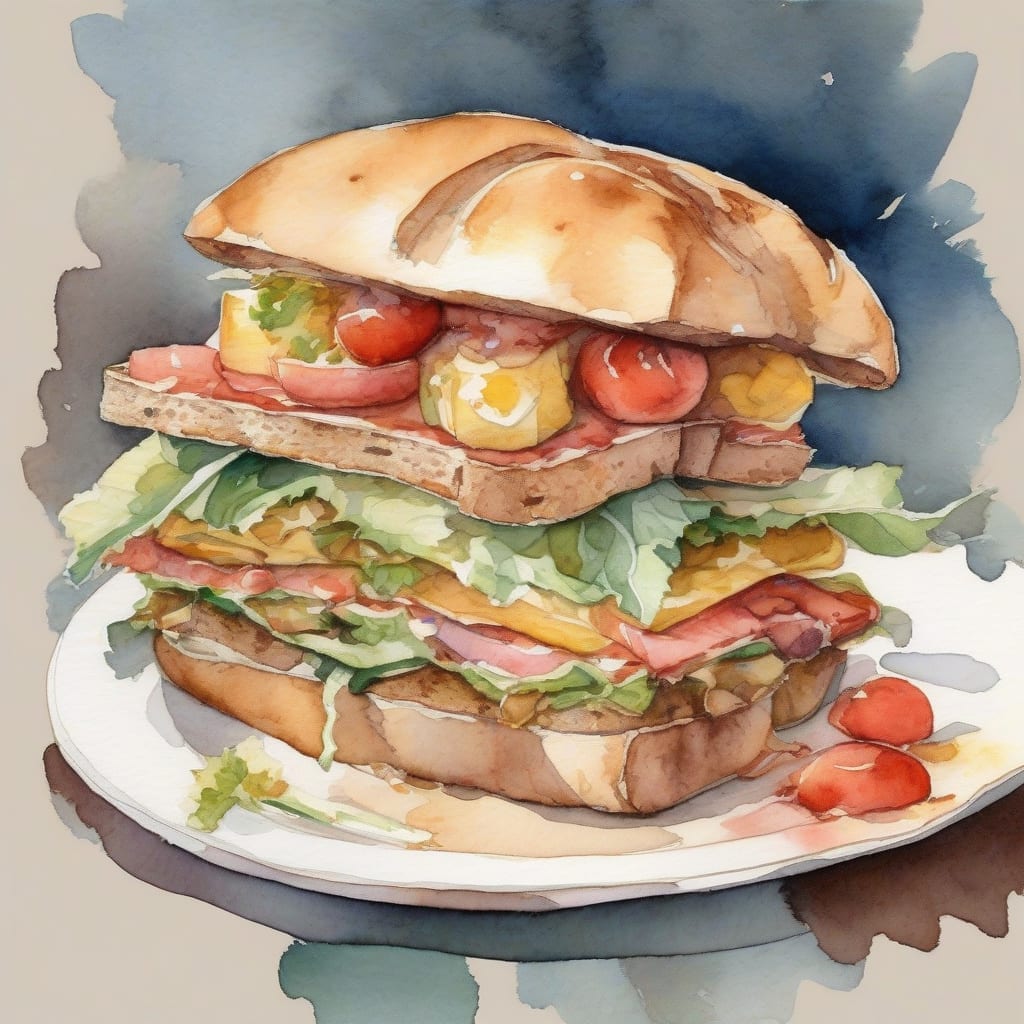
There’s something magical about cooking dinner over an open fire, and this hobo sandwich brings back all those nostalgic camping memories. 🔥 I’ve been making these foil-wrapped bundles for years—at campfires, backyard cookouts, and even in my home oven when I’m craving that smoky, rustic flavor.
What makes this recipe brilliant is its simplicity and versatility. Ground beef, potatoes, vegetables, and seasonings all cook together in individual foil packets, creating a complete meal with virtually no cleanup. Each packet steams in its own juices, resulting in tender meat and perfectly cooked vegetables.
By the time you unwrap that foil, you’ll have a sizzling, aromatic meal that’s customizable to everyone’s tastes. The ingredients meld together beautifully, and the foil packet method means everything stays moist and flavorful. Let’s get these packets assembled!
Ingredients for hobo sandwich
Here’s everything you need to create these campfire-ready hobo sandwich foil packs tonight.
| Ingredient | Amount | Notes |
|---|---|---|
| Ground Beef 🥩 | 1 lb | 80/20 blend for best flavor |
| Russet Potatoes 🥔 | 3 whole | Scrubbed, sliced thin |
| Yellow Onion 🧅 | 1 whole | Sliced into rings |
| Carrots 🥕 | 2 whole | Peeled and sliced |
| Green Bell Pepper 🫑 | 1 whole | Seeded and chopped |
| Garlic Cloves 🧄 | 4 cloves | Minced or sliced thin |
| Butter 🧈 | 4 tbsp | Cut into pats |
| Worcestershire Sauce 💧 | 2 tbsp | For savory depth |
| Salt 🧂 | 1 tsp | Kosher or sea salt |
| Black Pepper 🌶️ | 1 tsp | Freshly ground preferred |
| Paprika 🌶️ | 1 tsp | Smoked adds campfire flavor |
| Heavy-Duty Aluminum Foil 📦 | 4 sheets | 18-inch squares for packets |
[recipe_ingredient_scaler]
You can find all these ingredients at any grocery store. For the ground beef, I recommend 80/20 from your local butcher for the best flavor and moisture—leaner beef dries out in foil packets. Russet potatoes work better than red or Yukon Gold because they hold their shape during cooking. Pick up heavy-duty Reynolds Wrap foil; regular foil tears too easily over campfires or grills.
Don't have ground beef? Ground turkey or pork work well, though they're leaner so add an extra tablespoon of butter per packet. If you skip carrots, add extra bell peppers or sliced mushrooms for bulk. No Worcestershire sauce? Soy sauce or beef broth adds similar savory depth. For vegetarian versions, use plant-based crumbles and vegetable broth instead of meat.
Store raw ground beef in the coldest part of your fridge and use within 2 days. Keep potatoes in a cool, dark place—not the refrigerator. Prep vegetables the night before camping trips and store in sealed containers on ice for easy assembly at the campsite.
Step-by-Step Instructions for Hobo Sandwich
Let me walk you through assembling these campfire packets so they cook perfectly every time.
👨🍳 Step 1: Prepare Your Foil Packets and Layer the Base
Lay out your four 18-inch square sheets of heavy-duty aluminum foil on a clean work surface. I like to work with all four at once so I can distribute ingredients evenly across the packets. Lightly spray or brush the center of each foil sheet with a bit of oil to prevent sticking.
Start by dividing the sliced russet potatoes evenly among the four foil sheets, creating a single layer in the center of each. The potatoes form the foundation of your hobo sandwich, so spread them out to ensure even cooking. Top the potato layer with the sliced yellow onion rings, distributing them evenly across all four packets.
Next, add the sliced carrots and chopped green bell pepper to each packet. I’ve found that layering the vegetables this way allows them to steam together beautifully, with each ingredient contributing its own flavor to the mix. Scatter the minced garlic cloves over the vegetables—don’t skip this step, as the garlic infuses everything with amazing flavor as it cooks.
🔥 Step 2: Add the Ground Beef and Seasonings
Divide the ground beef into four equal portions (about 4 ounces each) and place one portion on top of the vegetables in each packet. I press the beef down gently into a flat patty shape so it makes good contact with the vegetables below—this helps everything cook together and allows the beef juices to drip down and flavor the potatoes.
Season each packet with the salt, black pepper, and paprika, dividing the seasonings evenly. I like to sprinkle about ¼ teaspoon of each per packet, making sure to season both the beef and the vegetables. Drizzle ½ tablespoon of Worcestershire sauce over each packet for that signature savory depth.
Top each packet with 1 tablespoon of butter cut into small pats. The butter melts as it cooks, basting everything inside and creating a rich, flavorful sauce that coats the vegetables and keeps the meat moist.
🥘 Step 3: Seal the Packets Properly
Here’s where technique matters most. Bring the two opposite sides of the foil up to meet in the middle above the ingredients. Fold them together twice, creating a tight seal at the top. Then fold in the two open ends, crimping them tightly to create a completely sealed packet—no gaps or holes.
I always double-check my seals because any opening will let steam escape, which means your vegetables won’t cook through properly. The packet should look like a puffy pillow when sealed correctly. If you’re worried about tears, you can wrap each packet in a second layer of foil for extra protection, especially if you’re cooking directly on coals.
🔥 Step 4: Cook Over Campfire or Grill
Place the sealed packets directly on a grill preheated to medium-high heat (around 375-400°F) or nestle them in the coals of a campfire that has burned down to glowing embers. Cook for 25-30 minutes, flipping the packets halfway through using long tongs.
You’ll know they’re done when the packets feel firm when gently pressed and you can hear sizzling inside. The potatoes should be fork-tender, the beef cooked through to 160°F, and all the vegetables soft and caramelized. If you’re unsure, carefully open one packet (watch for steam!) and check—the beef should be browned and the potatoes should slide off a fork easily.
⏰ Step 5: Rest and Serve Carefully
Remove the packets from heat using tongs and let them rest for 3-5 minutes before opening. This resting period allows the juices to redistribute and the contents to cool slightly so you don’t burn yourself on the steam.
Carefully open each packet by cutting an X in the top with scissors or a knife—stand back as you do this because hot steam will rush out. The contents should be bubbling hot with the butter and beef juices pooled at the bottom, creating a delicious sauce. You can eat directly from the foil or slide everything onto a plate. Each bite delivers tender beef, perfectly cooked vegetables, and those incredible butter-and-Worcestershire-soaked potatoes.
Now that we’ve got the ingredients ready, it’s time to assemble our hobo sandwich! 🍖️ This campfire-ready foil pack classic is a cinch to make and is sure to satisfy your hunger after a long day outdoors.
Assembling the Sandwich 🔪
To start, lay out a large piece of aluminum foil on a flat surface. Place a few slices of bread in the center of the foil, leaving enough room around the bread to fold the foil over the sandwich.
- Add a few slices of your favorite deli meat on top of the bread.
- Add some cheese, veggies, and condiments to taste.
- Top with another slice of bread to complete the sandwich.
Cooking the Sandwich 🔥
Once your sandwich is assembled, it’s time to cook it over the campfire. Simply fold the foil over the sandwich, making sure to seal the edges tightly. Place the sandwich on a grill or directly on the coals, and cook for 5-7 minutes on each side, or until the bread is toasted and the cheese is melted.
💡 Pro tip: Make sure to check on your sandwich frequently to avoid burning. You can also cook the sandwich in the oven at home if you don’t have access to a campfire.
| Cooking Method | Cooking Time |
|---|---|
| Campfire | 10-14 minutes |
| Oven | 10-12 minutes at 375°F |
With these simple steps, you’ll be enjoying a delicious hobo sandwich in no time! 🌟
Tips & Tricks for Perfect Hobo Sandwich
These campfire-tested tips will help you avoid common pitfalls and achieve perfectly cooked packets every time.
Double-Wrap for Insurance: If you’re cooking directly on campfire coals like I often do, wrap each packet in a second layer of foil. This prevents tears from sharp embers and gives you extra protection against steam escaping. I learned this the hard way after losing dinner to a punctured packet! 🔥
Slice Vegetables Uniformly: Cut your potatoes and carrots into ¼-inch thick slices so everything cooks at the same rate. Thicker pieces won’t soften in the 25-30 minute cook time mentioned in Step 4, while thinner pieces can turn mushy. Consistent sizing is the secret to evenly cooked vegetables.
Test Doneness Without Fully Opening: Instead of completely unwrapping a packet to check if it’s done, carefully peel back just one corner and insert a fork to test the potatoes. If they’re tender, everything else is ready. This prevents heat loss and keeps your meal hot while you’re checking.
Make-Ahead Strategy: Assemble these packets up to 4 hours ahead and keep them in a cooler until cooking time. This makes campsite meal prep a breeze—just pull them out and toss them on the fire. The vegetables won’t brown since they’re sealed from air. 💡
Nutrition Facts
485kcal
[recipe_ingredient_scaler]

Trained in classic French technique but raised on slow-cooked ribs and spicy rubs, she blends culinary skill with smoke and soul.
- Recipe for Boneless Pork Chops in Cast Iron Skillet: Sear and Baste to Juicy Perfection - October 3, 2026
- Recipe for Boneless Cross Rib Roast: Slow-Roasted Beef with Herb Crust - October 3, 2026
- Hamburgers in Sauce Recipe Crock Pot: Slow-Cooked Savory Delight - October 3, 2026