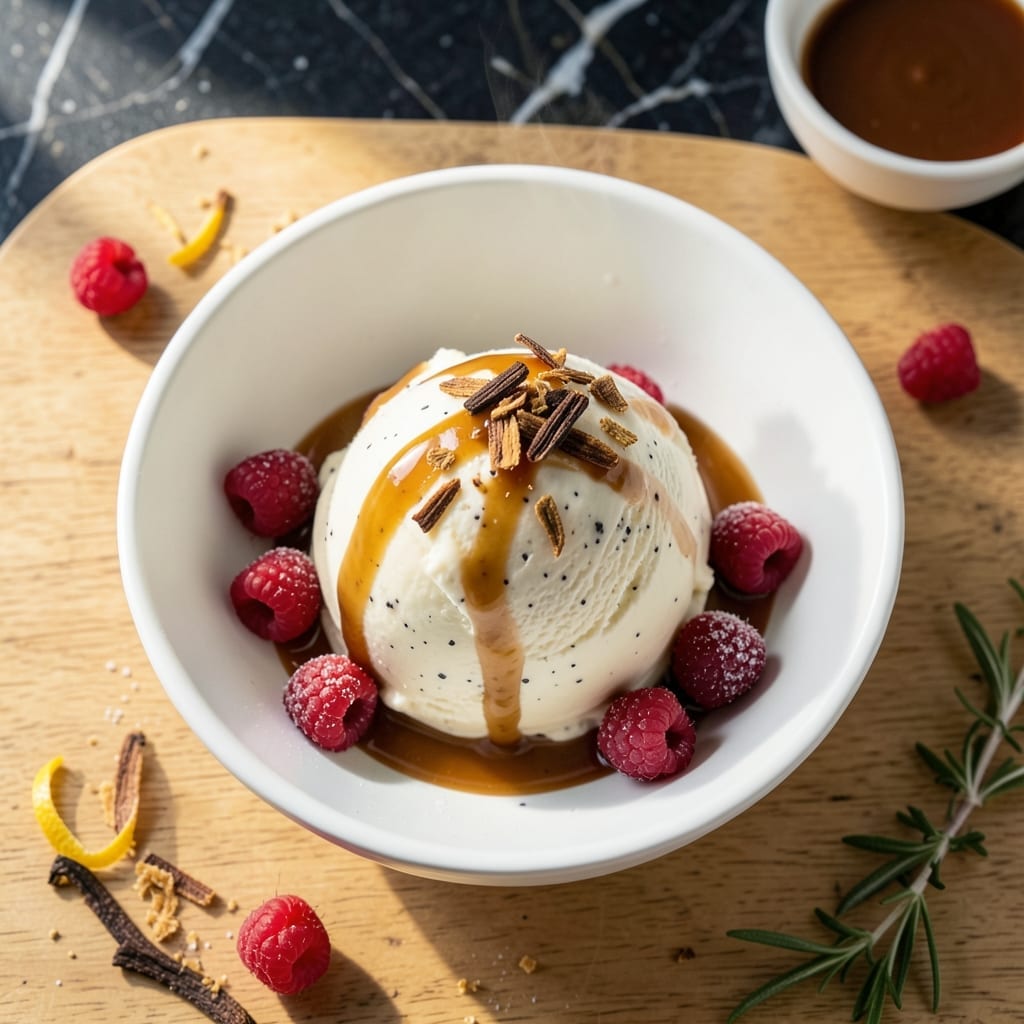
There’s nothing like the creamy texture of freshly churned homemade ice cream straight from your machine.
This proven method delivers that perfect velvety consistency every time, with simple ingredients and precise timing.
Ingredients for Homemade Ice Cream Recipe for Ice Cream Maker
Cold dairy, sugar, and eggs create this velvety churned treat. Nothing artificial, just perfection.
| Ingredient | Amount | Notes |
|---|---|---|
| Heavy Whipping Cream 🥛 | 2 cups | Cold, at least 36% fat content |
| Whole Milk 🥛 | 1 cup | Cold, full-fat for creaminess |
| Granulated Sugar 🍚 | ¾ cup | Fine white sugar preferred |
| Vanilla Extract 🌿 | 1 tbsp | Pure vanilla, not imitation |
| Table Salt 🧂 | ¼ tsp | Fine grain, enhances flavors |
| Large Egg Yolks 🥚 | 4 whole | Fresh, for custard base |
| Vanilla Bean 🌿 | 1 whole | Split and scraped, optional |
| Corn Syrup 🍯 | 2 tbsp | Light, for smooth texture |
| Pure Vanilla Bean Paste 🌿 | 1 tsp | Alternative to vanilla bean |
[recipe_ingredient_scaler]
The heavy cream is non-negotiable here for that luxurious texture (36% fat minimum). Organic Valley or Darigold are reliable brands for both cream and milk. For the egg yolks, fresh, high-quality eggs make a noticeable difference in richness. I source mine from local farms when possible. Vanilla beans add speckles and depth, but Nielsen-Massey extract is a solid alternative if beans aren’t available.
Out of heavy cream? Full-fat coconut milk at a 1:1 ratio works for a dairy-free version (though texture differs). No vanilla bean? Double the extract or use paste. For a lighter option, half-and-half can replace the milk, but expect slightly less creaminess. The corn syrup prevents iciness—agave or glucose syrup can substitute in a pinch, but avoid regular sugar syrup.
The custard base keeps in the fridge for 3 days before churning. Churned ice cream is best eaten within 1 week but can be frozen for 2-3 months in an airtight container. Always let it soften 10-15 minutes before scooping for that perfect texture.
Why You’ll Love This Recipe
- Set It and Forget: I dump the heavy cream, milk, sugar, and vanilla into the maker and let the machine do the work.
- Pure Vanilla Bliss: That real vanilla extract shines through with a creamy richness the store-bought stuff can’t touch.
- Crowd Pleaser: I make a double batch for summer cookouts and my bowl is always the first empty.
- Penny-Wise Treat: Five simple ingredients cost less than a pint of premium ice cream and taste twice as good.
Step-by-Step Instructions for Homemade Ice Cream
Master the custard base and churning technique for ice cream with professional texture and flavor.
Step 1: Infuse the Cream and Milk
In a medium saucepan, combine the 2 cups Heavy Whipping Cream and 1 cup Whole Milk over medium heat. If using the 1 whole Vanilla Bean, split it lengthwise, scrape the seeds into the cream mixture, and add the pod as well for maximum flavor infusion.
Heat the mixture just until it begins to simmer at the edges—tiny bubbles will form around the pan’s perimeter. Do not allow it to boil. Remove from heat, cover, and let steep for 15 minutes to allow the vanilla to fully infuse. This creates a rich, aromatic foundation for your custard.
Step 2: Temper the Egg Yolks with Sugar
In a separate bowl, whisk the 4 whole Large Egg Yolks with the 0.75 cup Granulated Sugar until the mixture turns pale yellow and thickens slightly, about 2-3 minutes. The sugar should be fully dissolved, and the mixture should leave a ribbon-like trail when lifted.
Slowly pour about 1 cup of the warm cream mixture into the egg yolks while whisking constantly. This tempering process prevents the eggs from curdling when exposed to heat. Once incorporated, pour the tempered egg mixture back into the saucepan with the remaining cream.
Step 3: Cook the Custard Base
Return the saucepan to medium-low heat and stir constantly with a wooden spoon or silicone spatula. Cook until the custard thickens enough to coat the back of the spoon, about 8-10 minutes. You’ll know it’s ready when you can draw a clean line through the custard on the spoon with your finger.
Stir in the 0.25 tsp Table Salt, 2 tbsp Corn Syrup, and 1 tbsp Vanilla Extract. If using 1 tsp Pure Vanilla Bean Paste instead of the bean, add it now. The corn syrup enhances smoothness and prevents ice crystals.
Step 4: Chill and Prepare for Churning
Strain the custard through a fine-mesh sieve into a clean bowl to remove any potential cooked egg bits or vanilla pod pieces. Press plastic wrap directly onto the surface of the custard to prevent a skin from forming. Refrigerate until completely cold, at least 4 hours or overnight.
Chilling is critical—warm custard won’t churn properly in the ice cream maker. The mixture should be the temperature of the Heavy Whipping Cream and Whole Milk when you started, around 40°F.
Step 5: Churn to Perfection
Pour the chilled custard into your ice cream maker and churn according to the manufacturer’s instructions, typically 20-25 minutes. The ice cream is ready when it reaches a soft-serve consistency and holds its shape when scooped.
Transfer to a freezer-safe container and freeze for at least 4 hours to firm up. For best texture, let it sit at room temperature for 5-10 minutes before serving to allow for easy scooping.
Pro Tips For Making Homemade Ice Cream Recipe For Ice Cream Maker
- Chill the Base: Always refrigerate your cream-milk-sugar mixture for at least 4 hours before churning—I learned this the hard way after ending up with soupy ice cream that never set properly.
- Use Full-Fat Dairy: Skip the low-fat milk or half-and-half; whole milk and heavy cream are non-negotiable for that rich, creamy texture that makes homemade ice cream worth the effort.
- Add Vanilla Last: Stir in the vanilla extract right before churning, not during heating, to preserve its delicate flavor—after burning a batch, I finally figured out heat dulls its aroma.
- Pre-Freeze the Bowl: Make sure your ice cream maker’s bowl is completely frozen (12+ hours) or the mixture won’t thicken properly—sounds obvious, but I’ve ruined two batches by rushing this step.
Serving Suggestions for homemade ice cream recipe for ice cream maker
Classic Presentation
Serve scoops in chilled bowls for that old-fashioned ice cream parlor feel. I use stoneware bowls from the freezer for 10 minutes to keep the ice cream firm longer. A 2-scoop serving looks perfect with a sprig of mint for color contrast.
Topping Ideas
Fresh berries like raspberries or strawberries add natural sweetness. Drizzle with hot fudge or caramel sauce—about 2 tbsp per serving. For crunch, sprinkle with toasted nuts or crushed cookies. 🍓
I love adding chocolate shavings or a dusting of cocoa powder for a restaurant-style finish. The contrast of temperatures and textures makes every bite exciting.
Warm Accompaniments
Pair with warm brownies or apple pie for a classic à la mode experience. The heat melts the edges of the ice cream slightly, creating a perfect union. I always warm my desserts for 30 seconds in the microwave first.
Beverage Pairings
Cold milk or iced coffee cuts through the richness beautifully. For adults, a glass of Moscato d’Asti or port wine complements the vanilla notes. I prefer my coffee with a splash of cream to match the ice cream’s texture.
Nutrition Facts
Frequently Asked Questions
Can I make this without an ice cream maker?
While possible, the texture won’t be as smooth. Freeze the custard in a shallow dish, stirring vigorously with a fork every 30 minutes for 3-4 hours to break up ice crystals.
Why does my ice cream turn icy?
This usually happens if the custard wasn’t cold enough before churning or if it sat too long in the freezer. Always chill to 40°F and store in an airtight container with parchment pressed on the surface.
How long does it keep in the freezer?
Properly stored, it stays fresh for 2-3 months. For best texture, let it soften on the counter for 5-10 minutes before scooping.

Trained in classic French technique but raised on slow-cooked ribs and spicy rubs, she blends culinary skill with smoke and soul.
- Recipe for Boneless Pork Chops in Cast Iron Skillet: Sear and Baste to Juicy Perfection - October 3, 2026
- Recipe for Boneless Cross Rib Roast: Slow-Roasted Beef with Herb Crust - October 3, 2026
- Hamburgers in Sauce Recipe Crock Pot: Slow-Cooked Savory Delight - October 3, 2026