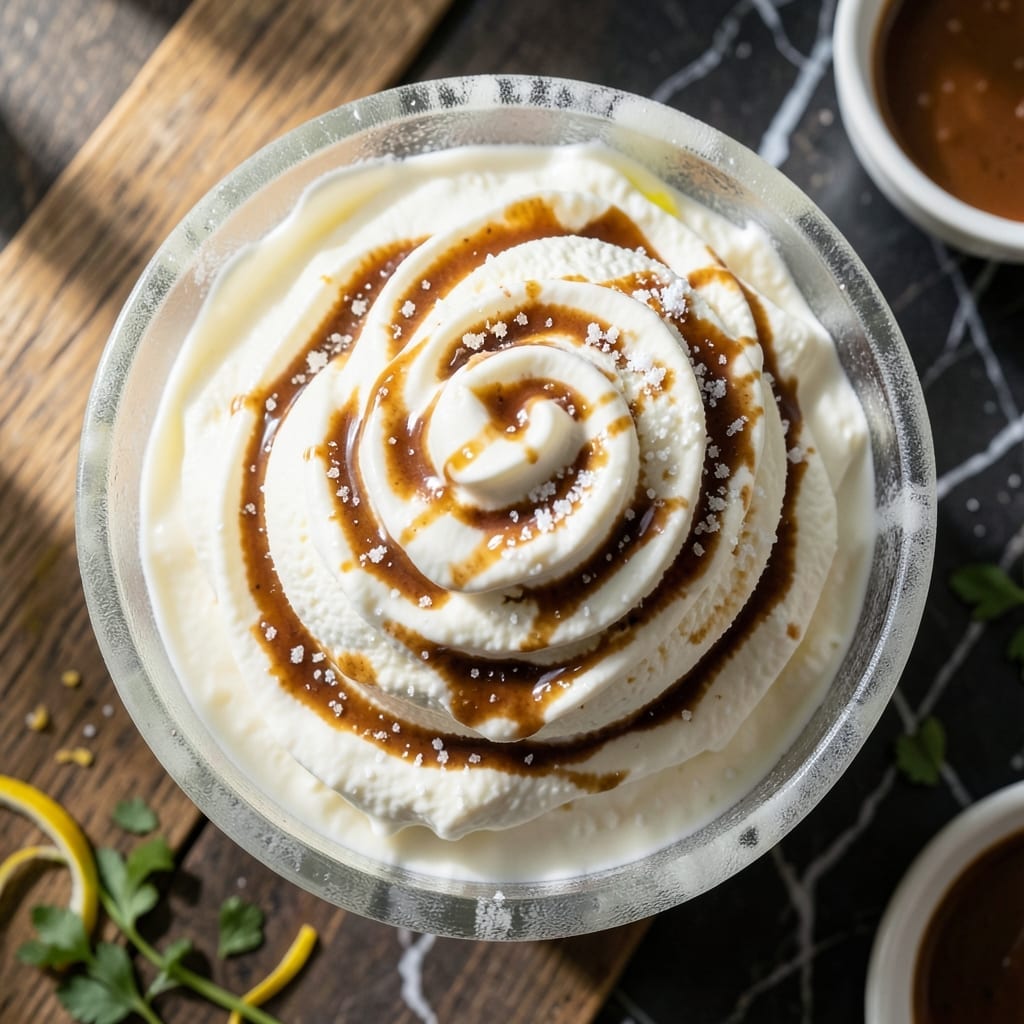
This no-churn method delivers ultra creamy results with minimal effort. The sweetened condensed milk creates a rich, velvety base that requires no special equipment.
You’ll achieve homemade ice cream with a smooth texture and perfect sweetness. Just mix, freeze, and enjoy a dessert that rivals any parlor’s offering.
Ingredients for Homemade Ice Cream Recipe with Condensed Milk
Ultra creamy results start with condensed milk and cold heavy cream plus your favorite mix-ins.
| Ingredient | Amount | Notes |
|---|---|---|
| Sweetened Condensed Milk 🥛 | 1 can | 14 oz size, full-fat |
| Heavy Whipping Cream 🥛 | 2 cups | Cold, 36-40% fat content |
| Pure Vanilla Extract 🌿 | 2 tsp | Not imitation vanilla |
| Granulated Sugar 🧂 | ¼ cup | Optional for extra sweetness |
| Salt 🧂 | ¼ tsp | Balances sweetness |
| Fresh Lemon Juice 🍋 | 1 tsp | Brightens flavors |
| Crushed Oreos 🍪 | 1 cup | For cookie dough variation |
| Chopped Dark Chocolate 🍫 | ½ cup | 70% cacao recommended |
| Sliced Almonds 🌰 | ¼ cup | Toasted for crunch |
| Rainbow Sprinkles 🎉 | 2 tbsp | For funfetti variation |
| Instant Coffee Granules ☕ | 1 tsp | For mocha flavor |
| Caramel Sauce 🍯 | ½ cup | For swirls, store-bought or homemade |
[recipe_ingredient_scaler]
The heavy cream is non-negotiable here—look for at least 36% fat at the store. Whole Foods or Trader Joe’s have reliable options. I always grab the Organic Valley brand when I see it. The sweetened condensed milk should be full-fat (the light versions won’t give you that velvety texture). Most brands work, but Eagle Brand is the classic for a reason—thick, rich, and consistent.
No heavy cream? Whipped coconut cream works in a pinch (though the flavor changes slightly). Vanilla bean paste can stand in for extract if you’re feeling fancy. Want chocolate ice cream? Melt in 1/2 cup cocoa powder with the condensed milk first. The sprinkles are optional but fun—Betty Crocker makes good ones that hold their color. Skip the sugar if you prefer it less sweet.
This keeps 1-2 weeks in the freezer if stored in an airtight container. Press plastic wrap directly on the surface to prevent ice crystals. Best eaten within 5 days for the creamiest texture. Let it sit at room temp for 10 minutes before scooping (worth the wait).
Why You’ll Love This Recipe
- No Churn Needed: I just whisk the condensed milk and cream, freeze, and boom—creamy ice cream without an ice cream maker.
- Rich Vanilla Dream: The condensed milk and heavy cream create this impossibly smooth texture with deep vanilla flavor that store-bought can’t touch.
- Last Minute Dessert: I’ve served this at birthday parties and weeknight cravings alike—always disappears fast.
- Budget Friendly Luxury: Heavy cream and condensed milk cost less than premium ice cream, and I get twice the quantity. Honestly, my wallet thanks me.
Step-by-Step Instructions for Homemade Ice Cream With Condensed Milk
This no-churn method delivers that ultra-creamy texture with almost zero effort.
Step 1: Whip the Heavy Whipping Cream to Stiff Peaks
Pour the 2 cups Heavy Whipping Cream into a large chilled mixing bowl. I always use a metal bowl because it helps keep everything cold. Using a hand mixer or stand mixer, whip on medium-high speed for 2-3 minutes until you see soft peaks forming.
At this point, add the 0.25 cup Granulated Sugar, 0.25 tsp Salt, and 1 tsp Fresh Lemon Juice. Continue whipping for another 1-2 minutes until you achieve stiff peaks. You’ll know it’s ready when you pull the beaters out and the cream holds its shape without collapsing.
Step 2: Fold in the Sweetened Condensed Milk and Flavorings
In a separate bowl, combine the 1 can Sweetened Condensed Milk and 2 tsp Pure Vanilla Extract. Stir until fully incorporated. This is your base that gives the ice cream its signature richness and sweetness.
Gently fold this mixture into the whipped cream using a silicone spatula. Work in thirds, adding a bit of the condensed milk mixture at a time and folding just until no streaks remain. Be careful not to overmix—you want to maintain those air bubbles you worked so hard to create. The final mixture should be smooth and slightly glossy.
Step 3: Add Your Mix-Ins and Prepare for Freezing
Now for the fun part: choose your add-ins. For a classic cookies and cream, fold in the 1 cup Crushed Oreos. If you prefer a mocha twist, mix in the 1 tsp Instant Coffee Granules with the condensed milk. For a funfetti version, gently stir in the 2 tbsp Rainbow Sprinkles.
Other options include the 0.5 cup Chopped Dark Chocolate for a chocolate lovers’ version, or the 0.25 cup Sliced Almonds for crunch. For caramel swirls, pour in 0.5 cup Caramel Sauce and use a knife to create ribbons throughout the mixture. Transfer everything to a loaf pan or freezer-safe container with a lid.
Step 4: Freeze Until Firm and Scoopable
Cover the container with plastic wrap, pressing it directly against the surface of the ice cream to prevent ice crystals from forming. Then add the lid. Freeze for at least 6 hours, but overnight is even better for the perfect texture.
You’ll know it’s ready when the center is firm to the touch and a scoop holds its shape. Let it sit at room temperature for 5-10 minutes before scooping for easier serving. The result should be impossibly creamy with a velvety texture that melts beautifully on your tongue.
Pro Tips For Making Homemade Ice Cream Recipe With Condensed Milk
- Chill the Bowl: Pop your mixing bowl and beaters in the freezer for 15 minutes before whipping the cream—cold equipment whips faster and holds peaks better, especially with heavy cream.
- Use Full-Fat Cream: Skip the lighter versions; heavy whipping cream with at least 36% fat gives the smoothest, richest texture when mixed with condensed milk.
- Fold, Don’t Stir: After whipping the cream, gently fold in the condensed milk mixture with a spatula to keep air in the mix—stirring deflates it and turns your ice cream dense.
- Freeze 6 Hours: I learned this the hard way—rushing the freeze leaves you with soupy ice cream; a full 6 hours in the freezer guarantees a firm, scoopable texture.
Make-Ahead Tips for Leftovers
Prep Ahead Strategy
You can prep the base mixture up to 24 hours in advance. Whip the cream, fold in the condensed milk and flavorings, then store covered in the fridge. This actually improves flavor as the ingredients meld together overnight. 💡
Mix-Ins Timing
Don’t add mix-ins like Oreos or chocolate until right before freezing. If left sitting, they can get soggy. Keep them in separate containers until you’re ready to combine everything and pop it in the freezer.
Container Prep
Line your freezer container with parchment paper before adding the mixture. This makes removal easier and prevents sticking. I use a 9×5-inch loaf pan for perfect portions. Press plastic wrap directly on the surface before sealing with the lid.
Freezer Space
Clear space in your freezer for even freezing. The center should reach 0°F for best results. Avoid placing it near the door where temperature fluctuates. A flat surface like the bottom shelf works best for this dish.
Portion Control
For individual servings, divide the mixture into muffin tins lined with parchment. This creates perfect single-serving portions that freeze faster. Just pop out a scoop when cravings strike. ❄️
Flavor Infusion
For extra depth, let vanilla beans or citrus zest steep in the condensed milk for 4-6 hours in the fridge before mixing. Strain out solids before combining with whipped cream for a subtle, sophisticated flavor boost.
Nutrition Facts
Frequently Asked Questions
What happens if I don’t chill the bowl first?
The cream may take longer to whip and might not reach stiff peaks. A chilled bowl helps maintain the cold temperature needed for proper texture.
Can I use light cream instead of heavy?
No, light cream won’t whip properly. You need 36-40% fat content in heavy whipping cream to create the airy structure that makes this ice cream so creamy.
Why did my ice cream turn icy?
This usually happens if it wasn’t covered properly in the freezer. Always press plastic wrap directly on the surface to prevent ice crystals from forming.
How long can I store this?
It stays fresh for 1-2 weeks in an airtight container. For best texture, enjoy within 5 days.

Trained in classic French technique but raised on slow-cooked ribs and spicy rubs, she blends culinary skill with smoke and soul.
- Recipe for Boneless Pork Chops in Cast Iron Skillet: Sear and Baste to Juicy Perfection - October 3, 2026
- Recipe for Boneless Cross Rib Roast: Slow-Roasted Beef with Herb Crust - October 3, 2026
- Hamburgers in Sauce Recipe Crock Pot: Slow-Cooked Savory Delight - October 3, 2026