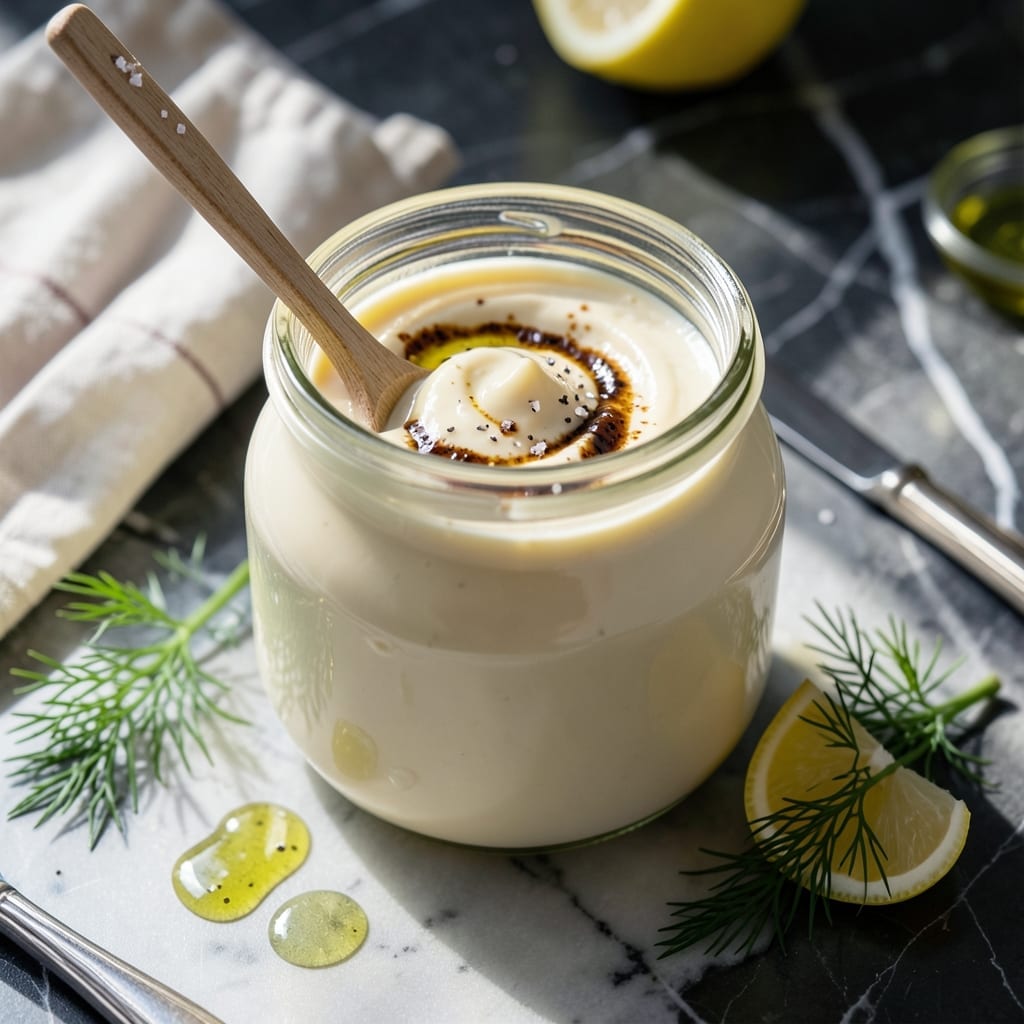
Making mayonnaise at home deliver a velvety texture and pure flavor that store-bought versions can’t match. This method uses avocado oil for its neutral taste and health benefits.
With just a few basic ingredients and a simple technique, you’ll create a creamy emulsion that elevates sandwiches, salads, and dips. The process takes minutes and rewards you with fresh, preservative-free results.
Ingredients for Homemade Mayo Recipe Avocado Oil
Eight ingredients transform into velvety, preservative-free mayonnaise with superior texture and taste.
| Ingredient | Amount | Notes |
|---|---|---|
| Avocado Oil 🫒 | 1 cup | Neutral-flavored, refined preferred |
| Large Egg Yolk 🥚 | 1 whole | Room temperature for best emulsion |
| Whole Egg 🥚 | 1 whole | Room temperature for best emulsion |
| Dijon Mustard 🟡 | 1 tsp | High-quality for depth of flavor |
| White Wine Vinegar 🍷 | 1 tbsp | Or substitute apple cider vinegar |
| Lemon Juice 🍋 | 1 tbsp | Freshly squeezed preferred |
| Sea Salt 🧂 | ½ tsp | Fine grain for even distribution |
| Granulated Sugar 🍚 | ¼ tsp | Optional for balancing acidity |
[recipe_ingredient_scaler]
The avocado oil is non-negotiable for that clean, neutral base. Chosen Foods or Primal Kitchen brands are refined and ideal—avoid unrefined, which can impart a green tint. Eggs at room temperature emulsify more readily; farm-fresh or organic yield richer results. The Dijon mustard acts as your stabilizer—Maille or Grey Poupon deliver consistent quality. Always check your vinegar’s acidity; 5% is standard.
No white wine vinegar? Champagne vinegar at equal volume works beautifully. Short on Dijon? Dry mustard at half the amount plus a pinch of turmeric for color. For a lighter version, reduce oil by 25%—texture will be thinner but still creamy. Skip the sugar if you prefer a sharper profile, or use powdered for faster dissolution.
Homemade mayonnaise keeps in an airtight container for 1 week refrigerated. The emulsion may separate slightly—a quick whisk restores it. For longer storage, freeze in ice cube trays for up to 3 months.
Why You’ll Love This Recipe
- 5-Minute Whisk: I can make this between unloading groceries and starting dinner—just a bowl, a whisk, and those five ingredients.
- Rich & Creamy: The avocado oil gives it this velvety texture that store-bought can’t touch, and the Dijon adds just the right kick.
- Endless Uses: I slather it on sandwiches, mix it into dressings, or drizzle over roasted veggies. Honestly, it’s my kitchen multitool.
- Keeps for Days: One batch lasts me all week in the fridge, so I’m not rushing to use it up like those sad little jars.
Step-by-Step Instructions for Homemade Mayo with Avocado Oil
Master the emulsion technique and you’ll achieve a stable, velvety mayonnaise with professional results.
Step 1: Combine Wet Ingredients and Seasonings
In a food processor or immersion blender cup, add the large egg yolk, whole egg, Dijon mustard, white wine vinegar, lemon juice, sea salt, and granulated sugar. Pulse for 10-15 seconds until fully combined and slightly frothy.
The eggs provide the emulsifying power, while the mustard and vinegar add tanginess and help stabilize the mixture. The sugar balances the acidity without sweetening the final product. Ensure all ingredients are at room temperature for optimal emulsion.
Step 2: Begin the Emulsion with a Slow Oil Drizzle
With the processor running on low speed, begin adding the avocado oil in a very thin, steady stream. Start with just a few drops at a time—this critical phase establishes the emulsion foundation.
You’ll notice the mixture start to thicken and lighten in color as the oil incorporates. After about ¼ cup of oil has been added and the emulsion is visibly forming, you can increase the stream to a thin but continuous pour. The oil should be at room temperature to prevent shocking the eggs.
Step 3: Complete the Emulsion with Remaining Oil
Continue drizzling the remaining avocado oil in that thin stream while the processor runs. The mixture will become increasingly thick and glossy, transforming from a liquid to a creamy mayonnaise texture.
If the mixture appears too thick before all oil is incorporated, pause and add 1 teaspoon of water or lemon juice to loosen it slightly, then resume. This prevents the emulsion from breaking. The entire process should take about 2-3 minutes for full incorporation.
Step 4: Adjust Consistency and Verify Stability
Once all 1 cup avocado oil has been added, let the processor run for an additional 10-15 seconds to ensure complete emulsification. The finished mayonnaise should be thick, pale, and hold its shape when a spoon is dragged through it.
Taste and adjust seasoning if needed, though the initial measurements should provide perfect balance. The mayonnaise should have a smooth, velvety texture with no separated oil. If it appears too thin, this indicates the emulsion didn’t fully form—start over with fresh ingredients, ensuring the oil was added slowly enough at the beginning.
Pro Tips For Making Homemade Mayo Recipe Avocado Oil
- Stream the Oil Slowly: Drizzle the avocado oil in a thin, steady stream—this gives the emulsion time to thicken properly. I learned this the hard way after ending up with a broken, oily mess more times than I care to admit.
- Use Room-Temp Eggs: Pull your eggs out of the fridge 30 minutes before starting. Cold eggs resist emulsifying, and you’ll spend twice as long whisking to get the same result.
- Skip the Blender Rush: Resist the urge to dump everything in at once—start with just the yolk, mustard, and vinegar, then slowly incorporate the oil. After burning out two blenders, I finally figured out that patience wins here.
- Add Vinegar Last: Stir in the white wine vinegar after the mayo has already thickened. Adding it too early can thin the mixture, and you’ll be whisking forever to recover the texture.
Essential Equipment for homemade mayo recipe avocado oil
Must-Have Tools
To make your homemade mayo recipe avocado oil a success, start with a reliable immersion blender. Brands like Breville or KitchenAid offer models with strong motors to create a smooth, creamy emulsion in seconds. A narrow, tall container—like a mason jar—helps the blender reach the ingredients easily for perfect blending. 🥘
You’ll also need a measuring cup and whisk for precise ingredient ratios and initial mixing. A fine-mesh strainer can help sift any lumps if you’re using whole eggs or adding spices.
Nice-to-Have
A food processor or stand mixer with a whisk attachment can take your mayo to the next level, ensuring ultra-smooth texture. For temperature control, a kitchen thermometer helps maintain the ideal 70°F–75°F for emulsification. 🌡️
If you love infusing flavors, a mortar and pestle lets you crush garlic or herbs fresh for a gourmet touch. A squeeze bottle makes storing and dispensing your mayo effortless and mess-free.
Budget Alternatives
No immersion blender? A hand whisk and a little elbow grease work just fine—just be prepared for a workout! Use a reusable silicone bottle or even a clean ketchup bottle for storage if you don’t have a squeeze bottle. A regular drinking glass can stand in for a mason jar in a pinch.
For measuring, a standard tablespoon and teaspoon set will do the trick. The key is patience and steady mixing to achieve that velvety texture. ✨
Nutrition Facts

Trained in classic French technique but raised on slow-cooked ribs and spicy rubs, she blends culinary skill with smoke and soul.
- Recipe for Boneless Pork Chops in Cast Iron Skillet: Sear and Baste to Juicy Perfection - October 3, 2026
- Recipe for Boneless Cross Rib Roast: Slow-Roasted Beef with Herb Crust - October 3, 2026
- Hamburgers in Sauce Recipe Crock Pot: Slow-Cooked Savory Delight - October 3, 2026