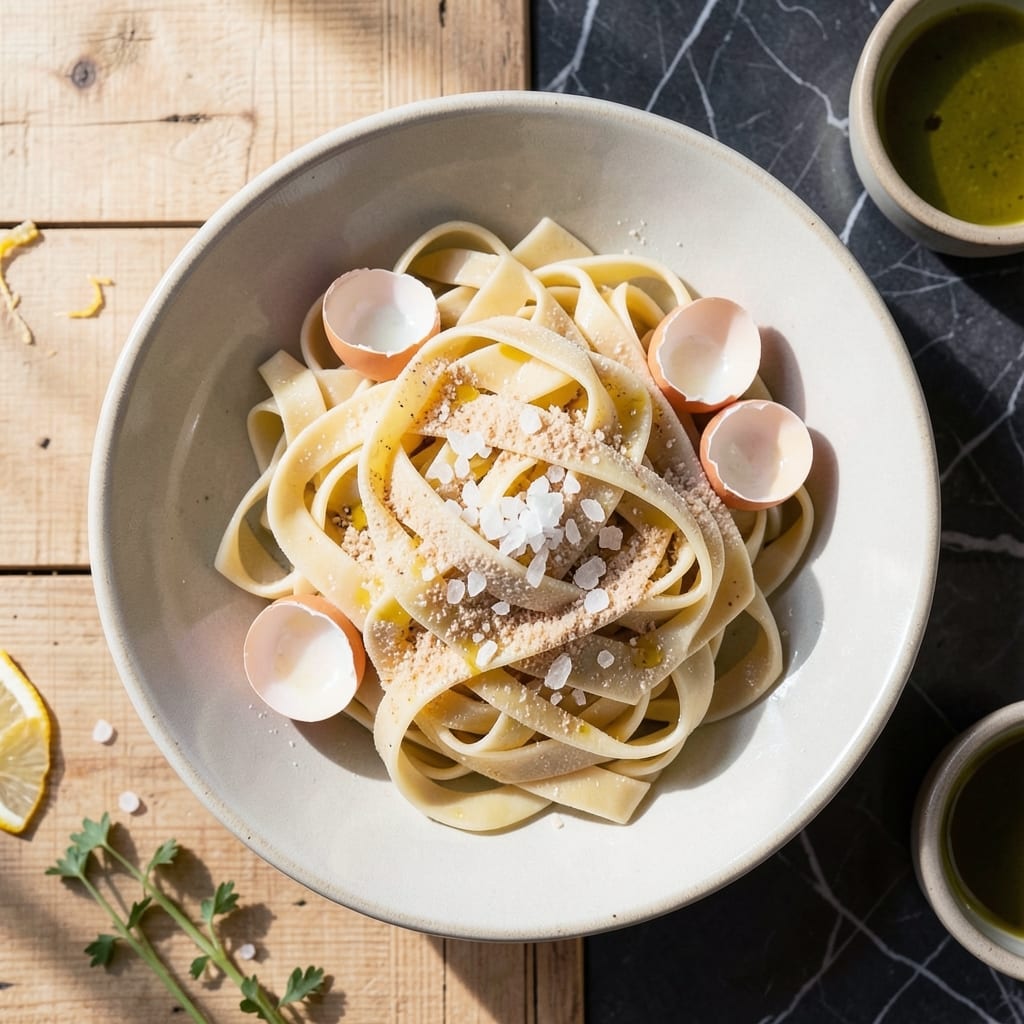
Fresh pasta transforms any meal, and my KitchenAid makes it effortless. The dough hook does the heavy lifting while I focus on perfect texture—smooth, elastic, and never sticky.
This method delivers silky ribbons with just flour, eggs, and a pinch of salt. The machine’s consistent mixing ensures even hydration, so the dough rests properly before rolling.
After resting, the pasta sheets roll out thin and even, ready for cutting into fettuccine or tagliatelle. Boil for 2-3 minutes and taste the difference fresh makes.
No fancy equipment needed—just your stand mixer and a rolling pin. The results rival any Italian trattoria.
Ingredients for Homemade Pasta Recipe Using Kitchenaid Mixer
Flour, eggs, salt, and a mixer. That’s all you need for restaurant-quality pasta at home.
| Ingredient | Amount | Notes |
|---|---|---|
| All-Purpose Flour 🌾 | 3 cups | 00 flour for authenticity |
| Large Eggs 🥚 | 4 whole | Room temperature preferred |
| Sea Salt 🧂 | 1 tsp | Fine grain for even distribution |
| Olive Oil 🫒 | 1 tbsp | Light variety for neutral flavor |
| Semolina Flour 🌾 | ½ cup | For dusting and texture |
| Water 💧 | 1 tbsp | As needed for hydration |
[recipe_ingredient_scaler]
The flour makes the difference here. 00 flour is the gold standard for pasta—find it at Italian markets or King Arthur’s online. All-purpose works in a pinch (just what I used today). Room temp eggs incorporate better—pull them out an hour before starting. The salt should be fine grain so it dissolves evenly into the dough (no crunchy bits).
No KitchenAid? A food processor does the job, or go old-school with a fork and elbow grease. Out of eggs? Not much works as a substitute here—this is one recipe where they’re essential. Semolina for dusting can be skipped, but it adds that authentic bite. If your dough feels dry, a splash of water at a time (not too much) brings it together.
Fresh pasta cooks in 2-3 minutes—watch it closely. Dough rests 30 minutes at room temp before rolling. Leftovers? Toss with a bit of oil and refrigerate for 2 days, or freeze for 1 month (dust with extra semolina to prevent sticking).
Why You’ll Love This Recipe
- Hands-Off Mixing: The KitchenAid does all the kneading while I sip my coffee—just toss in the flour, eggs, and olive oil.
- Rich, Eggy Bite: The large eggs and semolina give it that restaurant-quality texture I’ve tried to replicate for years.
- Pocket Change: All-purpose flour and eggs cost less than a takeout pasta dish, and honestly, it’s better.
Step-by-Step Instructions for Homemade Pasta Using KitchenAid Mixer
Here’s the method I use for perfect silky pasta every time with my stand mixer.
Step 1: Create the Dough in the Mixer Bowl
Attach the dough hook to your KitchenAid mixer. Add the 3 cups All-Purpose Flour and 1 tsp Sea Salt to the bowl and pulse on low speed to combine. This ensures the salt is evenly distributed before adding the wet ingredients.
Make a well in the center of the flour mixture. Add the 4 whole Large Eggs, 1 tbsp Olive Oil, and 1 tbsp Water to the well. Mix on low speed until the dough comes together into a shaggy mass, about 1-2 minutes. You’ll see the dough start to pull away from the sides of the bowl.
Step 2: Knead the Dough to Smooth Perfection
Increase the mixer speed to medium-low and knead for 8-10 minutes. The dough should become smooth, elastic, and slightly tacky to the touch. If it feels too dry, add a few drops of water; if too sticky, sprinkle in a bit of the reserved 0.5 cup Semolina Flour.
I know it’s tempting to stop early, but this kneading time develops the gluten properly, which gives your pasta that perfect chewy texture. The dough is ready when it bounces back slightly when pressed with your finger.
Step 3: Rest the Dough for Optimal Texture
Remove the dough from the bowl and shape it into a ball. Wrap it tightly in plastic wrap and let it rest at room temperature for 30 minutes. This resting period allows the gluten to relax, making the dough much easier to roll out.
Real talk: don’t skip this step. Resting also hydrates the flour completely, preventing the dough from springing back when you roll it thin. The dough should feel smooth and pliable after resting, not tough or resistant.
Step 4: Roll and Cut the Pasta
Divide the rested dough into 4 equal portions. Flatten one portion into a rough rectangle and set your pasta roller to its widest setting. Feed the dough through, then fold it in thirds like a letter and repeat 2-3 times at this setting.
Gradually decrease the roller setting, passing the dough through once at each thinner setting until you reach your desired thickness (usually setting 5-6 for fettuccine). Dust with Semolina Flour as needed to prevent sticking. Cut into your preferred shape and cook immediately or dry for later use.
Pro Tips For Making Homemade Pasta Recipe Using Kitchenaid Mixer
- Knead Just Enough: Mix on low speed until the dough just comes together—overworking it in the KitchenAid makes the pasta tough. I learned this the hard way after my first three batches turned out chewy.
- Use Room-Temp Eggs: Sounds weird, but it works: cold eggs can cause the olive oil to clump. Take them out of the fridge 30 minutes before starting for a smoother dough.
- Skip the Dust Bath: Resist the urge to dump flour everywhere—too much bench flour makes the pasta dry. Lightly dust with semolina only when rolling to prevent sticking.
- Rest the Dough: Wrap it in plastic and let it sit for at least 30 minutes. My grandmother swore by this, and she was right: it relaxes the gluten for easier rolling.
Perfect Pairings for These Flavors
Sauce Pairings
Fresh pasta deserves a sauce that clings beautifully. I love brown butter sage sauce—its nutty richness complements the eggy dough. Just melt ½ cup butter with 8-10 fresh sage leaves until golden, then toss with your pasta. 💛
Protein Additions
For a heartier dish, add seared shrimp or chicken breast to your sauce. Sauté ½ lb shrimp in garlic and olive oil for 2-3 minutes per side. The pasta’s delicate texture pairs perfectly with tender protein.
Vegetable Sides
A simple arugula salad with lemon and Parmesan cuts through the richness. Toss 4 cups arugula with 1 tbsp lemon juice and 2 tbsp olive oil. Roasted asparagus or sautéed spinach also work beautifully.
Wine Pairings
An Italian white like Pinot Grigio from Friuli pairs perfectly—its crisp acidity balances the dish. For red lovers, try a light Chianti. Both complement without overpowering the pasta’s fresh flavor. 🍷
Finishing Touches
Top your pasta with grated Pecorino Romano or aged Parmigiano-Reggiano for depth. A sprinkle of fresh parsley adds color. I always finish with a crack of black pepper for a little heat.
Nutrition Facts
Frequently Asked Questions
Can I use bread flour instead of all-purpose?
Yes, but the texture will be slightly chewier. Bread flour has more protein, which creates a denser bite. Stick to all-purpose or 00 flour for the silkiest results.
Why does my dough feel too sticky?
This usually means too much moisture. Add 1-2 tbsp flour at a time until it pulls away from the bowl. Avoid over-flouring—kneading will smooth it out.
How long can I store fresh pasta?
In the fridge, it lasts 2 days in an airtight container with semolina dusting. For longer storage, freeze for up to 1 month.
Do I need a pasta roller attachment?
Not required! A rolling pin works, though it takes more effort. Roll the dough as thin as possible, then cut into strips. The roller just makes it faster and more even.

Trained in classic French technique but raised on slow-cooked ribs and spicy rubs, she blends culinary skill with smoke and soul.
- Recipe for Boneless Pork Chops in Cast Iron Skillet: Sear and Baste to Juicy Perfection - October 3, 2026
- Recipe for Boneless Cross Rib Roast: Slow-Roasted Beef with Herb Crust - October 3, 2026
- Hamburgers in Sauce Recipe Crock Pot: Slow-Cooked Savory Delight - October 3, 2026