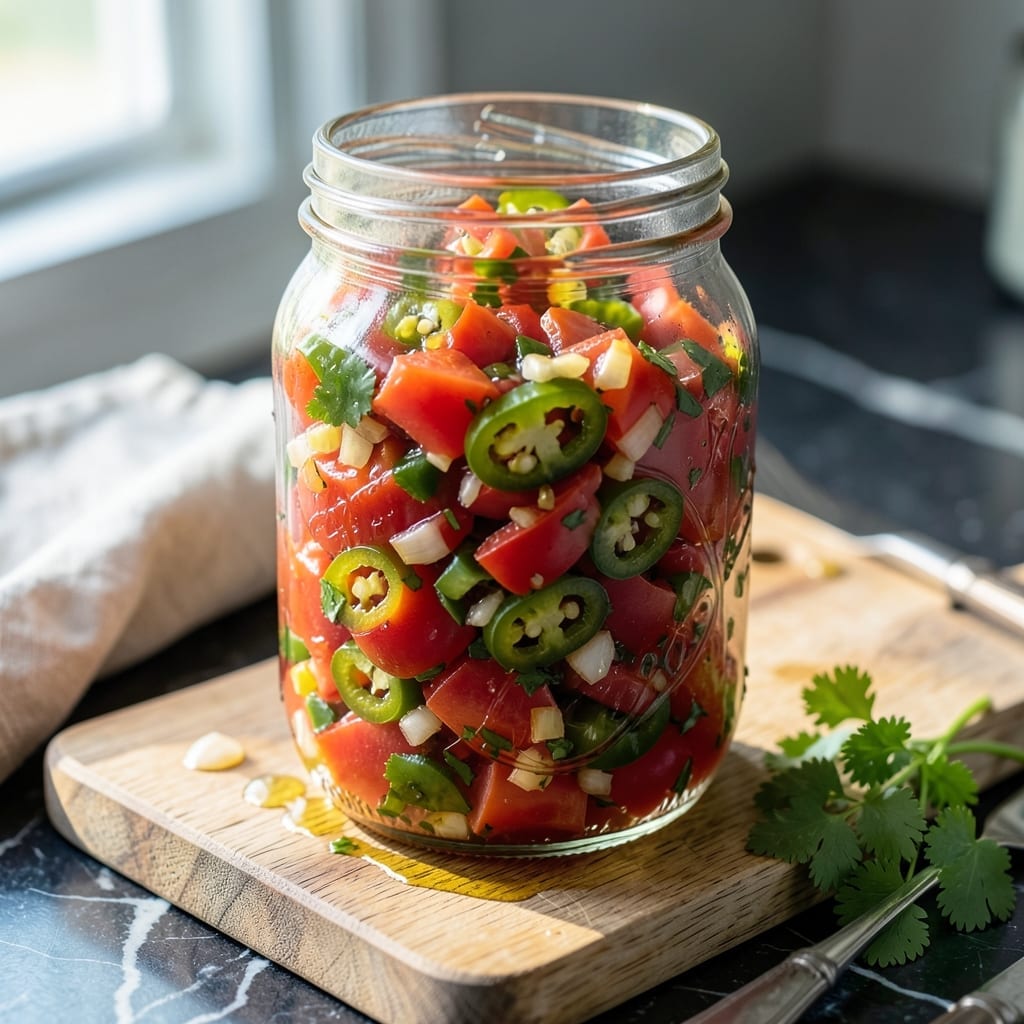
There’s nothing like the taste of garden-fresh salsa preserved at the peak of ripeness. This homemade recipe captures summer flavors in every jar, ready to brighten winter meals.
Using fresh tomatoes and simple ingredients, this method ensures a bright, balanced salsa that stays vibrant for months. The canning process locks in that just-picked taste you’ll savor all year.
Ingredients for Homemade Salsa Recipe for Canning with Fresh Tomatoes
Fresh tomatoes and bold flavors make this canned salsa shine with garden quality all year.
| Ingredient | Amount | Notes |
|---|---|---|
| Ripe Tomatoes 🍅 | 8 lb | Peeled, cored, chopped |
| Yellow Onion 🧅 | 2 whole | Finely diced |
| Jalapeño Peppers 🌶️ | 4 whole | Seeds removed, minced |
| Fresh Cilantro 🌿 | 1 cup | Chopped, packed |
| Garlic Cloves 🧄 | 6 cloves | Peeled, minced |
| Apple Cider Vinegar 🍏 | 1 ½ cups | 5% acidity required for canning |
| Lime Juice 🍈 | ½ cup | Freshly squeezed preferred |
| Sea Salt 🧂 | 2 tbsp | Fine grain for even distribution |
| Ground Cumin 🌿 | 1 tbsp | Toasted for enhanced flavor |
| Black Pepper 🌶️ | 1 tsp | Freshly ground preferred |
[recipe_ingredient_scaler]
The tomatoes are everything here. Heirloom varieties from a farmers market give the best flavor, but any ripe, meaty tomato works. Avoid watery types like cherry tomatoes—they’ll make your salsa too thin. I source mine from local farms in late summer when they’re at peak ripeness. If you’re short on time, San Marzano canned tomatoes (drained well) can supplement, but fresh is non-negotiable for authentic taste.
No jalapeños? Serrano peppers at half the amount add more heat, or bell peppers (any color) for a milder version. Fresh cilantro is ideal, but flat-leaf parsley works in a pinch—just use less. The vinegar is critical for safety: apple cider or white vinegar only, and don’t reduce the quantity. If you’re out of fresh limes, bottled lime juice is fine, but fresh adds brightness.
This salsa keeps its vibrant color and flavor for 12-18 months when properly canned. Store sealed jars in a cool, dark place. Once opened, refrigerate and use within 1 week. The flavor actually improves after a few weeks, so resist the urge to dig in right away (worth the wait).
Why You’ll Love This Recipe
- No Chopping Drudgery: I toss everything in the food processor—tomatoes, onion, jalapeños—so prep takes five minutes, not twenty.
- Flavor Bomb: The garlic and cilantro make it taste so fresh it’s like summer in a jar, and I always sneak a spoonful straight from the pot.
- Pantry Superstar: I can this salsa in August and pull it out for tacos, eggs, or last-minute appetizers all winter long.
- Budget Keeper: A bushel of ripe tomatoes from the farm stand costs pennies, and I end up with a dozen jars of salsa that taste better than store-bought.
Step-by-Step Instructions for Homemade Salsa for Canning
Follow this precise method to create a perfectly balanced salsa that preserves beautifully.
Step 1: Prepare and Process the Vegetables
Begin by peaking, coring, and chopping the 8 lb ripe tomatoes. I recommend using a food mill for this step to achieve a smooth consistency while removing excess liquid. Meanwhile, finely dice the 2 whole yellow onion and mince the 4 whole jalapeño peppers after removing the seeds for controlled heat.
Chop the 1 cup fresh cilantro and mince the 6 cloves garlic cloves. The key here is uniform sizing—this ensures even distribution of flavors throughout the salsa and helps maintain the proper texture after canning.
Step 2: Combine All Ingredients in a Large Pot
In a large, heavy-bottomed pot, combine the prepared tomatoes, yellow onion, jalapeño peppers, fresh cilantro, and garlic. Add the 1.5 cups apple cider vinegar—this is crucial for both flavor and safe canning, as the acidity prevents bacterial growth.
Stir in the 0.5 cup lime juice, 2 tbsp sea salt, 1 tbsp ground cumin, and 1 tsp black pepper. The vinegar and lime juice work together to create a bright, tangy base that complements the natural sweetness of the tomatoes.
Step 3: Simmer to Perfection
Bring the mixture to a boil over medium-high heat, then reduce to a simmer. Cook for 20-25 minutes, stirring occasionally to prevent sticking. You’ll notice the salsa thicken slightly as the vegetables release their juices and the flavors meld together.
The salsa is ready when it reaches a consistency that coats the back of a spoon but still has some liquid—it will thicken further during canning. Taste and adjust seasoning if needed, though the flavors will intensify slightly after processing.
Step 4: Process for Safe Canning
Ladle the hot salsa into sterilized pint jars, leaving ½-inch headspace. Remove any air bubbles by gently tapping the jars on the counter or using a bubble remover tool. Wipe the rims with a clean, damp cloth to ensure a proper seal.
Process the jars in a water bath canner for 15 minutes (adjust for altitude if necessary). The processing time ensures the salsa is shelf-stable and safe for long-term storage. You’ll hear the satisfying “pop” of the lids sealing as the jars cool, confirming a successful canning process.
Let the jars cool undisturbed for 12-24 hours before checking the seals. Store in a cool, dark place for up to 1 year for best quality, though it’s so good it rarely lasts that long.
Pro Tips For Making Homemade Salsa Recipe For Canning With Fresh Tomatoes
- Peel the Tomatoes: Blanch tomatoes in boiling water for 30-60 seconds, then shock in ice water—the skins will slip right off. I learned this the hard way after picking skin out of my teeth for a week.
- Seed the Jalapeños: Wear gloves and scrape out the seeds and white membrane before chopping, unless you want salsa so hot it’ll clear the room. Sounds obvious, but I’ve forgotten more times than I’d like to admit.
- Acidify for Safety: Add 1 tablespoon of bottled lemon juice or vinegar per pint jar to guarantee safe canning—this isn’t just for flavor, it’s non-negotiable for preventing spoilage.
- Simmer First: Let the salsa cook down for 10-15 minutes before canning to blend flavors and remove excess liquid—your jars will seal better and the texture won’t be watery.
Storing and Reheating This homemade salsa recipe for canning with fresh tomatoes
🍳 Refrigerator Storage
Once your homemade salsa recipe for canning with fresh tomatoes is ready, store leftovers in an airtight container to keep flavors vibrant. It will stay fresh in the fridge for 3–4 days. For best results, use a glass jar or BPA-free plastic container and ensure the lid is sealed tightly to prevent oxidation.
❄️ Freezer Storage
For longer storage, freezing is a great option. Transfer salsa to freezer-safe bags or containers, leaving ½-inch headspace to allow for expansion. Properly stored, it will retain its taste and texture for 2–3 months. Pro tip: 💡 Portion it into smaller containers for easy thawing and use.
🔥 Reheating Methods
To reheat, place salsa in a saucepan and warm over medium heat (160°F) for 5–7 minutes, stirring occasionally. For a quick option, microwave in 30-second intervals, stirring between each, until heated through. If you’re feeling adventurous, try reheating on a smoker at 225°F for a smoky twist—just monitor closely to avoid overcooking.
✨ Quality Preservation
To maintain the best texture and flavor, avoid excessive moisture when storing. If thawing frozen salsa, do so overnight in the fridge. For a fresher taste, stir in a splash of lime juice or chopped cilantro after reheating. This small touch can 🎯 revive the garden-fresh vibrancy of your canned salsa!
Nutrition Facts

Trained in classic French technique but raised on slow-cooked ribs and spicy rubs, she blends culinary skill with smoke and soul.
- Recipe for Boneless Pork Chops in Cast Iron Skillet: Sear and Baste to Juicy Perfection - October 3, 2026
- Recipe for Boneless Cross Rib Roast: Slow-Roasted Beef with Herb Crust - October 3, 2026
- Hamburgers in Sauce Recipe Crock Pot: Slow-Cooked Savory Delight - October 3, 2026