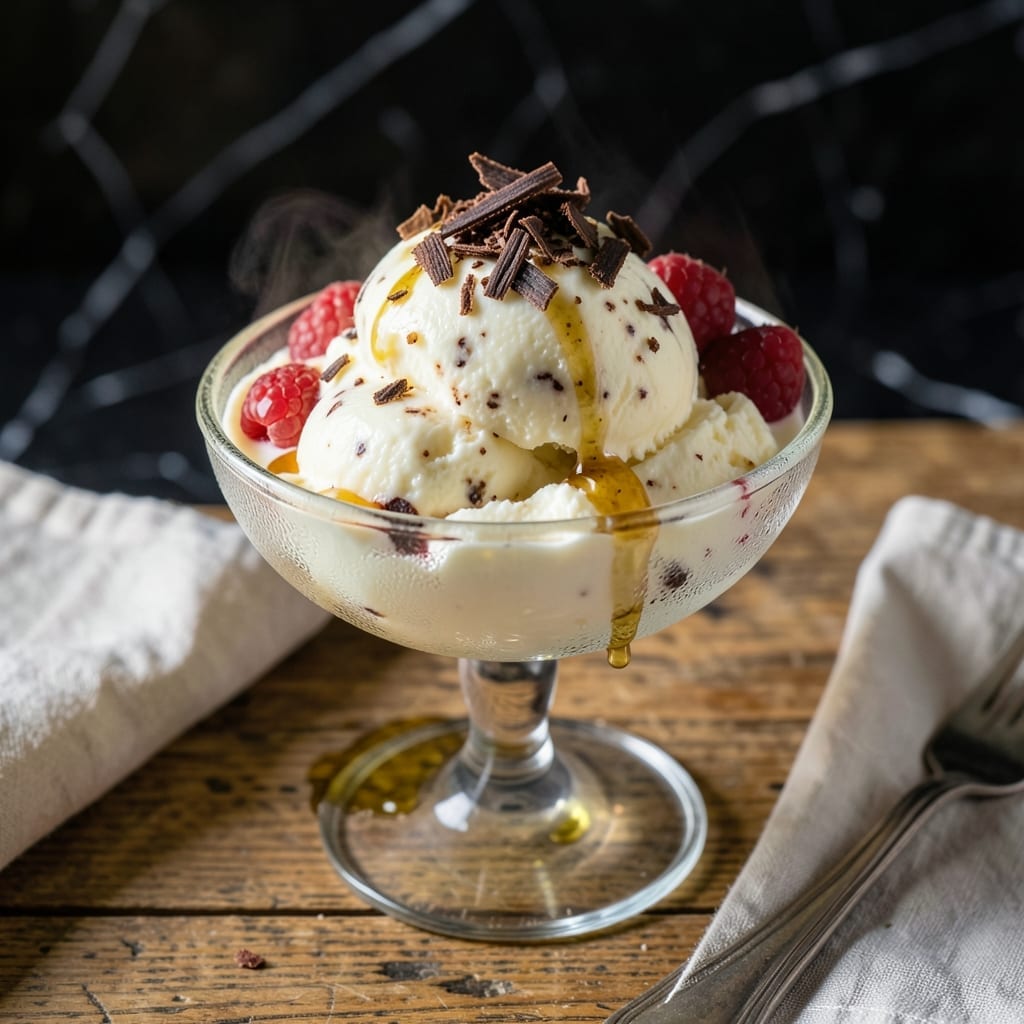
There’s nothing like rich, velvety homemade ice cream made with real vanilla and heavy cream. This custard-style recipe delivers that ultra-smooth texture you remember from childhood ice cream parlors.
The secret lies in the slow cooking of the custard base, which creates a thick, creamy mixture that churns into luxurious ice cream. Using heavy cream ensures maximum richness and that signature melt-in-your-mouth quality.
What you get is pure vanilla flavor without any artificial aftertaste, with a texture so smooth it rivals premium store-bought brands. The process requires patience but rewards you with professional-quality results.
Perfect for summer gatherings or when you need a special treat. This recipe proves that the best ice cream comes from your own kitchen.
Ingredients for Homemade Vanilla Ice Cream Recipe with Heavy Cream
Rich custard base meets pure vanilla for ice cream parlor perfection.
| Ingredient | Amount | Notes |
|---|---|---|
| Heavy Cream 🥛 | 2 cups | Full-fat, ultra-pasteurized preferred |
| Whole Milk 🥛 | 1 cup | Cold, for tempering custard |
| Granulated Sugar 🍚 | ¾ cup | Divided for custard and sweetening |
| Vanilla Bean 🌿 | 1 whole | Split and scraped (or 2 tsp vanilla extract) |
| Large Egg Yolks 🥚 | 6 whole | Room temperature for smooth emulsification |
| Pure Vanilla Extract 💧 | 2 tsp | High-quality for depth of flavor |
| Salt 🧂 | ¼ tsp | Fine grain for even distribution |
| Unsalted Butter 🧈 | 2 tbsp | For richness in custard base |
| Vanilla Bean Paste 🌿 | ½ tsp | Optional for extra vanilla flecks |
[recipe_ingredient_scaler]
The heavy cream is non-negotiable here—look for ultra-pasteurized at Whole Foods or Trader Joe’s for the smoothest texture. Egg yolks are the secret to that velvety mouthfeel (the more, the richer). I always use Nielsen-Massey vanilla for extract, but a real bean takes it over the top. The milk tempers the eggs, so don’t skip it even if you’re impatient. Butter adds depth, but use unsalted so you control the salt.
No vanilla bean? Double the extract (and add a pinch of ground vanilla bean for flecks). Short on yolks? Whole eggs work at 1:1 ratio, but texture won’t be as lush. Swap sugar for honey at a 1:1 ratio (but it’ll be slightly gooey). For a lighter version, half-and-half instead of cream, but expect less richness. That said, don’t mess with the custard cooking time—this isn’t where to cut corners.
Custard base keeps 3 days in the fridge (great for prepping ahead). Churned ice cream is best eaten within 1 week, though it’ll last 2 weeks if stored airtight. Freeze leftovers in portions—press plastic wrap directly on the surface to prevent ice crystals. Trust me, the first bite is always worth the wait.
Why You’ll Love This Recipe
- One Bowl Wonder: I just dump the heavy cream, milk, sugar, and egg yolks in one pot—no fancy gadgets, no mess.
- Vanilla Bean Magic: Scraping that real vanilla bean into the warm cream? The smell alone is worth it. The flavor beats store-bought every time.
- Sunday Funday: This is my go-to for birthday parties, BBQs, or just because it’s Tuesday. Everyone feels special with a scoop.
- Leftovers? Please: Honestly, I make a double batch on purpose. It freezes beautifully, so there’s always a pint ready for late-night cravings.
Step-by-Step Instructions for Homemade Vanilla Ice Cream
This custard-style method delivers ultra-smooth texture with rich vanilla flavor every time.
Step 1: Infuse the Cream with Vanilla Bean
Split the vanilla bean lengthwise with a sharp knife and scrape out the seeds. Combine the 2 cups Heavy Cream, the vanilla bean seeds, and the empty pod in a heavy saucepan. Warm over medium heat until you see tiny bubbles forming at the edges—this is 180°F.
Remove from heat, cover, and let steep for 30 minutes. This infuses the cream with deep, complex vanilla flavor. I always use a whole bean here because the paste and extract will come later for layered vanilla intensity.
Step 2: Temper the Egg Yolks into the Cream Mixture
Whisk the 6 whole Large Egg Yolks with 0.75 cup Granulated Sugar and 0.25 tsp Salt in a large bowl until pale and slightly thickened, about 2 minutes. This is your custard base—smooth and ribbony before the hot cream hits it.
Slowly pour the warm cream mixture into the egg yolks while whisking constantly. This tempering prevents scrambled eggs. Once fully combined, return everything to the saucepan and add the 2 tbsp Unsalted Butter, which melts into the mixture for extra richness.
Step 3: Cook the Custard to Perfect Thickness
Return the mixture to medium-low heat and cook, stirring constantly with a silicone spatula, until it thickens enough to coat the back of a spoon. This takes about 8-10 minutes—you’ll know it’s ready when you can run your finger through the custard on the spoon and it leaves a clean path.
Don’t let it boil or you’ll curdle the custard. The ideal temperature is 170-175°F. Immediately remove from heat and stir in the 1 cup Whole Milk, 2 tsp Pure Vanilla Extract, and 0.5 tsp Vanilla Bean Paste for that extra layer of vanilla flavor and visible specks.
Step 4: Chill Thoroughly Before Churning
Strain the custard through a fine-mesh sieve into a clean bowl to remove any stray bits of cooked egg or vanilla pod. Press plastic wrap directly onto the surface to prevent a skin from forming. Refrigerate until completely cold, at least 4 hours or preferably overnight.
This chilling step is crucial—warm custard won’t churn properly in your ice cream maker. The colder it is, the faster it freezes and the creamier the final texture will be. I always make my custard the night before so it’s perfectly chilled when I’m ready to churn.
Step 5: Churn and Freeze to Perfection
Pour the chilled custard into your ice cream maker and churn according to the manufacturer’s instructions, typically 20-25 minutes. The ice cream is ready when it looks like soft-serve and holds its shape when scooped.
Transfer to a freezer-safe container and freeze for at least 4 hours until firm. For the creamiest texture, let it sit at room temperature for 5-10 minutes before scooping. The result should be ultra-smooth with visible vanilla flecks throughout.
Pro Tips For Making Homemade Vanilla Ice Cream Recipe With Heavy Cream
- Temper the eggs: Slowly whisk about 1/2 cup of the hot cream mixture into your egg yolks before adding them back—this prevents scrambled eggs in your ice cream base. I learned this the hard way after ruining two batches.
- Split the vanilla: Scrape the seeds from your vanilla bean, but don’t toss the pod—toss it into the warming cream to infuse extra flavor. My grandmother swore by this, and she was right.
- Chill completely: Let your custard base cool to room temp, then refrigerate at least 4 hours (overnight is better). Sounds tedious, but it makes a real difference in texture.
- Use full-fat: Skip the low-fat milk or cream substitutes—this recipe needs the fat content from whole milk and heavy cream to get that rich, creamy texture.
Creative Variations of homemade vanilla ice cream recipe with heavy cream
Bourbon Vanilla Bean
Add 2 tbsp bourbon to the custard base along with the vanilla extract. The alcohol enhances the vanilla flavor and keeps the ice cream slightly softer. I use Maker’s Mark for its caramel notes. 🔥
Chocolate Swirl
Melt ½ cup dark chocolate with 1 tbsp coconut oil, then drizzle into the churned ice cream. Use a knife to swirl it in before freezing. Ghirardelli 70% works perfectly for this variation.
Strawberry Ripple
Blend 1 cup fresh strawberries with 2 tbsp sugar to make a quick compote. Layer it with the churned ice cream in the container, then swirl gently with a butter knife. Use ripe, in-season berries for the best flavor.
Coffee Infusion
Steep 2 tbsp finely ground coffee in the warm cream mixture for 10 minutes before straining. I prefer French roast for its bold flavor. This pairs beautifully with chocolate chunks.
Salted Caramel
Drizzle ¼ cup store-bought caramel sauce into the ice cream during the last 5 minutes of churning. Finish with flaky sea salt on top before freezing. Trader Joe’s caramel sauce is my go-to for this.
Cookie Dough
Fold in ½ cup chunks of egg-free cookie dough after churning. Make sure it’s cold so it doesn’t melt into the ice cream. I use Pillsbury for convenience, but homemade works too. 💛
Nutrition Facts
Frequently Asked Questions
Can I use half-and-half instead of heavy cream?
Yes, but expect a lighter, less rich texture. Heavy cream gives that ultra-creamy mouthfeel. For best results, stick with the recipe’s 2 cups heavy cream for maximum smoothness.
Why does my custard have scrambled egg bits?
This happens if the eggs curdle from too-high heat. Always temper the yolks slowly and cook on medium-low heat. Straining the custard removes any stray bits before churning.
How long can I store homemade ice cream?
For best texture, enjoy within 1 week. Store in an airtight container with plastic wrap pressed directly on the surface to prevent ice crystals.
Can I make this without an ice cream maker?
Yes! Freeze the custard in a shallow dish, stirring vigorously with a fork every 30 minutes for 3-4 hours to break up ice crystals. The texture won’t be as smooth but still delicious.

Trained in classic French technique but raised on slow-cooked ribs and spicy rubs, she blends culinary skill with smoke and soul.
- Recipe for Boneless Pork Chops in Cast Iron Skillet: Sear and Baste to Juicy Perfection - October 3, 2026
- Recipe for Boneless Cross Rib Roast: Slow-Roasted Beef with Herb Crust - October 3, 2026
- Hamburgers in Sauce Recipe Crock Pot: Slow-Cooked Savory Delight - October 3, 2026