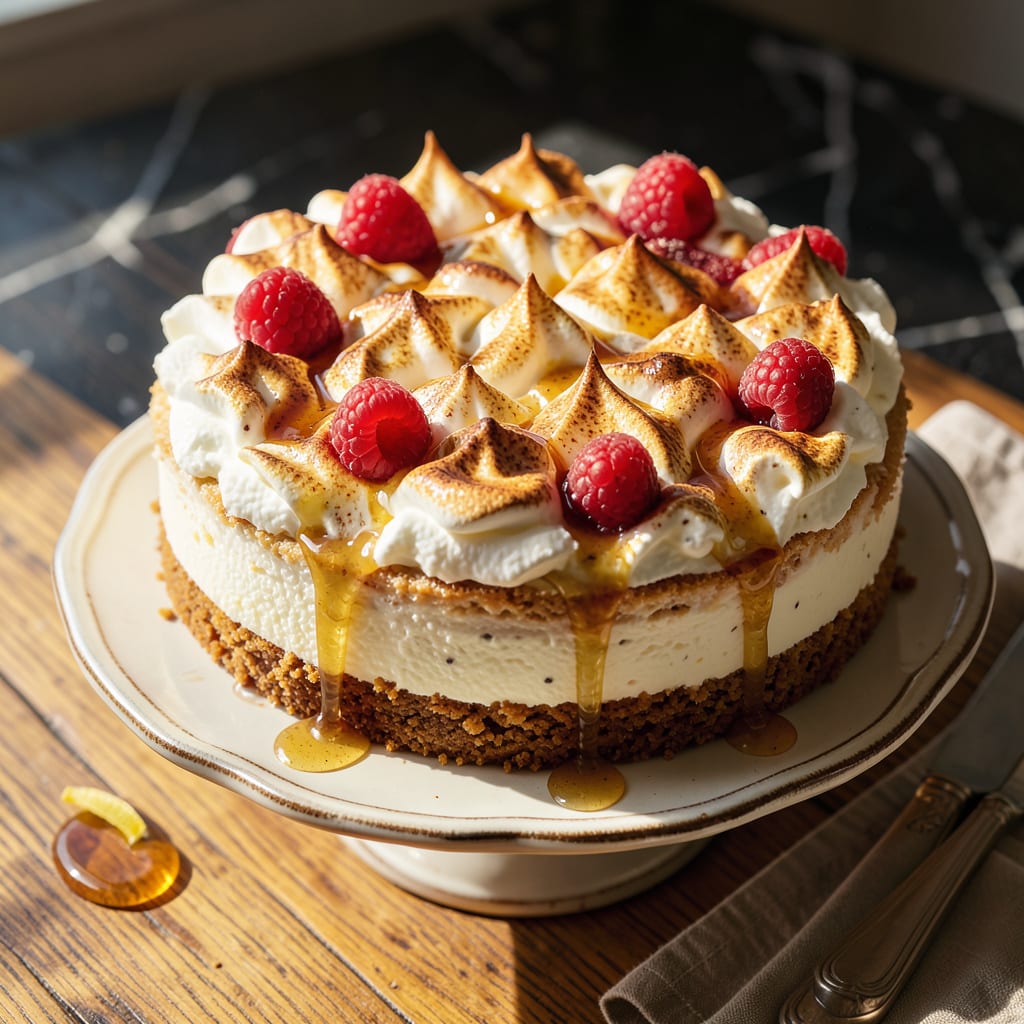
The classic Honey Maid cheesecake recipe on the box combines crushed graham crackers with cream cheese, sugar, eggs, and vanilla. It bakes for 30-35 minutes at 350°F, then chills for at least 3 hours before serving with optional fruit topping.
This timeless recipe has been a kitchen staple for generations, and I love how it balances simplicity with rich results. The graham cracker crust provides that perfect crunchy contrast to the velvety filling, while the chilling time ensures the texture sets just right. 🔥 What many don’t realize is that the vanilla extract plays a crucial role in enhancing the cream cheese’s natural tang, creating that signature flavor profile we all crave. I’ve found that letting the cream cheese fully soften before mixing eliminates lumps and guarantees a silky-smooth finish every time.
💡 In This Article
- Step-by-Step Breakdown of the Honey Maid Box Cheesecake Recipe
- Pro Tips for Perfecting the Honey Maid Cheesecake Recipe
Step-by-Step Breakdown of the Honey Maid Box Cheesecake Recipe
The crust forms the foundation, and the Honey Maid box recipe calls for 1-1/2 cups of finely crushed graham crackers blended with 1/3 cup melted butter and 1/4 cup sugar. This ratio creates the ideal balance between crunch and cohesion.
The butter acts as a binder while the sugar caramelizes slightly during baking, adding depth to the flavor. Pressing the mixture firmly into the pan ensures it holds together when sliced. 🔥
For the filling, 4 packages (8 oz each) of cream cheese get blended with 1 cup sugar, 1 teaspoon vanilla, and 4 eggs added one at a time. The key here is temperature—all ingredients should be at room temperature (68-72°F) to prevent lumps.
The eggs provide structure while the sugar dissolves completely for a smooth texture. Overmixing after adding eggs can incorporate too much air, leading to cracks during baking.
Baking at 350°F for 30-35 minutes allows the center to set while maintaining creaminess. The edges should be lightly golden with just a slight wobble in the center when done. A water bath (placing the springform pan in a larger pan with hot water) helps regulate temperature and prevents overbaking.
This gentle heat distribution is what gives the cheesecake its signature velvety consistency. ✨
The chilling process is non-negotiable—at least 3 hours (overnight is ideal). This time lets the proteins fully set and flavors meld. Skipping this step results in a runny texture that won’t hold slices. I’ve found that cooling gradually at room temperature for 1 hour before refrigerating prevents sudden temperature shocks that can cause cracks.
Testing doneness is simple: give the pan a gentle shake. The center should jiggle slightly like gelatin, not slosh like liquid. A toothpick inserted 1 inch from the edge should come out clean, while the very center may still look slightly wet.
This visual cue is more reliable than timing alone, as oven temperatures can vary by 25°F or more. 💫
The science behind this recipe’s success lies in the protein coagulation from the eggs and cream cheese. During baking, these proteins unfold and link together, creating the firm yet creamy structure. The gradual cooling allows these bonds to stabilize without collapsing, which is why patience during chilling pays off with perfect slices every time.
For those wondering about variations, the basic ratio of 4:1:1/4 (cream cheese to sugar to vanilla) can accommodate additions like lemon zest or cocoa powder. Just remember that any liquid additions (like fruit purees) may require adjusting the baking time by 5-10 minutes to compensate for extra moisture. ⚡

Trained in classic French technique but raised on slow-cooked ribs and spicy rubs, she blends culinary skill with smoke and soul.
- Recipe for Boneless Pork Chops in Cast Iron Skillet: Sear and Baste to Juicy Perfection - October 3, 2026
- Recipe for Boneless Cross Rib Roast: Slow-Roasted Beef with Herb Crust - October 3, 2026
- Hamburgers in Sauce Recipe Crock Pot: Slow-Cooked Savory Delight - October 3, 2026