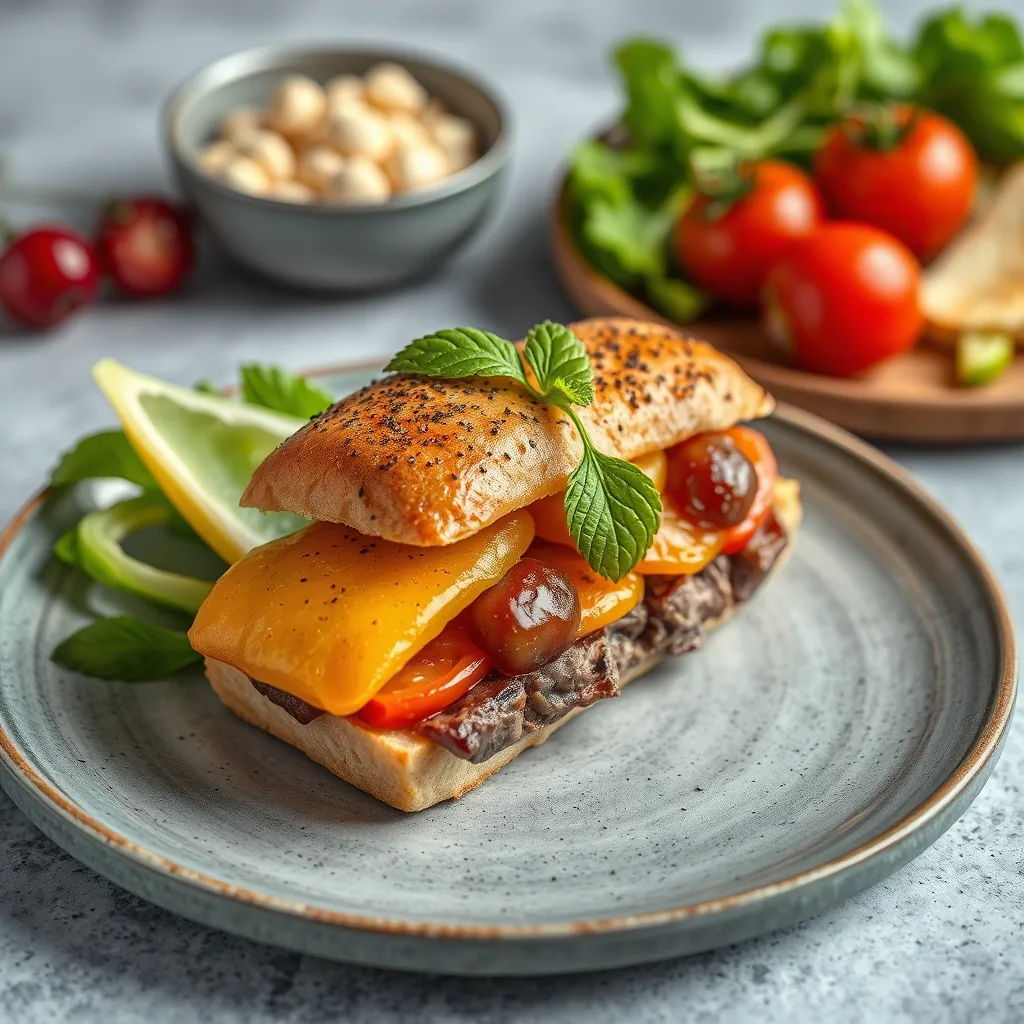
There’s something about a perfectly spiced hot dog chili that takes a simple frankfurter from basic to absolutely crave-worthy. 🌟 I’ve been making this bold, meaty sauce for years, and it’s become my secret weapon for backyard cookouts and game day gatherings alike.
What makes this chili special is the balance of savory ground beef, warm spices, and just enough tomato to create that signature thick, saucy consistency that clings to every hot dog. It’s not soupy like traditional chili—this is a proper topping that stays put and delivers flavor in every bite.
By the time it’s simmered and ready, you’ll have a rich, aromatic sauce with deep beefy flavor and just the right amount of spice. The best part? It actually tastes better the next day, making it perfect for meal prep or feeding a crowd without last-minute stress.
Ingredients for hot dog chili recipe pioneer woman
These simple ingredients come together to create this bold, meaty hot dog chili.
| Ingredient | Amount | Notes |
|---|---|---|
| Ground Beef 🥩 | 1 lb | 80/20 blend for richness |
| Yellow Onion 🧅 | 1 whole | Finely diced for texture |
| Garlic Cloves 🧄 | 3 cloves | Minced for aromatic base |
| Tomato Sauce 🍅 | 1 can | 15-ounce can, plain |
| Tomato Paste 🍅 | 2 tbsp | Adds depth and thickness |
| Chili Powder 🌶️ | 2 tbsp | Mild or medium heat |
| Ground Cumin 🌿 | 1 tsp | Toasted for deeper flavor |
| Paprika 🌶️ | 1 tsp | Sweet variety preferred |
| worcestershire sauce 💧 | 1 tbsp | Adds savory umami depth |
| Brown Sugar 🍯 | 1 tsp | Balances acidity and spice |
| Salt 🧂 | 1 tsp | Kosher salt preferred |
| Black Pepper 🌶️ | ½ tsp | Freshly ground preferred |
[recipe_ingredient_scaler]
You can find all these ingredients at any grocery store. For the best flavor, I recommend buying ground beef from a local butcher—look for 80/20 blend with good marbling. Hunt's or Contadina tomato sauce works perfectly, and you'll find them at Walmart, Kroger, or Target. Choose chili powder from Penzeys or McCormick for consistent quality. Fresh garlic from the produce section tastes significantly better than jarred.
Don't have chili powder? Mix together paprika, cumin, garlic powder, and a pinch of cayenne for a homemade substitute. If you prefer less heat, use mild chili powder or reduce the amount by half. Ground turkey or chicken can replace beef for a leaner version—just add an extra tablespoon of oil. Honey works in place of brown sugar for sweetness.
Store leftover chili in an airtight container in the refrigerator for up to 5 days. It actually tastes better the next day as flavors meld together. You can freeze portions in freezer bags for up to 3 months—perfect for quick hot dog toppings anytime.
Step-by-Step Instructions for Hot Dog Chili
Let me walk you through this classic topping that transforms ordinary hot dogs into something truly special.
🍳 Step 1: Brown the Ground Beef Until Crumbly
Heat a large skillet or Dutch oven over medium-high heat and add the ground beef. Break it up with a wooden spoon or potato masher as it cooks, working to create very small, fine crumbles—not chunks. I like to really break it down because hot dog chili should have a smooth, saucy texture that clings to the dog without big meat pieces sliding off.
Cook for 8-10 minutes, stirring frequently, until the meat is completely browned with no pink remaining. You’ll notice the beef will release moisture initially, then that liquid will evaporate and the meat will start to sizzle and brown. Don’t drain the fat yet—we want to cook the aromatics in it for maximum flavor.
👨🍳 Step 2: Add Aromatics and Build the Base
Add the diced onion directly to the browned beef and cook for 4-5 minutes until softened and translucent. The onion will soak up all those beefy flavors from the bottom of the pan. Then add the minced garlic and cook for 1 minute until fragrant.
Now stir in the chili powder, cumin, paprika, salt, and black pepper. Toast these spices for 30-45 seconds, stirring constantly, until they become incredibly aromatic. This blooming process wakes up the spices and intensifies their flavor—you’ll smell the difference immediately. The mixture should look dry and slightly darker in color.
🥘 Step 3: Add Liquids and Simmer to Perfection
Pour in the tomato sauce, water, Worcestershire sauce, and yellow mustard. Stir everything together until well combined, making sure to scrape up any browned bits stuck to the bottom of the pan. Those bits are pure concentrated flavor that will enrich your chili.
Bring the mixture to a boil over high heat, then immediately reduce to low heat and let it simmer uncovered for 30-40 minutes. Stir every 10 minutes to prevent sticking. You’re looking for the chili to thicken considerably—it should coat the back of a spoon and have a consistency somewhere between a thick sauce and a loose paste. The longer it simmers, the more the flavors meld together and the richer it becomes.
⏰ Step 4: Adjust Consistency and Season to Taste
After simmering, check the consistency. The chili should be thick enough to stay on a hot dog without running off, but not so thick it’s pasty. If it’s too thick, stir in water 1 tablespoon at a time until it reaches your desired consistency. If it’s too thin, continue simmering for another 5-10 minutes uncovered.
Taste and adjust the seasoning with additional salt, pepper, or chili powder as needed. I always taste at this stage because the flavors concentrate during simmering and you might need a pinch more salt to make everything pop. The chili should be savory, slightly spicy, with a hint of tang from the mustard and Worcestershire sauce.
🌭 Step 5: Serve Hot Over Grilled Dogs
Keep the chili warm over low heat until ready to serve, stirring occasionally. Spoon generous amounts over grilled hot dogs nestled in toasted buns. The chili should be hot enough to warm the bun slightly and create that perfect contrast with the snappy hot dog.
Top with your favorite fixings—I love shredded cheddar cheese, diced onions, and a squirt of yellow mustard. The chili will stay good in the refrigerator for up to 5 days and actually tastes even better the next day once the flavors have had more time to develop. You can also freeze it in portions for up to 3 months for quick weeknight dinners.
Make-Ahead Tips for This Recipe
Two-Day Advance Preparation: Make the entire hot dog chili 2 days before your event for optimal flavor development—the spices meld beautifully and the sauce thickens perfectly during refrigeration. Brown 2 lbs ground beef, add your seasonings and tomato products, simmer for 45 minutes, then cool completely before transferring to airtight containers. Store in the refrigerator at 40°F or below. The chili actually improves as it sits, with the cumin and chili powder developing deeper, more complex flavors. I always make mine on Thursday for Saturday gatherings. ⏰
Week-Ahead Freezer Strategy: This chili freezes exceptionally well for up to 3 months, making it perfect for ultimate advance prep. Prepare the full recipe, cool it to room temperature within 2 hours, then portion into freezer-safe containers or heavy-duty bags. Leave 1 inch headspace for expansion. Transfer to the refrigerator 24 hours before your event to thaw slowly, then reheat on the stovetop over medium-low heat for 15-20 minutes, stirring occasionally. Add ¼ cup water if it seems too thick after thawing.
Day-Of Reheating Timeline: Plan to start reheating your chili 30 minutes before guests arrive. Pour it into a heavy-bottomed pot or slow cooker set to low heat. If using the stovetop, heat over medium-low, stirring every 5 minutes to prevent scorching. The slow cooker method is hands-off and keeps the chili at perfect serving temperature for 2-3 hours. Taste and adjust seasonings—I usually add a pinch of fresh cumin and salt after reheating to brighten the flavors. 📅
bun and topping prep: Toast your hot dog buns 10 minutes before serving for the best texture—I butter the insides and toast them cut-side down in a skillet over medium heat for 2-3 minutes. Prep toppings the morning of your event: dice 1 cup onions, shred 2 cups cheddar cheese, and portion mustard and relish into small bowls. Cover everything with plastic wrap and refrigerate. Steam or grill hot dogs just before serving so they’re hot when guests build their dogs.
Slow Cooker Serving Strategy: Transfer reheated chili to a slow cooker set on warm or low for easy self-serve at parties. This keeps it at the perfect temperature without overcooking or drying out. Set up a hot dog bar with the chili as the centerpiece, surrounded by all your prepped toppings. The chili will stay food-safe and delicious for 3-4 hours in the slow cooker. Keep a ladle in the pot and small bowls nearby for easy serving.
Nutrition Facts
285kcal
[recipe_ingredient_scaler]

Trained in classic French technique but raised on slow-cooked ribs and spicy rubs, she blends culinary skill with smoke and soul.
- Recipe for Boneless Pork Chops in Cast Iron Skillet: Sear and Baste to Juicy Perfection - October 3, 2026
- Recipe for Boneless Cross Rib Roast: Slow-Roasted Beef with Herb Crust - October 3, 2026
- Hamburgers in Sauce Recipe Crock Pot: Slow-Cooked Savory Delight - October 3, 2026