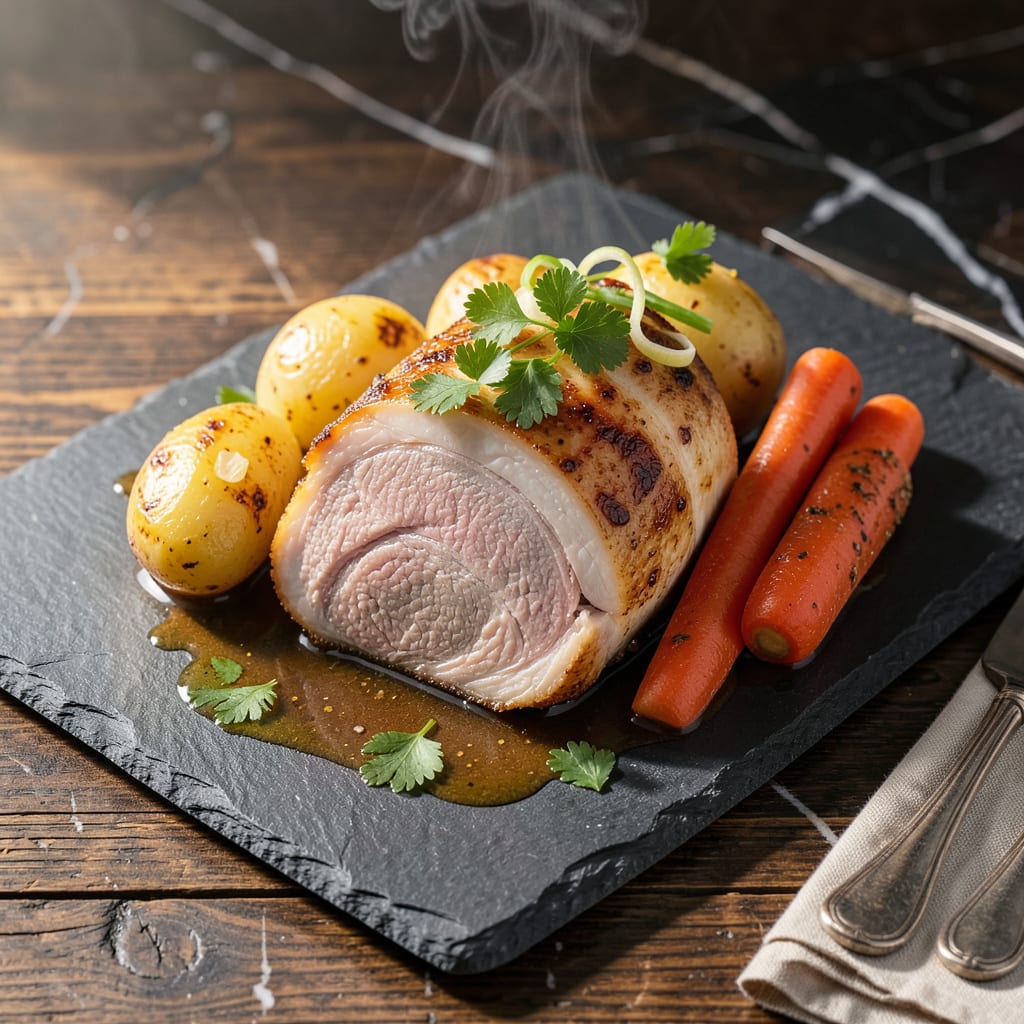
Boil pork shoulder for 25-30 minutes per pound at a gentle simmer until it reaches 160°F internally. For a 3-4 lb cut, expect 1.5-2 hours for fall-apart tenderness.
As a pitmaster who’s spent years perfecting pork, I’ve learned that timing isn’t just about doneness—it’s about transforming tough connective tissue into silky gelatin. 🔥 The magic happens when you maintain that steady simmer, allowing the collagen to break down gradually without drying out the meat. This method works wonders for pulled pork prep or when you’re building flavor for stews and broths.
What many home cooks miss is how the cut’s size affects the process. A smaller 2-pound piece might be ready in under an hour, while a hefty 5-pounder could take nearly three—always check with a meat thermometer rather than guessing. I like to add aromatic vegetables to the boiling water for extra depth, turning simple simmered pork into a rich, flavorful base for tacos or sandwiches.
💡 In This Article
- Why Boiling Time Affects Pork Shoulder Texture
- Boiled Pork Shoulder Recipes and Flavor Enhancements
Why Boiling Time Affects Pork Shoulder Texture
The secret to perfect boiled pork shoulder lies in collagen transformation. This cut contains dense connective tissue that requires prolonged moist heat to break down. At temperatures between 180-200°F, collagen molecules begin unwinding and converting into gelatin—a process that gives the meat that signature melt-in-your-mouth quality.
The longer you maintain this temperature range, the more complete the conversion becomes. 🔥
Here’s what’s actually happening in the pot: The gentle simmer creates convection currents that evenly distribute heat while keeping the meat submerged. Unlike dry heat methods, boiling maintains a consistent 212°F environment that penetrates deep into the muscle fibers.
I’ve found that 25-30 minutes per pound strikes the perfect balance—enough time for collagen breakdown without overcooking the leaner portions of the shoulder.
What most people don’t realize is that pork shoulder contains multiple muscle groups with varying collagen densities. The “picnic” portion near the hoof has more connective tissue than the “butt” end, which is why uniform cooking times matter.
When you hit that 160°F internal temperature, you’ve achieved the sweet spot where collagen has fully converted but proteins haven’t tightened excessively. ✨
Temperature control makes all the difference. A rolling boil would cook the exterior too quickly, creating a temperature gradient that leaves the center underdone. That’s why I always aim for just 180-200°F in the liquid—hot enough to break down collagen but gentle enough to prevent the meat from seizing up. The result?
Meat that pulls apart with minimal effort while retaining its natural juices.
Consider these key factors that influence your boiling time:
- Cut size: A 3-pound piece needs 1.5 hours, while a 5-pounder may require 2.5 hours
- Bone-in vs boneless: Bone-in shoulders cook about 10% faster due to heat conduction through the bone
- Starting temperature: Room-temp meat boils more evenly than refrigerated cuts
The science behind this method explains why rushed boiling produces tough, stringy meat. When collagen breaks down too quickly, it doesn’t have time to fully convert to gelatin, leaving chewy fibers.
That slow, steady simmer gives the connective tissue time to transform completely—just like how my grandmother’s all-day simmered pork would fall apart at the touch of a fork. 💫

Trained in classic French technique but raised on slow-cooked ribs and spicy rubs, she blends culinary skill with smoke and soul.
- Recipe for Boneless Pork Chops in Cast Iron Skillet: Sear and Baste to Juicy Perfection - October 3, 2026
- Recipe for Boneless Cross Rib Roast: Slow-Roasted Beef with Herb Crust - October 3, 2026
- Hamburgers in Sauce Recipe Crock Pot: Slow-Cooked Savory Delight - October 3, 2026