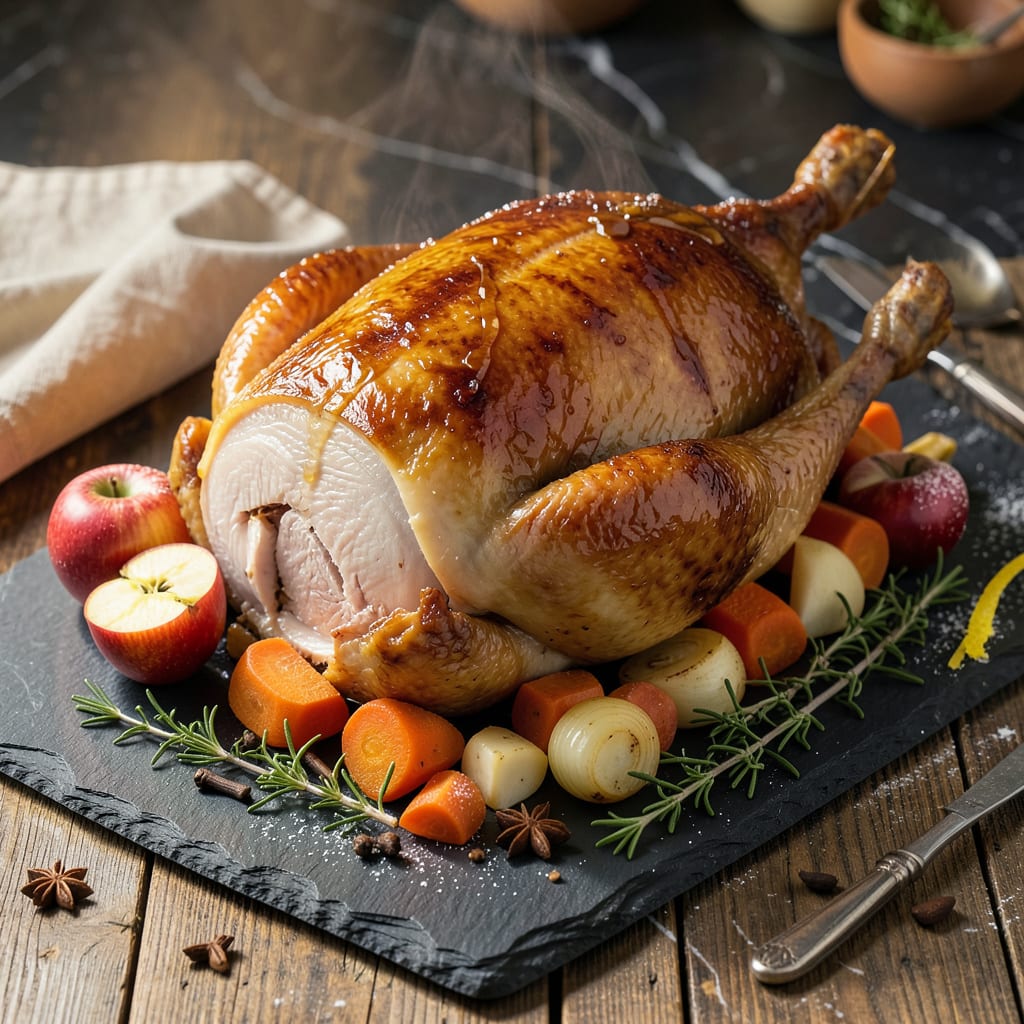
A whole goose typically requires 24 hours of refrigerator defrosting for every 4-5 pounds. For a 10-12 pound bird, plan on 2-3 full days. Never defrost at room temperature due to bacterial risks.
I’ve learned through years of handling poultry that patience is key when thawing a goose. The gradual refrigerator method preserves texture and prevents bacterial growth in the 40°F-140°F danger zone. 🔥 For larger birds, I recommend placing them on a tray to catch any drips and rotating every 12 hours for even thawing. This approach maintains the meat’s integrity better than quick methods, ensuring your goose stays juicy and safe for that perfect roast.
💡 In This Article
- Why Safe Goose Defrosting Times Matter for Food Safety
- Step-by-Step Goose Defrosting Methods for Perfect Results
Why Safe Goose Defrosting Times Matter for Food Safety
The danger zone for poultry sits between 40°F and 140°F, where bacteria like Salmonella and Campylobacter multiply exponentially. A whole goose’s dense muscle structure and thick skin create insulation that keeps the inner meat in this risky temperature range longer than chicken.
This is why gradual refrigerator thawing works best—it maintains a consistent 35-38°F environment that inhibits bacterial growth while allowing even thawing. 🔥
When you defrost a goose too quickly, the outer layers warm up while the center remains frozen. This temperature imbalance causes protein fibers to contract unevenly, leading to moisture loss and tougher meat.
I’ve seen this firsthand when clients rush the process—the result is often dry, stringy meat instead of the tender, juicy texture we want. The refrigerator method’s slow pace (about 0.5 pounds per hour) gives enzymes time to break down connective tissue naturally.
Cold water thawing can work in a pinch, but it requires vigilance. You’ll need to change the water every 30 minutes to maintain a safe temperature below 40°F. For a 12-pound goose, this means 4-6 hours of active monitoring—far more labor-intensive than the hands-off refrigerator approach.
The water method also risks partial cooking of the outer layers if not done carefully, which can create that unpleasant rubbery texture.
Microwave defrosting might seem convenient, but it creates hot spots that can push portions of the meat into the danger zone while other parts remain frozen.
I’ve measured temperature variations of 50°F+ in microwave-thawed poultry, which is why I only recommend this for small goose portions (under 2 pounds) when you’re in a real time crunch. Even then, you must cook immediately after thawing to prevent bacterial growth.
The gradual refrigerator method also preserves the goose’s natural fat distribution. Rapid thawing can cause fat to separate and pool, leading to uneven cooking and less flavorful results. I noticed this difference clearly when preparing geese for holiday feasts—the refrigerator-thawed birds consistently had better fat rendering and crispier skin during roasting. ✨
Remember that a goose’s size affects thawing time more than other poultry due to its higher fat content. While a 4-pound chicken might thaw in 24 hours, a 12-pound goose needs 3 full days in the refrigerator.
This extra time allows the fat to soften properly, which is crucial for that perfect golden-brown crispiness we all love when it hits the oven.

Trained in classic French technique but raised on slow-cooked ribs and spicy rubs, she blends culinary skill with smoke and soul.
- Recipe for Boneless Pork Chops in Cast Iron Skillet: Sear and Baste to Juicy Perfection - October 3, 2026
- Recipe for Boneless Cross Rib Roast: Slow-Roasted Beef with Herb Crust - October 3, 2026
- Hamburgers in Sauce Recipe Crock Pot: Slow-Cooked Savory Delight - October 3, 2026