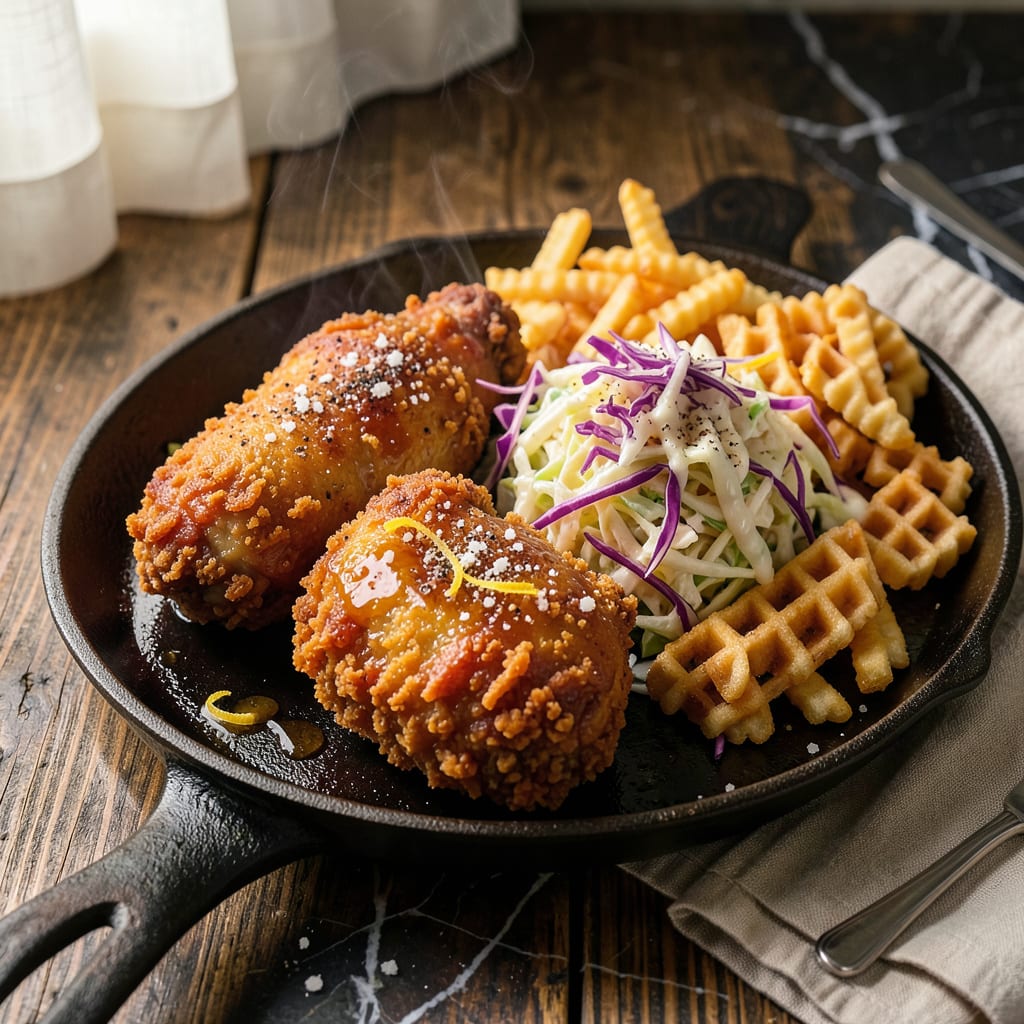
I’ll be real with you—cooking frozen fried chicken without ending up with soggy breading is easier than you think. After burning through more batches than I’d like to admit (including one that set off my smoke alarm), I finally cracked the code for achieving that perfect balance: crispy outside and juicy inside, every single time.
The secret lies in two things: proper temperature and patience. Whether you’re using an oven, air fryer, or deep fryer, the goal is to cook the chicken through without steaming the breading. I’ve tested all three methods extensively, and each one delivers that golden crunch we’re after—if you follow the right steps.
What you’ll get is frozen fried chicken that tastes like it just came out of the fryer—no mushy coating, no dry meat. The breading stays intact, the seasoning shines through, and the chicken reaches that crucial 165°F internal temperature for perfect safety and doneness. It’s the kind of result that makes you wonder why you ever settled for microwave reheating.
From quick weeknight dinners to game day spreads, this method works every time. No fancy equipment needed, just a few simple techniques that make all the difference. Let’s get that chicken cooking right.
📚 In This Guide
- What You’ll Need
- Instructions
- Tips and Common Mistakes
What Youll Need
- ● Frozen fried chicken – 1 bag (12–24 oz, depending on servings; check package for weight)
- ○ Cooking oil – 1–2 cups (vegetable, canola, or peanut oil for frying; optional if baking/air-frying)
- ● Baking sheet + wire rack – 1 set (for oven/baking methods)
- ● Deep fryer, heavy pot, or skillet – 1 (3–4 qt capacity for frying; must be deep enough for 1.5–2 inches of oil)
- ● Tongs or slotted spoon – 1 (heat-resistant, for safe flipping)
- ● Paper towels – 4–6 sheets (for draining excess oil)
- ○ Meat thermometer – 1 (optional but highly recommended for perfect doneness—165°F internal temp!)
- ○ Air fryer – 1 (optional, for a quicker, oil-free method)
- ● Aluminum foil – 1 sheet (to keep chicken warm post-cooking)
- ○ Seasonings – optional (salt, pepper, or Cajun spice for extra flavor)
Instructions
Here’s the foolproof method I use to transform frozen fried chicken into something that tastes fresh from the fryer.
Preheat Your Oven Properly
Start by preheating your oven to 400°F. This high temperature is crucial for recreating that crispy exterior while ensuring the inside cooks through evenly. I always use the convection setting if my oven has it—the circulating air helps achieve extra crispiness.
While the oven heats, take your frozen fried chicken pieces out of the freezer. Don’t thaw them first—that would make the breading soggy. Place them on a wire rack set over a baking sheet. The rack allows hot air to circulate all around the chicken, preventing any steaming that would soften the crust.
Arrange Chicken for Even Cooking
Spread the frozen chicken pieces in a single layer on the rack, leaving at least 1 inch of space between each piece. This spacing ensures proper air circulation and even cooking. If the pieces touch, they’ll steam instead of crisp up.
I like to flip each piece over and check the bottom—sometimes ice crystals form during freezing. If you see any, just brush them off with your fingers. These would create steam pockets in the oven, which is exactly what we’re trying to avoid for maximum crispiness.
Bake Until Golden and Crispy
Bake the chicken for 25-30 minutes, then carefully flip each piece using tongs. The breading should be golden brown and starting to crisp. Return to the oven and bake for another 10-15 minutes until the internal temperature reaches 165°F.
Here’s the thing—I always check the thickest piece with a meat thermometer. The juices should run clear when pierced, and the breading should make that satisfying crunch sound when you press it gently. If it’s not quite crispy enough, I’ll broil for 1-2 minutes at the end, watching closely to prevent burning.
Rest Briefly Before Serving
Transfer the cooked chicken to a clean wire rack and let it rest for 5 minutes before serving. This short rest allows the juices to redistribute throughout the meat, ensuring every bite is moist and flavorful.
I know it’s tempting to dig in right away, but this step makes a real difference. The breading will also firm up slightly during this time, giving you that perfect crunch when you finally take your first bite. Serve immediately while still hot and crispy.
Tips and Common Mistakes
After years of testing different methods, I’ve found these key details make all the difference when reheating frozen fried chicken.
Heat Distribution: The 400°F temperature in Step 1 isn’t arbitrary—it’s the sweet spot for recreating that fresh-fried texture. I’ve tried lower temps and the breading just doesn’t get that satisfying crunch. If your oven runs hot, reduce to 375°F but add 5-10 minutes to the baking time to compensate. The convection setting really does help if you have it, creating that perfect all-around crispiness.
Ice Crystal Check: Don’t skip the ice crystal removal mentioned in Step 2. I learned this the hard way after wondering why my chicken kept steaming instead of crisping. Those tiny ice crystals create steam pockets that ruin the texture. A quick brush with your fingers takes seconds but prevents soggy spots. Pay special attention to the underside where crystals tend to collect.
The Flip Test: When you flip the chicken after the initial 25-30 minutes in Step 3, listen for that telltale crunch. If it doesn’t release easily from the rack, give it another 2-3 minutes. The breading should be golden brown and starting to crisp before you turn it. This ensures both sides get equal time to develop that perfect texture.
Resting Matters: Those 5 minutes of resting in Step 4 might seem unnecessary, but they’re crucial. The breading continues to crisp slightly as it cools, and the juices redistribute throughout the meat. I’ve served chicken straight from the oven before, and while it’s hot, the texture isn’t quite as perfect as when you give it that short rest.
Pro Tips for Cook Frozen Fried Chicken
- After years of testing different methods, I’ve found these key details make all the difference when reheating frozen …
- Heat Distribution: The 400°F temperature in Step 1 isn’t arbitrary—it’s the sweet spot for recreating that fresh-frie…
- Ice Crystal Check: Don’t skip the ice crystal removal mentioned in Step 2. I learned this the hard way after wonderin…
Frequently Asked Questions
Can I cook frozen fried chicken in an air fryer?
An air fryer is a great option for crispy results. Preheat to 375°F, arrange chicken in a single layer (no overlapping), and cook for 12-15 minutes, flipping halfway. Shake the basket occasionally for even crispiness. Always check the internal temp hits 165°F before serving.
How long does it take to cook frozen fried chicken in the oven?
Oven-baked frozen fried chicken typically takes 25-35 minutes at 400°F. Place pieces on a wire rack over a baking sheet for crispiness. Flip halfway through cooking. Larger pieces (like thighs) may need an extra 5-10 minutes. Use a meat thermometer to confirm doneness!
Why is my frozen fried chicken soggy after cooking?
Sogginess usually happens from steam getting trapped. Avoid overcrowding the pan or air fryer, and pat dry any excess ice crystals before cooking. For extra crispiness, broil for 1-2 minutes at the end or spray lightly with oil before baking. Pro tip: Let it rest 2-3 minutes on a rack after cooking!
Can I microwave frozen fried chicken? (And should I?)
You can, but it’s not ideal—microwaving often makes the coating soggy. If in a rush, use 50% power for 3-4 minutes, then finish in a toaster oven or air fryer for 2-3 minutes to crisp it up. For best results, stick to oven or air fryer methods.
What’s the best way to reheat leftover cooked frozen fried chicken?
Skip the microwave! Reheat in an air fryer (350°F for 3-4 minutes) or oven (375°F for 10-12 minutes) to restore crispiness. Place chicken on a wire rack to prevent sogginess. If using a skillet, heat 2-3 minutes per side over medium heat with a splash of oil.
Cooking frozen fried chicken doesn’t have to be a gamble—with the right method, you can achieve that golden, crispy crust and juicy perfection every time! 🍗 Whether you prefer the oven, air fryer, or deep fryer, the key is patience and proper temperature control. Now that you’ve got the know-how, grab a bag of your favorite frozen chicken and put these tips to the test.
Hungry for more crispy successes? Try experimenting with homemade seasoning blends or dipping sauces to take your meal to the next level! 🌟

Trained in classic French technique but raised on slow-cooked ribs and spicy rubs, she blends culinary skill with smoke and soul.
- Recipe for Boneless Pork Chops in Cast Iron Skillet: Sear and Baste to Juicy Perfection - October 3, 2026
- Recipe for Boneless Cross Rib Roast: Slow-Roasted Beef with Herb Crust - October 3, 2026
- Hamburgers in Sauce Recipe Crock Pot: Slow-Cooked Savory Delight - October 3, 2026