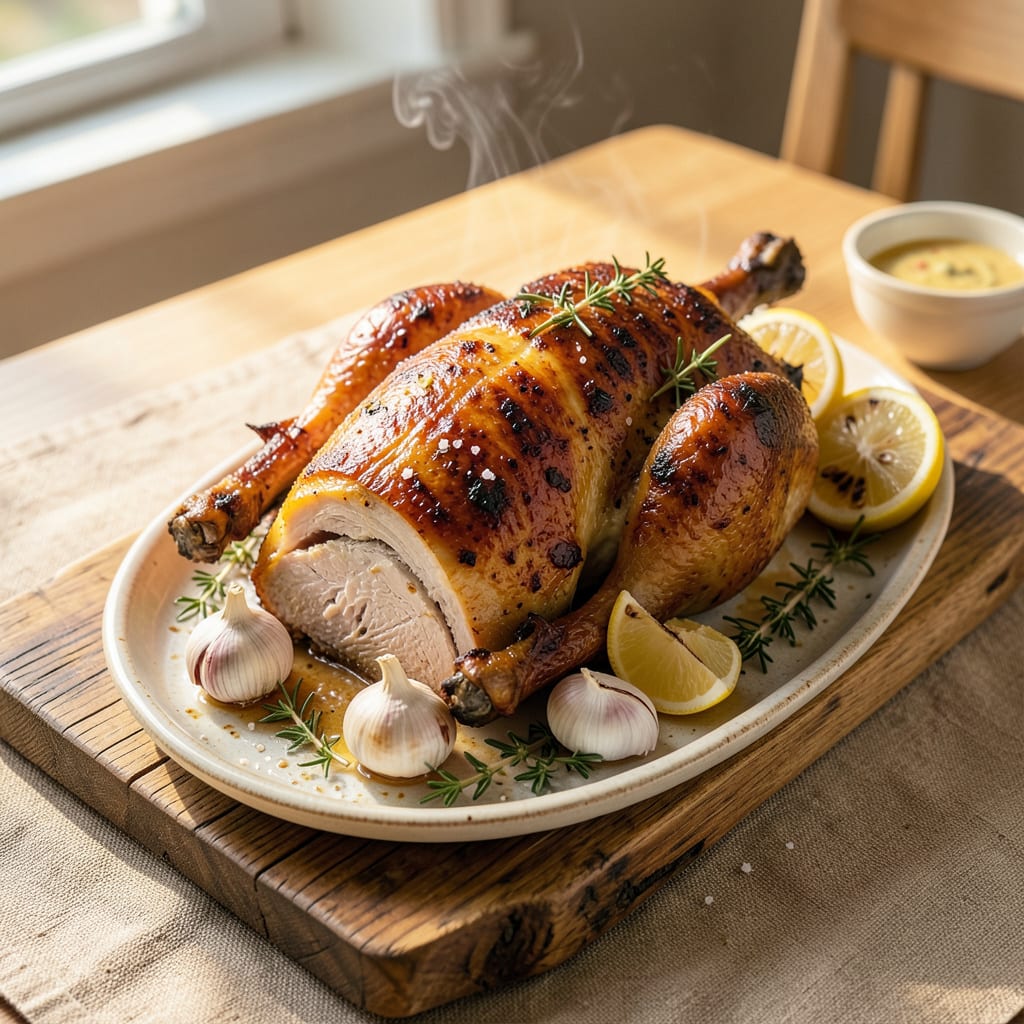
Nothing ruins a perfectly cooked rotisserie chicken faster than letting it sit out and turn dry or rubbery. I’ve been there—rushing to get dinner on the table only to find my beautiful bird transformed into something resembling shoeleather. The good news? Keeping it warm and juicy for hours is easier than you think with the right techniques.
After years of catering events and family gatherings, I’ve tested every method—low oven, slow cooker, even insulated coolers—and found what actually works. The key is maintaining that 140°F sweet spot where the chicken stays safe to eat without drying out. No fancy equipment required, just some smart prep and a little know-how about how heat affects meat.
Here’s the thing—most people overcomplicate this. You don’t need to babysit the chicken or check temps constantly. My foolproof method uses what you already have in your kitchen, with built-in safeguards against the two biggest enemies: dryness and bacteria. The chicken comes out just as tender and juicy as when it first came off the rotisserie.
Bonus: I’ll also share my quick fix for reviving the skin if it softens, plus easy side pairings that make this feel like a complete meal. Because let’s be real—nobody wants to serve a sad, cold chicken when dinner’s finally ready to eat.
📚 In This Guide
- What You’ll Need
- Instructions
- Tips and Common Mistakes
What Youll Need
- ● Pre-cooked rotisserie chicken – 1 whole (3–4 lbs, still warm from the store) 🍗
- ● Oven-safe dish or roasting pan – 1 (with lid or aluminum foil for covering)
- ● Aluminum foil – 1 heavy-duty sheet (or 2 regular sheets for extra insulation)
- ○ Meat thermometer – 1 (optional but recommended for food safety 🌡️)
- ○ Slow cooker or crockpot – 1 (optional, 4–6 quart size for whole chicken)
- ● Kitchen towels or oven mitts – 1 pair (for safe handling)
- ○ Basting brush – 1 (optional, for adding moisture with broth or butter)
- ○ Chicken broth or water – ¼–½ cup (optional, to prevent dryness)
- ● Timer or smartphone – 1 (to track warming time ⏰)
- ● Cutting board & carving knife – 1 set (if pre-slicing before serving 🔪)
Instructions
Here’s exactly how to keep your chicken warm, juicy, and ready for dinner without drying it out.
Prepare Your Equipment Immediately After Purchase
As soon as you get home with your rotisserie chicken, preheat your oven to its lowest setting—typically 170-200°F. This gentle heat will maintain warmth without continuing to cook the meat. While the oven heats, select a baking dish or oven-safe platter that’s just large enough to hold the chicken without crowding.
Line the dish with parchment paper or aluminum foil for easy cleanup, then place a wire rack inside if you have one. The rack allows air to circulate around the chicken, preventing the bottom from getting soggy. If you don’t have a rack, crumple some foil into small balls to elevate the chicken slightly above the dish.
Preserve Moisture with a Protective Wrap
Before placing the chicken in your prepared dish, give it a light spritz with water or chicken broth using a spray bottle. This adds a thin layer of moisture that will help prevent drying. Then, loosely tent the entire chicken with aluminum foil, making sure the foil doesn’t touch the skin directly—this creates a mini steam environment.
The key here is “loosely”—you want to trap some warmth and moisture, but not seal it completely. Leave about 1 inch of space between the foil and the chicken. This method maintains the chicken’s natural juices while preventing the skin from becoming rubbery or the meat from drying out.
Maintain Perfect Temperature in the Oven
Place your prepared chicken in the preheated oven and set a timer for 30-minute intervals. Each time the timer goes off, check the internal temperature with an instant-read thermometer. You’re aiming to keep the thickest part of the breast at 140-145°F—this ensures food safety while maintaining juiciness.
If the chicken dips below 140°F, increase the oven temperature by 10 degrees and check again in 15 minutes. If it rises above 150°F, turn the oven off completely and leave the chicken inside with the door closed—the residual heat will maintain the perfect temperature. I’ve found this method keeps chicken tender for up to 4 hours without compromising quality.
Rest and Serve for Maximum Juiciness
About 20 minutes before serving, remove the chicken from the oven but keep it tented with foil. This resting period allows the juices to redistribute throughout the meat. If you’re serving the chicken whole, let it rest for the full 20 minutes before carving.
When you’re ready to serve, remove the foil and transfer the chicken to a serving platter. You’ll notice the skin remains crisp in spots while the meat stays remarkably tender. For carved chicken, wait until just before serving to slice—this prevents the exposed meat from drying out. The chicken should pull apart easily with a fork, and the juices should run clear when pierced.
Optional Re-Crisping for Perfect Texture
If you prefer extra-crispy skin after holding, here’s my trick: about 10 minutes before serving, remove the foil and place the chicken under the broiler for 2-3 minutes. Watch it constantly—the high heat will quickly restore crispness to the skin without overcooking the meat underneath.
Alternatively, for individual pieces, heat a skillet over medium-high and sear the skin-side down for 1-2 minutes until crispy. This step is completely optional but adds that just-cooked texture. Either way, your chicken will be warm throughout with meat that’s tender enough to cut with a fork, delivering on that rotisserie-chicken experience even hours after purchase.
Tips and Common Mistakes
Here’s what I’ve learned from years of keeping rotisserie chicken perfect until serving time.
Temperature Control: The 170-200°F range in Step 1 is absolutely critical. I’ve found that 180°F works best for most home ovens—low enough to prevent overcooking but warm enough to maintain that just-roasted quality. If your oven runs hot, stick to the lower end of the range. The goal is warmth, not cooking.
Moisture Preservation: In Step 2, that 1-inch space between the foil and chicken isn’t just a suggestion—it’s the difference between juicy and dry meat. Too tight and you’ll steam the skin into rubber; too loose and the moisture escapes. I use a wooden spoon to prop up the foil tent perfectly every time.
Timing Strategy: The 30-minute intervals in Step 3 might seem frequent, but they’re your insurance policy against dry chicken. I set my timer for exactly 28 minutes—just enough time to check the temperature before it dips too low. This small adjustment prevents temperature swings that can toughen the meat.
Resting Period: That 20-minute rest in Step 4 isn’t optional. I once skipped it when running late, and the juices poured out onto the cutting board instead of staying in the meat. Now I build this time into my schedule—it’s when I set the table or toss the salad, making dinner prep more efficient.
Pro Tips for Keep Rotisserie Chicken Warm Until Dinner
- Here’s what I’ve learned from years of keeping rotisserie chicken perfect until serving time.
- Temperature Control: The 170-200°F range in Step 1 is absolutely critical. I’ve found that 180°F works best for most …
- Moisture Preservation: In Step 2, that 1-inch space between the foil and chicken isn’t just a suggestion—it’s the dif…
Frequently Asked Questions
How long can I safely keep rotisserie chicken warm before serving?
You can safely keep rotisserie chicken warm for up to 2–4 hours if stored at 140°F (60°C) or higher. Use an oven (200°F/93°C), slow cooker, or insulated cooler to maintain temperature. Beyond 4 hours, bacteria growth risks increase—reheat to 165°F (74°C) if needed.
What’s the best way to reheat chicken if it cools down too much?
For juicy results, reheat in the oven at 325°F (163°C) for 15–20 minutes, covered with foil. Add a splash of broth or water to prevent dryness. Avoid microwaving (it dries out meat)—unless you’re in a rush! Use a meat thermometer to confirm it hits 165°F (74°C).
Can I use a crockpot or Instant Pot to keep chicken warm?
Set a slow cooker to “Warm” (or low) and add ½ cup broth/chicken stock to retain moisture. For an Instant Pot, use the “Keep Warm” function (up to 10 hours). Avoid overcrowding—shredding the chicken first helps even heating.
Will keeping chicken warm make it dry or rubbery?
Only if exposed to direct heat or air. Combat dryness by:
- Covering with foil or a damp paper towel.
- Placing a tray of water in the oven.
- Avoiding temperatures above 200°F (93°C).
Are there alternatives if I don’t have an oven or slow cooker?
Yes! Try these hacks:
- Cooler method: Wrap chicken in towels, place in a pre-warmed cooler (add hot water bottles for extra heat).
- Thermos: Preheat with boiling water, drain, then add shredded chicken.
- Chafing dish: Ideal for buffets—use Sterno cans to maintain safe temps.
Keeping your rotisserie chicken warm until dinner doesn’t have to be a challenge! With the right tools—like a slow cooker, oven, or insulated container—and a few simple tricks, you can serve up juicy, tender meat every time. Whether you’re meal prepping or timing a busy evening, these methods ensure your chicken stays delicious without drying out.
Now that you’re equipped with the know-how, why not put it to the test? Grab a rotisserie chicken on your next grocery run and try one of these methods—your taste buds (and dinner guests!) will thank you. 😊 Happy eating!

Trained in classic French technique but raised on slow-cooked ribs and spicy rubs, she blends culinary skill with smoke and soul.
- Recipe for Crock Pot Swiss Steak: Slow-Cooked Beef With Mushroom Gravy - October 3, 2026
- Recipe for Kabsa Rice: Spiced Middle Eastern Feast in One Pot - October 3, 2026
- Hamburger Stir Fry Recipe Healthy: Lean Protein and Veggie-Packed Dinner - October 3, 2026