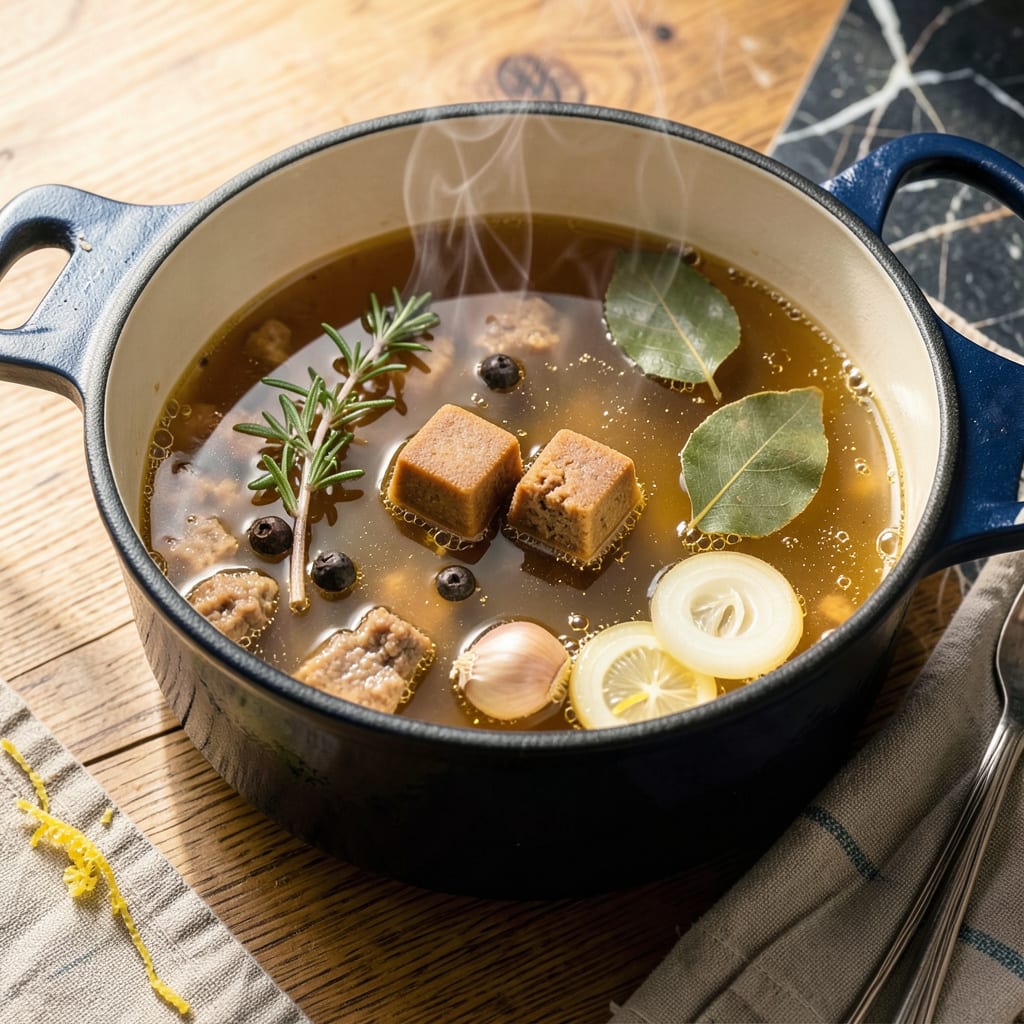
I’ll be real with you: making rich beef broth from scratch usually takes hours, but bouillon cubes change the game. This method gives you that same deep, savory base in just 20 minutes—no bones, no long simmering, just straightforward flavor. I discovered this trick during a particularly busy week when I needed homemade-quality broth fast, and it’s been my secret weapon ever since.
The magic happens when you treat those little cubes right. We’re not just dissolving them in hot water—we’re building layers. A quick sauté of onions and garlic, the right water-to-cube ratio, and a controlled simmer transform basic bouillon into something with real body and complexity. It’s the difference between flat broth and one that actually tastes like it simmered all day.
What you end up with is a versatile homemade broth that works as the foundation for soups, stews, or sauces. It’s got enough richness to stand alone as a sipping broth too. The best part? You control the salt level, the herb intensity, and can tweak it to match exactly what your recipe needs.
No fancy equipment, no hours of watching a pot—just good, reliable beef broth when you need it. Whether you’re making French onion soup or just want to elevate your weeknight cooking, this method delivers. Let’s get that pot on the stove.
📚 In This Guide
- What You’ll Need
- Instructions
- Tips and Common Mistakes
What Youll Need
- ● Beef bouillon cubes – 2 cubes (or 1 cube per 1 cup of water for stronger flavor 🍖)
- ● Water – 2 cups (filtered or tap, depending on preference)
- ● Medium saucepan – 2-quart capacity (non-stick or stainless steel works best)
- ● Wooden spoon or whisk – for stirring and dissolving cubes smoothly
- ○ Fine-mesh strainer (optional) – if you want ultra-clear broth
- ○ Fat separator (optional) – for skimming excess fat if using bouillon with added oils
- ○ Aromatics (optional) – 1 small onion (quartered), 1 carrot (chopped), 1 celery stalk, or 2 garlic cloves for extra depth
- ○ Herbs (optional) – 1 bay leaf, 3-4 black peppercorns, or a sprig of thyme for freshness
- ● Measuring cups – for precise water-to-bouillon ratio
- ● Air-tight container – for storing leftover broth (glass or BPA-free plastic)
Instructions
Here’s how to transform simple bouillon cubes into rich, homemade-tasting broth with just a few easy steps.
Choose Your Bouillon and Water Ratio
Start by selecting high-quality beef bouillon cubes—this makes all the difference in flavor. For every 4 cups of water, you’ll need 1 standard bouillon cube. I always recommend using filtered water if possible, as tap water can sometimes impart off-flavors that affect your final broth.
The ratio is important: too many cubes will make your broth overly salty, while too few will leave it tasting weak. If you’re making a larger batch, simply scale up proportionally. For this recipe, we’ll use 4 cups of water to 1 bouillon cube to yield about 4 servings of rich broth.
Heat the Water Properly
Pour your measured water into a medium saucepan and set it over medium-high heat. You want to bring it to a gentle boil—not a rolling, aggressive boil. I’ve found that heating it too quickly can cause the bouillon to dissolve unevenly, leading to pockets of concentrated flavor.
Watch for small bubbles to form around the edges of the pan first—that’s your cue that the water is getting hot. Then you’ll see steam rising and eventually those first bubbles breaking the surface. This gentle approach helps preserve the bouillon’s flavor compounds that might otherwise evaporate with vigorous boiling.
Dissolve the Bouillon Completely
Once your water reaches a gentle boil, reduce the heat to medium-low and add your bouillon cube. Use a whisk or wooden spoon to stir continuously for about 1 minute until the cube is fully dissolved. You’ll notice the water gradually darkening to a rich amber color as the bouillon incorporates.
Here’s the thing—don’t be tempted to drop the cube into cold water and let it dissolve as the water heats. This method often leaves undissolved bits at the bottom of your pan. The hot water approach ensures complete integration and a smooth, consistent flavor throughout your broth.
Simmer for Depth of Flavor
After the bouillon is fully dissolved, let the broth simmer gently for 10-15 minutes. This isn’t just about heating—it’s about allowing the flavors to meld and develop. You’ll see the surface of the broth become slightly glossy, and the aroma will deepen and become more complex.
Keep the heat low enough that you only see occasional small bubbles breaking the surface. Too high a heat will cause rapid evaporation, potentially making your broth too salty as it reduces. I like to partially cover the pot with a lid during this time to prevent too much steam from escaping while still allowing some reduction to occur.
Strain and Store for Best Results
After simmering, remove the broth from heat and let it cool for about 5 minutes. Even though we didn’t add any solids, I recommend pouring it through a fine-mesh strainer into a clean container. This catches any undissolved particles that might have formed during simmering.
Your broth is now ready to use immediately, or you can store it. For short-term storage, keep it in the refrigerator for up to 5 days. For longer storage, portion it into freezer-safe containers and freeze for up to 3 months. The flavor will continue to develop slightly as it sits, making it even richer when you use it later.
Tips and Common Mistakes
Here’s what I’ve learned from making this broth countless times—small details that make a big difference in flavor and consistency.
Water Quality Matters: In Step 1, using filtered water isn’t just a suggestion—it’s crucial. Tap water can contain minerals and chlorine that affect the final taste, especially when you’re working with just two ingredients. I once made a batch with unfiltered water and noticed a subtle metallic aftertaste that wasn’t present when I used filtered water. The difference is particularly noticeable when you’re using the broth in delicate dishes like soups or risottos.
Heat Control in Step 2: When bringing the water to a boil, resist the urge to crank the heat to high. The medium-high heat specified in the instructions creates the perfect gentle boil that prevents the bouillon from breaking down too quickly. Too aggressive a boil can cause the flavor compounds to evaporate before they properly infuse the water. Watch for those small bubbles forming at the edges—this is your visual cue that you’re at the right temperature.
Simmering Technique in Step 4: During the 10-15 minute simmer, keep the heat at the lowest setting that maintains those occasional small bubbles. This gentle simmer is where the magic happens—the broth develops a richer color and deeper aroma. I like to partially cover the pot as mentioned in the instructions; this prevents too much reduction while still allowing some concentration of flavors. If you notice the broth reducing too quickly, add a splash of hot water to maintain the volume.
Straining for Perfection: Don’t skip the straining step after the 5-minute cooling period. Even with high-quality bouillon, tiny particles can form during simmering that affect the broth’s texture. I use a fine-mesh strainer and press gently with a spoon to ensure I’m not leaving any flavor behind. This extra step gives your broth that perfectly smooth, restaurant-quality consistency that makes all the difference in your final dishes.
Pro Tips for Make Beef Broth With Beef Bouillon Cubes
- Here’s what I’ve learned from making this broth countless times—small details that make a big difference in flavor an…
- Water Quality Matters: In Step 1, using filtered water isn’t just a suggestion—it’s crucial. Tap water can contain mi…
- Heat Control in Step 2: When bringing the water to a boil, resist the urge to crank the heat to high. The medium-high…
Frequently Asked Questions
Can I use beef bouillon cubes instead of fresh beef bones for broth?
Bouillon cubes are a convenient alternative to beef bones—they’re packed with concentrated beef flavor, salt, and spices. While homemade bone broth has a deeper richness, cubes deliver a quick, flavorful base perfect for soups, stews, or gravies. Just dissolve 1 cube per 1–2 cups of hot water and adjust seasoning to taste.
How long does homemade beef broth with bouillon cubes last?
Store your broth in an airtight container in the fridge for up to 4–5 days or freeze it for 3–4 months . For longer shelf life, portion it into ice cube trays—perfect for small recipes! Always check for off smells or mold before using, and reheat thoroughly if stored in the fridge.
Why does my beef broth taste too salty? How can I fix it?
Bouillon cubes are salt-heavy! To fix an overly salty broth, dilute it with water or unsalted stock, or balance the flavor by adding a splash of acid (lemon juice or vinegar) or a pinch of sugar. For future batches, reduce the cubes—start with half and adjust to taste.
Can I add vegetables or herbs to enhance the flavor?
Yes! Boost your broth with aromatics like onions, garlic, carrots, celery, or herbs (thyme, bay leaves, parsley) . Simmer them with the dissolved cubes for 10–15 minutes, then strain. Avoid overcooking veggies—they can turn bitter. Fresh herbs add brightness; dried herbs offer deeper notes.
Are there vegetarian alternatives to beef bouillon cubes?
For a plant-based swap, try vegetable bouillon cubes, mushroom powder, or soy sauce + nutritional yeast for umami depth . Brands like Better Than Bouillon (No Beef Base) mimic beefy flavor without meat. Adjust seasoning carefully—some alternatives are saltier or milder than traditional cubes!
Making rich, flavorful beef broth with bouillon cubes is easier than you think—just dissolve, simmer, and customize! With a few simple ingredients and less than 30 minutes, you’ll have a versatile base for soups, stews, or sauces that tastes like it simmered all day. 🍲
Now that you’ve mastered this shortcut, why not put your broth to work? Try it in a hearty beef noodle soup or use it to deglaze a pan for an umami-packed gravy. Happy cooking!

Trained in classic French technique but raised on slow-cooked ribs and spicy rubs, she blends culinary skill with smoke and soul.
- Recipe For Fried Chicken In A Pressure Cooker: Crispy Golden Bites in Half the Time - October 3, 2026
- Recipe For Leftover Fried Fish: Crunchy Leftovers Transformed - October 3, 2026
- Recipe for Crock Pot Swiss Steak: Slow-Cooked Beef With Mushroom Gravy - October 3, 2026