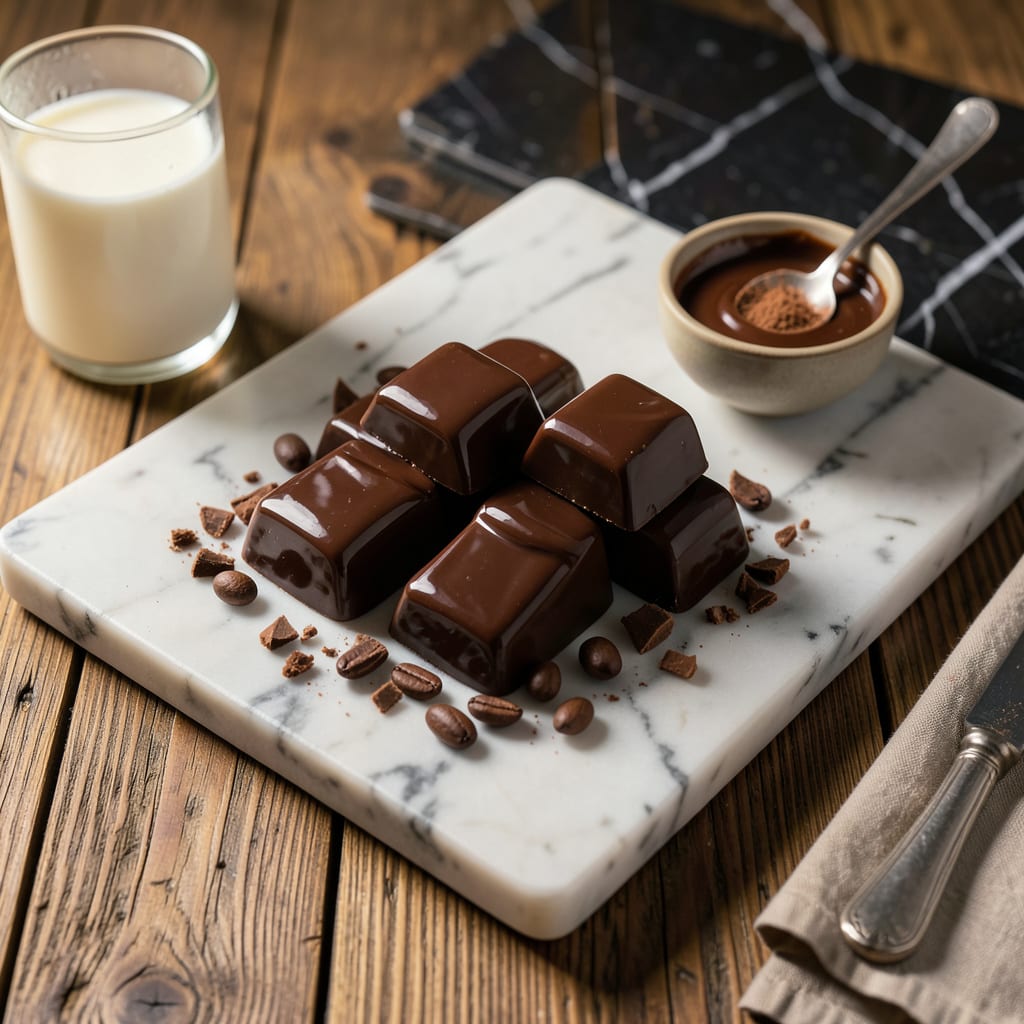
I’ll be real with you: tempering chocolate is a pain. The thermometers, the precise temperatures, the constant stirring—it’s enough to make anyone reach for store-bought. But here’s the thing—you can get that same glossy, professional finish without all the fuss. After burning through more chocolate than I’d like to admit, I discovered a foolproof workaround that delivers shiny results every time.
This method skips traditional tempering but still gives you chocolate with a beautiful sheen and satisfying snap. No fancy equipment needed—just a microwave or double boiler and a little patience. The secret lies in controlling the cooling process and using a tiny bit of cocoa butter to encourage those shiny crystals to form naturally.
What you’ll end up with is chocolate that looks like it came from a professional kitchen—smooth, glossy, and perfect for dipping, molding, or decorating. It won’t have quite the same shelf stability as properly tempered chocolate, but for most home projects, it’s more than good enough. And honestly? The ease makes up for any minor differences.
Whether you’re making truffles, coating strawberries, or just want pretty chocolate bark, this technique changes the game. Let me show you how to get that shine without the stress.
📚 In This Guide
- What You’ll Need
- Instructions
- Tips and Common Mistakes
What Youll Need
- ● High-quality chocolate – 8–16 oz (225–450g) of couverture (32–39% cocoa butter) or compound chocolate (for easiest results). Avoid chocolate chips—they contain stabilizers that dull shine! 🍫
- ○ Cocoa butter (optional, but recommended) – 1–2 tsp (5–10g) for extra gloss. Use deodorized if you dislike cocoa aroma.
- ● Double boiler or heatproof bowl – A stainless steel or glass bowl that fits snugly over a saucepan (or use a microwave-safe bowl in 10-second bursts).
- ○ Instant-read thermometer (optional but helpful) – For precise melting (ideal range: 88–90°F/31–32°C for dark chocolate).
- ● Silicone spatula – Heat-resistant and flexible for smooth stirring.
- ● Parchment paper or silicone mat – For drizzling or molding shiny chocolate.
- ● Clean, dry molds (if shaping) – Polycarbonate molds work best for release and shine.
- ○ Hair dryer or heat gun (optional) – For quick surface warming to enhance gloss.
- ○ Gloves (optional) – To prevent fingerprints on finished chocolate.
Instructions
Here’s the simple method I use to get that professional chocolate shine without any tempering fuss.
Select the Right Chocolate
Start with high-quality chocolate that contains at least 30% cocoa butter. I recommend using couverture chocolate if possible, as its higher cocoa butter content (typically 32-39%) gives superior shine. Avoid chocolate chips or compound chocolate—they contain stabilizers that prevent proper gloss.
The chocolate should be fresh and properly stored (in a cool, dry place below 70°F). Old or bloom-affected chocolate will never achieve that mirror-like finish, no matter what technique you use. Break the chocolate into small, even pieces for consistent melting.
Melt Using the Seed Method
Melt two-thirds of your chocolate in a heatproof bowl set over a saucepan of barely simmering water (110°F max). Stir gently with a silicone spatula until completely smooth. The key here is gentle, indirect heat—never let the bowl touch the water or exceed 115°F.
Once melted, remove from heat and immediately add the remaining one-third of chopped chocolate. Stir constantly until all pieces melt completely. This “seed” method helps stabilize the cocoa butter crystals without full tempering. The final temperature should be between 88-90°F for dark chocolate.
Cool and Agitate for Crystal Formation
Pour the melted chocolate onto a clean, dry marble slab or into a shallow stainless steel bowl. Let it cool to about 80°F—you’ll notice it starts to thicken slightly at the edges. This is where the magic happens: use a palette knife or offset spatula to spread and fold the chocolate continuously.
The agitation encourages the formation of stable beta crystals that create shine. Work quickly but carefully for 3-5 minutes until the chocolate reaches 78-80°F and holds its shape when tested with a knife. You’re looking for a consistency like thick pudding—it should be fluid enough to pour but hold soft peaks.
Apply and Set for Maximum Gloss
Immediately pour or spread the chocolate onto your prepared surface (molds, dipped treats, or enrobed centers). Work at room temperature (68-72°F)—any warmer and the chocolate won’t set properly. For dipped items, let excess chocolate drip off completely before setting.
Allow the chocolate to set undisturbed for 20-30 minutes at room temperature. Avoid refrigeration, as the rapid temperature change can cause sugar bloom and dull the finish. The properly agitated chocolate will harden with a beautiful satin sheen. For extra insurance, you can lightly buff the surface with a soft cloth once fully set.
Tips and Common Mistakes
Mastering this glossy finish is all about precision with temperature and technique. Here’s how to avoid the pitfalls I’ve seen even experienced chocolatiers make.
Temperature Precision: The 110°F maximum in Step 2 isn’t arbitrary—it’s the sweet spot where cocoa butter melts without burning. I use a digital thermometer clipped to my bowl to monitor constantly. If you exceed 115°F even briefly, the chocolate will lose its ability to form proper crystals, resulting in a dull finish no matter how well you agitate it later. The seed method only works when you maintain this narrow temperature window during melting.
Agitation Technique: During those critical 3-5 minutes in Step 3, your motion matters as much as the time. Use firm, sweeping strokes with your palette knife to create shear—the physical force that encourages beta crystal formation. I like to work in a figure-eight pattern across the marble slab, folding the chocolate from the edges toward the center. You’ll feel the viscosity change as the temperature drops to that 78-80°F target range; that’s when you know the crystals are aligning properly.
Environmental Control: The 68-72°F room temperature specified in Step 4 isn’t just a suggestion—it’s essential for proper setting. I once ruined an entire batch by working near a sunny window where the ambient temperature crept up to 75°F. The chocolate set too slowly, allowing the crystals to form improperly. Use an indoor thermometer to verify your workspace stays within this range, especially if you’re working in a warm kitchen or during summer months.
Storage Wisdom: After achieving that perfect shine, protect your work by storing finished pieces in a cool (below 70°F), dry place in a single layer. Stacking too soon can create micro-scratches that dull the surface. I use parchment-lined containers with tight-fitting lids, adding a silica gel packet to absorb any moisture that might cause sugar bloom over time.
Pro Tips for Make Chocolate Shiny Without Tempering
- Mastering this glossy finish is all about precision with temperature and technique. Here’s how to avoid the pitfalls …
- Temperature Precision: The 110°F maximum in Step 2 isn’t arbitrary—it’s the sweet spot where cocoa butter melts witho…
- Agitation Technique: During those critical 3-5 minutes in Step 3, your motion matters as much as the time. Use firm, …
Frequently Asked Questions
Can I use any type of chocolate for this method, or does it need to be high-quality?
You can use any chocolate, but higher-quality chocolate (with at least 30% cocoa butter) gives the best shine! Cheap chocolate has less cocoa butter and more additives, which can make the finish look dull or streaky. Dark, milk, or white chocolate all work—just avoid compound chocolate (it won’t melt smoothly).
How long does the shiny finish last, and does it hold up in warm weather?
The shine lasts 1-2 weeks if stored in a cool, dry place (below 70°F). In warm or humid conditions, the chocolate may develop a slight bloom (white streaks) or lose gloss faster. For longer shelf life, keep it refrigerated in an airtight container—but let it come to room temp before serving!
What’s the fastest way to get a shiny finish without tempering?
The quickest method is the “seed technique” (mixing melted chocolate with finely chopped chocolate “seeds”) or using cocoa butter (melted and brushed on). Both take under 10 minutes! For instant shine, try spraying with a light coat of neutral oil (like coconut) after cooling.
Why did my chocolate turn streaky or spotty after trying to make it shiny?
Streaks or spots usually mean:
- Temperature shock—chocolate cooled too fast (use room temp, not the fridge).
- Moisture—even a drop of water causes seizing (dull patches).
- Over-handling—touching it with warm fingers or tools.
Are there vegan or dairy-free alternatives to get shiny chocolate?
Use dairy-free dark chocolate (check for cocoa butter content) or vegan white chocolate (made with plant-based milk powder). The same methods apply—just ensure your cocoa butter or oil is also vegan. Carob chips won’t work as well (they lack cocoa butter for gloss).
You don’t need fancy equipment or tempering skills to get that glossy, professional shine on your chocolate! 🌟 With simple ingredients like cocoa butter, coconut oil, or even a quick polish with a hairdryer, you can transform dull chocolate into a showstopper. Whether you’re dipping strawberries, crafting truffles, or decorating desserts, these tricks make it effortless.
Ready to put your new knowledge to the test? Grab your favorite chocolate and try one of these methods today—your treats (and taste testers) will thank you! 🍫✨ For even more baking hacks, check out our guide on quick chocolate decorating ideas next.

Trained in classic French technique but raised on slow-cooked ribs and spicy rubs, she blends culinary skill with smoke and soul.
- Indian Lamb Curry Recipe Pressure Cooker: Fragrant Spices in a Fraction of the Time - October 3, 2026
- Recipe for Oven Roasted: Golden Crisp Perfection Without the Fryer - October 3, 2026
- Recipe for Fried Pork Chops With Flour: Crispy Crust and Juicy Centers - October 3, 2026