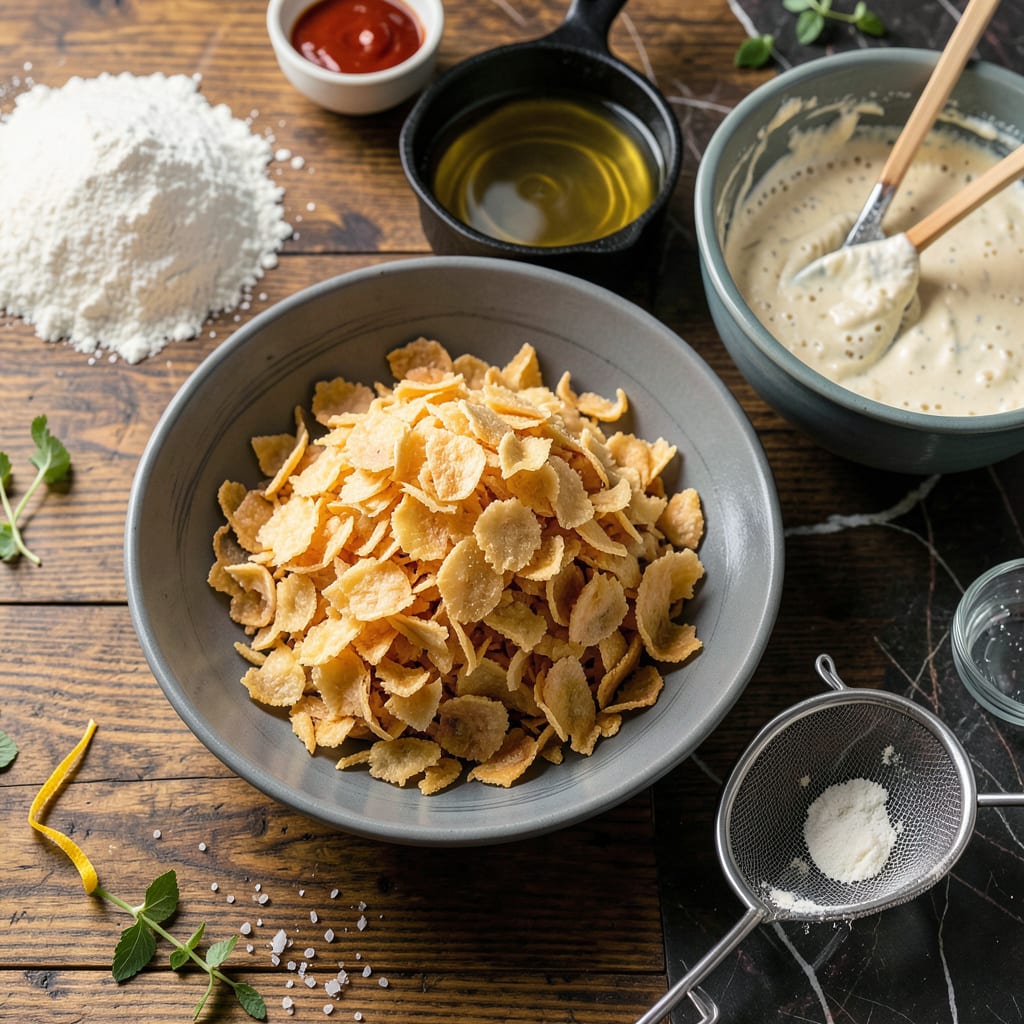
I’ll be real with you: homemade tempura flakes are the ultimate secret weapon for adding crispy, golden crunch to any dish. After years of making tempura (and wasting batter scraps), I realized those leftover bits could become something even better. Now I make them intentionally—just for this addictive topping.
Here’s the thing—perfect tempura flakes require hot oil (350°F is ideal) and quick frying. The batter scraps puff up into delicate, lacy crisps that stay crunchy for days. I drain them on a rack, not paper towels, to keep them extra crisp. This method works with any tempura batter, so save those scraps next time!
These flakes transform ramen, rice bowls, or even simple salads with their umami-rich crunch. I sprinkle them on everything from okonomiyaki to avocado toast. They’re like the Japanese answer to bacon bits—only lighter, crispier, and way more versatile. Store them in an airtight container, and they’ll keep their crispiness for up to a week.
Fair warning: once you start making these, you’ll want to put them on everything. The good news? They take less than 10 minutes to fry up, and you can make a big batch to use all week. Let’s get that oil hot and start crisping!
📚 In This Guide
- What You’ll Need
- Instructions
- Tips and Common Mistakes
What Youll Need
- ● Main Ingredients: 1 cup (120g) cake flour (or all-purpose flour in a pinch)
- ● 1 cup (240ml) ice-cold water (or sparkling water for extra crispiness)
- ○ 1 large egg yolk (optional, for richer flavor)
- ● 1 tsp (5g) baking powder (for lightness)
- ● ½ tsp (3g) salt (adjust to taste)
- ● 2 cups (40g) dried bonito flakes (katsuobushi) or thinly sliced vegetables (like cabbage or carrots)
- ● Neutral oil for deep-frying (like vegetable or canola oil, ~2 cups or enough for 1.5″ depth)
- ● Tools & Equipment: Deep frying pan or pot (with high sides)
- ● Slotted spoon or spider strainer (for scooping flakes)
- ● Paper towels or wire rack (for draining oil)
- ● Mixing bowls (2 medium-sized)
- ● Whisk or chopsticks (for batter mixing)
- ○ Thermometer (optional, to monitor oil temp—ideal: 340–350°F / 170–175°C)
- ○ Optional Add-Ins: 1 tsp (5g) soy sauce powder or dashi powder (for extra umami)
- ● ½ tsp (1g) garlic powder or onion powder (for flavor variation)
- ● Sesame seeds (sprinkled post-fry for texture)
Step-by-Step Instructions for Making Tempura Flakes
This method delivers perfectly crispy, golden flakes every time—let’s get started.
Prepare Your Oil and Workspace
Fill a deep, heavy-bottomed pot with 2-3 inches of neutral oil (vegetable or canola works best). I like to use a pot that’s wider than it is tall to prevent oil splatter. Attach a deep-fry thermometer to the side and heat the oil over medium-high heat until it reaches 350°F.
While the oil heats, set up your workspace with a slotted spoon, paper towels, and a baking sheet. Line the baking sheet with paper towels to drain the finished flakes. This preparation prevents frantic searching while your oil is at the perfect temperature—trust me, oil cools quickly when you’re not ready.
Create the Tempura Batter
In a medium bowl, combine 1 cup all-purpose flour and 1 cup cornstarch. The cornstarch is what gives these flakes their signature crispiness. Whisk the dry ingredients together until completely uniform—no white streaks should remain.
Slowly pour in 1½ cups ice-cold water while whisking gently. You want a thin, lumpy batter—similar to heavy cream in consistency. Don’t overmix; small lumps are fine and actually help create that delicate, crispy texture. The cold water is crucial—it keeps the batter from developing gluten, which would make your flakes tough rather than crispy.
Fry the Tempura Flakes
Once your oil reaches 350°F, hold the whisk about 6 inches above the oil and drizzle the batter through the tines in thin streams. Work in batches—don’t overcrowd the pot or the oil temperature will drop too much. You’ll see the batter immediately puff up and turn golden as it hits the oil.
Fry for 30-45 seconds until the flakes are light golden brown and completely crispy. They’ll float to the surface when done. Use your slotted spoon to transfer them to the paper towel-lined baking sheet. Watch closely—these cook fast and can burn if left unattended. The perfect flakes should be delicate enough to shatter between your fingers but sturdy enough to hold their shape.
Drain and Season the Flakes
Let the flakes drain on the paper towels for 2-3 minutes to remove excess oil. While still warm, transfer them to a large bowl. Sprinkle with 1 teaspoon fine sea salt and 1 teaspoon garlic powder (or your preferred seasoning).
Toss gently with your hands or a spatula to distribute the seasoning evenly. Be careful—they’re fragile when warm! The salt enhances the natural flavor while the garlic powder adds that umami depth that makes these flakes so addictive. Taste and adjust seasoning if needed, but remember flavors will intensify slightly as they cool.
Cool and Store for Maximum Crispiness
Spread the seasoned flakes in a single layer on a clean baking sheet. Let them cool completely at room temperature—this takes about 20-30 minutes. Cooling properly ensures they maintain their crisp texture when stored.
Once cool, transfer to an airtight container. They’ll keep at room temperature for up to 3 days, though they’re best within the first 24 hours when they’re at peak crispiness. If they lose some crunch over time, you can refresh them by spreading on a baking sheet and warming in a 300°F oven for 3-5 minutes. Now you’re ready to sprinkle these golden, crispy flakes over ramen, rice bowls, or even salads!
Tips and Common Mistakes for Perfect Tempura Flakes
These small but important details will help you achieve that ideal balance of crispiness and golden color every time.
Temperature Control: The 350°F oil temperature in Step 3 is absolutely critical. If your oil is too hot, the flakes will brown before they crisp; if too cool, they’ll absorb oil and become greasy. I recommend using a deep-fry thermometer and adjusting the heat between batches to maintain that perfect 350°F. Remember that adding batter will temporarily lower the temperature, so work quickly but carefully.
Batter Consistency: In Step 2, when combining the 1 cup all-purpose flour and 1 cup cornstarch with 1½ cups ice-cold water, you’re aiming for a batter that’s thin enough to drip through the whisk tines but still has body. I’ve found that using water straight from the fridge with ice cubes gives the best results. The cold temperature is what prevents gluten formation, keeping your flakes delicate rather than chewy.
Frying Technique: During the 30-45 seconds frying time in Step 3, keep the whisk about 6 inches above the oil as directed. This height allows the batter to form those perfect, lacy patterns as it falls. Work in small batches—overcrowding the pot will drop the oil temperature too much. You’ll know they’re done when they float to the surface and turn that beautiful light golden brown color.
Cooling Process: Don’t rush the 20-30 minutes cooling time in Step 5. This is when the flakes set completely and achieve their maximum crispiness. I like to spread them in a single layer on the baking sheet with plenty of space between each piece. If they touch while cooling, they might stick together. The patience during this step really pays off in the final texture.
Pro Tips for Make Tempura Flakes
- These small but important details will help you achieve that ideal balance of crispiness and golden color every time.
- Temperature Control: The 350°F oil temperature in Step 3 is absolutely critical. If your oil is too hot, the flakes w…
- Batter Consistency: In Step 2, when combining the 1 cup all-purpose flour and 1 cup cornstarch with 1½ cups ice-cold …
Frequently Asked Questions
Can I use regular flour instead of tempura flour for flakes?
Yes! While tempura flour (with baking powder) gives the lightest texture, all-purpose flour works in a pinch. Add ½ tsp baking powder per ½ cup flour to mimic the airy crunch. For extra crispiness, mix in 1 tbsp cornstarch to reduce gluten formation.
How long do homemade tempura flakes stay crispy?
Freshly made flakes stay crisp for 2–3 days in an airtight container at room temp. For longer storage, freeze them for up to 1 month—re-crisp in a 350°F (175°C) oven for 3–5 minutes before using. Avoid refrigeration (humidity = soggy flakes!).
What’s the easiest way to cut the tempura sheet into flakes?
Let the cooked tempura sheet cool 2–3 minutes until firm but still warm. Use kitchen shears for quick snips or a sharp knife for uniform strips. For extra-thin flakes, stack sheets and slice with a pizza cutter.
Can I make tempura flakes without deep-frying?
Try air-frying at 375°F (190°C) for 4–6 minutes (flip halfway) or pan-frying in ½ inch of oil. The texture won’t be as delicate, but it’ll still be crispy. For a no-oil option, bake at 400°F (200°C) for 8–10 minutes.
Why are my tempura flakes soggy or chewy?
Common culprits:
- Oil temp too low (aim for 340–350°F/170–175°C).
- Overmixing the batter (lumps = good! Gluten = bad.).
- Thick batter (should coat a chopstick lightly).
- Storage in humidity (add a silica packet to the container).
Now you’ve got the secret to making crispy, golden tempura flakes right in your kitchen! 🎉 With just a few simple ingredients and a little patience, you can elevate your ramen, rice bowls, or even salads with that irresistible crunch and umami kick. Whether you’re meal prepping or cooking on the fly, these flakes are a game-changer.
Ready to take it further? Try experimenting with different seasonings—like chili powder or sesame seeds—for a custom twist. Or, if you loved this recipe, why not dive into making homemade furikake next? Happy crisping! 🍜✨

Trained in classic French technique but raised on slow-cooked ribs and spicy rubs, she blends culinary skill with smoke and soul.
- Recipe for Boneless Pork Chops in Cast Iron Skillet: Sear and Baste to Juicy Perfection - October 3, 2026
- Recipe for Boneless Cross Rib Roast: Slow-Roasted Beef with Herb Crust - October 3, 2026
- Hamburgers in Sauce Recipe Crock Pot: Slow-Cooked Savory Delight - October 3, 2026