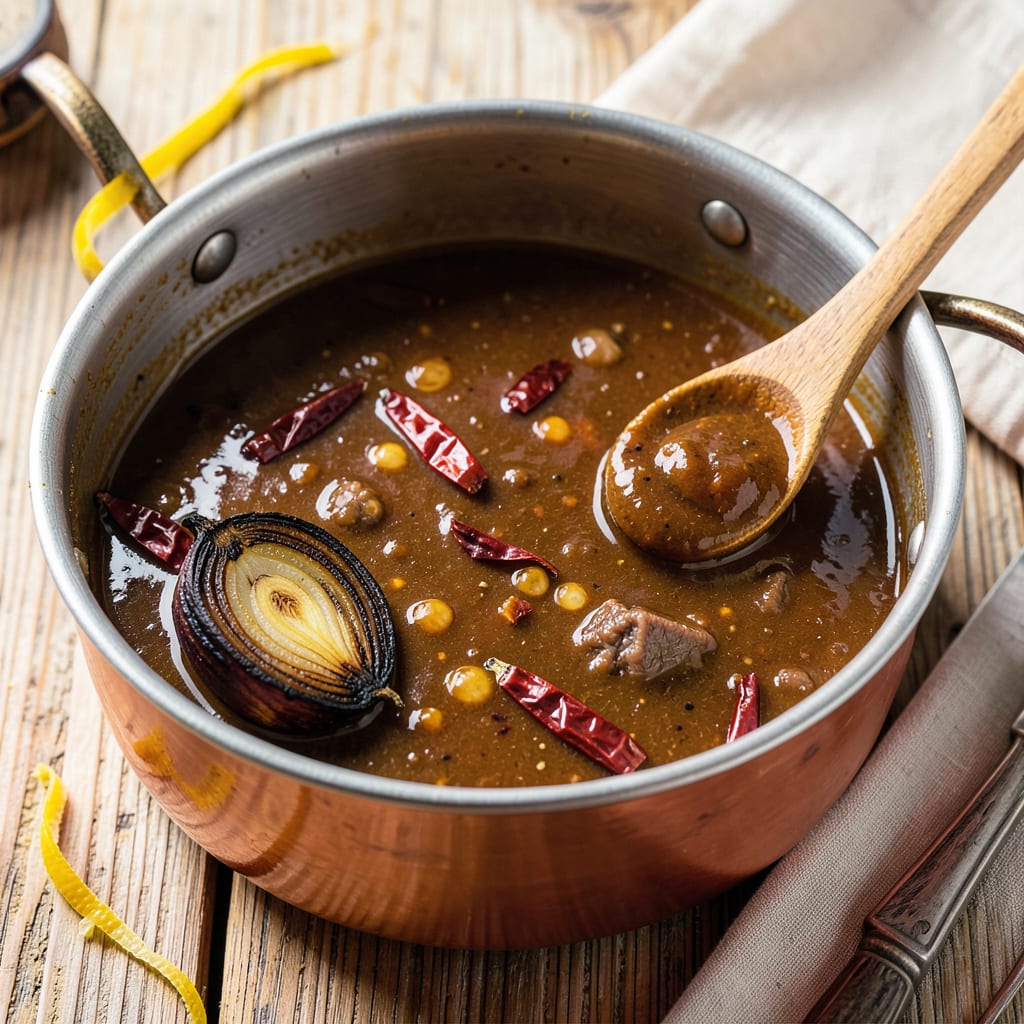
I’ll be real with you: nothing ruins a good birria taco faster than a watery, sad sauce that slides right off your tortilla. After years of making (and occasionally messing up) this rich, spicy Mexican classic, I’ve cracked the code for getting that perfect velvety consistency—whether you’re working with leftover broth or starting from scratch.
Here’s the thing—birria sauce is all about balance. You want it thick enough to cling to your meat and tortillas, but not so gloppy that it loses that signature silky texture. I’ve tested every method from classic reduction to modern thickeners, and the best part? You don’t need fancy equipment or hours of simmering to fix a thin sauce.
The right technique depends on your timeline and flavor goals. Some methods add body while deepening the sauce’s complexity, others work in minutes without altering the taste. Either way, you’re about to learn how to transform that thin, disappointing liquid into the rich, restaurant-quality sauce your birria deserves.
Fair warning: once you master this, there’s no going back to weak, watery versions. Your tacos will thank you, your guests will ask for the secret, and you’ll never stress about sauce consistency again. Let’s fix that birria.
📚 In This Guide
- What You’ll Need
- Instructions
- Tips and Common Mistakes
What Youll Need
- ○ Birria broth (sauce base): 4–6 cups of already-cooked birria consommé (strained, fat skimmed optional 💡).
- ● Thickening agents (pick 1–2): Corn masa harina: ¼–½ cup (fine, uncooked—like Maseca brand).
- ● All-purpose flour: 2–3 tbsp (for gluten-friendly options).
- ● Cornstarch slurry: 1–2 tbsp mixed with 2 tbsp cold water (⚠️ add slowly).
- ● Blended tortillas: 2–3 corn tortillas (soaked in broth, then puréed).
- ● Tools: Whisk or wooden spoon (no lumps allowed! 🌀).
- ● Medium saucepan (2–3 quart capacity).
- ● Fine-mesh strainer (if using masa/tortillas).
- ○ Immersion blender (optional, for ultra-smooth texture).
- ○ Extras (optional but recommended): 1 tbsp lard or birria fat (for richness 🧈).
- ● 1 tsp achiote paste (boosts color/depth).
- ● Salt to taste (thickening can dilute flavor!).
- ● Prerequisites: Birria broth cooled slightly (hot liquid + starch = clumps ❌).
- ● Taste-test base sauce first—adjust seasoning before thickening.
Instructions
Here’s exactly how to achieve that perfect, velvety birria sauce consistency you’re after.
Simmer to Reduce the Liquid
Start by transferring your birria sauce to a wide, heavy-bottomed pot. The wider surface area helps the liquid evaporate more quickly. Bring it to a gentle simmer over medium heat, then reduce to medium-low to maintain a steady, gentle bubble.
This is where patience pays off. Let it simmer uncovered for 20-30 minutes, stirring occasionally with a wooden spoon. You’ll notice the sauce gradually darkening in color and becoming more concentrated. The aroma will intensify too—that’s how you know the flavors are developing.
Watch for the sauce to reduce by about one-third in volume. You can test the consistency by dipping your spoon in—when it coats the back of the spoon and leaves a clear path when you run your finger through it, you’re getting close.
Blend for Smooth Texture
Once reduced, carefully transfer the sauce to a blender or use an immersion blender right in the pot. I prefer immersion blenders for this—they’re easier to control and create less mess. Blend until completely smooth, which usually takes about 1-2 minutes.
You’re looking for a velvety texture without any chunks. If using a regular blender, work in batches and don’t fill more than halfway—hot liquids expand. Always remove the center cap from the lid and cover with a towel to let steam escape safely.
The blended sauce should have a uniform, creamy appearance. If it still looks thin after blending, don’t worry—we’ll address that in the next step. The blending process itself helps emulsify the fats and liquids, which naturally thickens the sauce slightly.
Create a Slurry for Final Thickening
In a small bowl, whisk together 2 tablespoons of cornstarch with ¼ cup of cold water until completely smooth. This creates your thickening slurry. The key here is using cold water—it prevents the cornstarch from clumping when it hits the hot sauce.
With the sauce simmering gently, slowly pour in the slurry while stirring constantly. I like to use a whisk for this part to ensure even distribution. You’ll see the sauce immediately start to thicken as the cornstarch activates.
Let it simmer for an additional 3-5 minutes after adding the slurry. This gives the cornstarch time to fully activate and reach its maximum thickening potential. The sauce should now coat your spoon thickly and hold its shape when you drag it across the bottom of the pot.
Adjust and Perfect the Consistency
Now’s the time to fine-tune your sauce. If it’s thicker than you’d like, thin it with small amounts of warm broth or water, 1 tablespoon at a time, until it reaches your desired consistency. Remember, the sauce will thicken slightly more as it cools.
Taste and adjust the seasoning if needed. The thickening process can sometimes mute flavors, so you might want to add a pinch of salt or a squeeze of lime juice to brighten it up. The perfect birria sauce should be rich and complex, with a balance of smoky, spicy, and slightly sweet notes.
For the ultimate test, dip a tortilla in the sauce. It should cling nicely without dripping excessively. If you’re using it for consommé, it should be thick enough to coat the meat beautifully but still pourable. Let it rest for 5 minutes off the heat before serving—this allows the final texture to set.
Tips and Common Mistakes
Mastering the perfect birria sauce texture is all about patience and attention to detail. Here’s what I’ve learned from years of making (and occasionally ruining) this rich, complex sauce.
The Simmering Secret: In Step 1, that 20-30 minute reduction time isn’t just about thickening—it’s where the magic happens. I always use a wide pot to maximize surface area, which speeds up evaporation without scorching. Stir occasionally but not constantly; you want those flavors to concentrate at the bottom before stirring them back in. The sauce should reduce by about one-third, and you’ll know it’s ready when it coats your spoon and leaves that clean path when you drag your finger through it.
Blending for Velvety Perfection: When you reach Step 2, here’s what nobody tells you—blending time matters more than you think. Those 1-2 minutes should be just enough to create a completely smooth texture without overworking the sauce. If using a regular blender, work in small batches and always remove that center cap (trust me, I’ve had hot sauce explosions). The sauce will naturally thicken slightly during blending as the fats and liquids emulsify.
Slurry Success: The cornstarch slurry in Step 3 is your insurance policy against thin sauce. I can’t stress enough how important it is to use cold water with those 2 tablespoons of cornstarch. Pour it in slowly while whisking constantly—this prevents clumping. Those final 3-5 minutes of simmering after adding the slurry are crucial; they allow the cornstarch to fully activate and reach maximum thickening power.
Final Consistency Check: Before serving, give your sauce the tortilla test mentioned in Step 4. If it clings nicely without dripping, you’ve nailed it. Remember, the sauce will thicken slightly more as it cools during that 5-minute resting period. This is also your last chance to adjust seasoning—sometimes thickening can mute flavors, so a pinch of salt or squeeze of lime juice can really brighten things up.
Pro Tips for Thicken Birria Sauce
- Mastering the perfect birria sauce texture is all about patience and attention to detail. Here’s what I’ve learned fr…
- The Simmering Secret: In Step 1, that 20-30 minute reduction time isn’t just about thickening—it’s where the magic ha…
- Blending for Velvety Perfection: When you reach Step 2, here’s what nobody tells you—blending time matters more than …
Frequently Asked Questions
Can I thicken birria sauce without a blender?
If you don’t have a blender, simmer the sauce uncovered on low heat for 20–30 minutes to reduce it naturally. Stir occasionally to prevent burning. For extra thickness, mash the chiles and tomatoes with a potato masher or fork before simmering.
How long does it take to thicken birria sauce?
Timing depends on the method! Blending with a slurry (like cornstarch) takes 2–5 minutes of cooking. Simmering uncovered can take 15–30 minutes for noticeable thickening. Patience is key—low and slow avoids scorching!
What’s the best thickener for birria if I don’t want to use flour?
Try these alternatives:
- Cornstarch slurry (1:1 with water)—neutral taste, glossy finish.
- Mashed beans (black or pinto)—adds body and richness.
- Xanthan gum (¼ tsp)—powerful but use sparingly!
Why is my birria sauce still watery after simmering?
Common culprits: too much liquid, not enough reduced solids, or undercooked chiles. Fix it by:
- Simmering longer uncovered.
- Adding a slurry (cornstarch or flour).
- Blending in extra roasted tomatoes or onions for natural thickness.
Can I thicken birria sauce after storing it in the fridge?
Yes! Cold sauce often separates—just reheat it on medium-low while stirring. If needed, mix in a slurry (1 tsp cornstarch + 1 tbsp water per cup) and simmer for 3–5 minutes. Avoid boiling to keep flavors intact!
Thickening your birria sauce doesn’t have to be complicated! Whether you opt for a roux, blend in extra chiles, or simmer it down, the key is patience and balance. A rich, velvety sauce takes your birria from good to unforgettable—so don’t rush the process.
Now that you’ve mastered the texture, why not put it to the test? Try dipping crispy birria quesatacos or soaking soft tortillas in your newly perfected sauce. Your taste buds (and dinner guests!) will thank you. 😉🍽️

Trained in classic French technique but raised on slow-cooked ribs and spicy rubs, she blends culinary skill with smoke and soul.
- Recipe for Boneless Pork Chops in Cast Iron Skillet: Sear and Baste to Juicy Perfection - October 3, 2026
- Recipe for Boneless Cross Rib Roast: Slow-Roasted Beef with Herb Crust - October 3, 2026
- Hamburgers in Sauce Recipe Crock Pot: Slow-Cooked Savory Delight - October 3, 2026