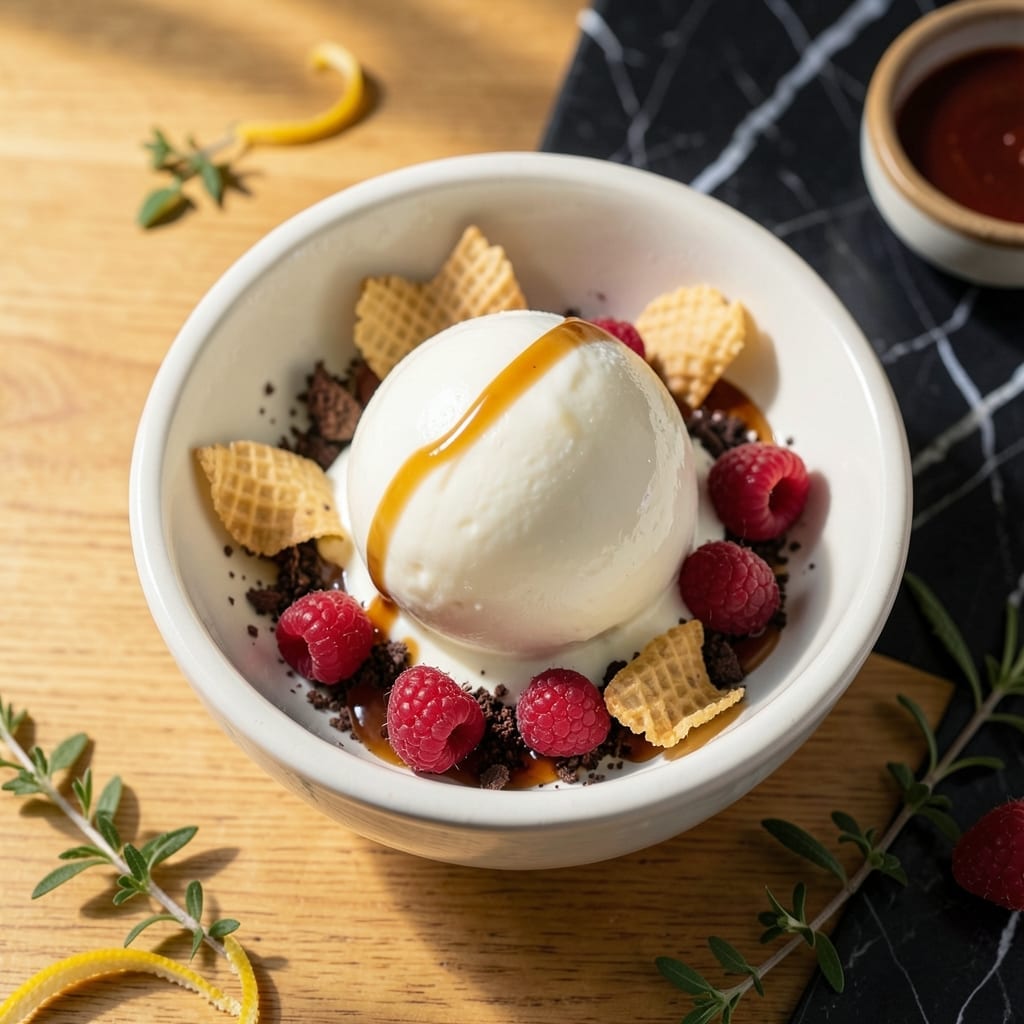
Making ice cream without an electric churn is possible with just an ice cream ball and some energetic shaking. This method delivers creamy results in minutes.
Simple ingredients combine with ice and salt to create a fun, hands-on treat. The process is as enjoyable as the sweet, smooth outcome.
Ingredients for Ice Cream Recipe for Ice Cream Ball
Creamy bases, sweet flavorings, and a handful of ice for shaking. Simple and fun ingredients.
| Ingredient | Amount | Notes |
|---|---|---|
| Heavy Whipping Cream 🥛 | 2 cups | Cold, full-fat for best texture |
| Whole Milk 🥛 | 1 cup | Cold, any percentage works |
| Granulated Sugar 🍚 | ¾ cup | Adjust to taste preference |
| Vanilla Extract 🌿 | 2 tsp | Pure extract for best flavor |
| Rock Salt 🧂 | 1 cup | For ice cream ball freezing |
| Ice Cubes ❄️ | 4 cups | Crushed or cubed |
| Large Egg Yolks 🥚 | 4 whole | Optional for richer texture |
| Chocolate Syrup 🍫 | ¼ cup | For swirl or mix-in |
| Sprinkles 🎉 | ¼ cup | Optional colorful topping |
| Chopped Nuts 🌰 | ¼ cup | Optional for crunch |
[recipe_ingredient_scaler]
The cream is non-negotiable—full-fat heavy whipping cream gives you that ultra-smooth texture. Most grocery stores carry it near the milk. Organic Valley or Darigold are reliable brands. The milk can be any percentage, but whole milk adds richness. For the best results, chill everything overnight before using. Rock salt is essential for the freezing process—Morton or generic brands work fine, just make sure it’s coarse.
No heavy cream? Half-and-half plus a splash of milk gets you close but won’t be as rich. Out of vanilla? Almond extract at half the amount works in a pinch. Want chocolate ice cream? Cocoa powder mixed with sugar or melted chocolate works too. The egg yolks are optional but add a custard-like richness. Skip the mix-ins entirely for classic vanilla.
Store unused cream and milk in the fridge for up to 1 week. The ice cream is best eaten right away but can be frozen for 2-3 days. Let it sit at room temperature for a few minutes before scooping if frozen solid.
Why You’ll Love This Recipe
- No Churn Needed: I just shake, roll, and 20 minutes later—creamy vanilla ice cream appears like magic.
- Rich Vanilla Cream: That heavy whipping cream and real vanilla extract? It tastes like the ice cream shop’s best batch.
- Kid-Powered Fun: My kids fight over who gets to roll the ball, and I call that a win for family time.
- Penny-Wise Treat: Between us, it costs less than a pint of store-bought and makes twice as much.
Step-by-Step Instructions for Ice Cream for Ice Cream Ball
This method ensures smooth, creamy ice cream without an electric churn or complex process.
Step 1: Whisk the Ice Cream Base
In a large bowl, whisk together the 2 cups Heavy Whipping Cream, 1 cup Whole Milk, 0.75 cup Granulated Sugar, and 2 tsp Vanilla Extract until the sugar fully dissolves. This takes about 2-3 minutes of steady whisking.
I prefer to use a bowl set in a shallow dish of warm water to help the sugar dissolve faster, especially if the cream and milk are cold. The mixture should look slightly thickened and smooth, with no visible sugar grains.
Step 2: Incorporate Egg Yolks for Richness
If using, gently whisk in the 4 whole Large Egg Yolks one at a time until completely combined. The yolks add a luxurious, custard-like richness to the base, but this step is optional for a lighter texture.
Ensure each yolk is fully incorporated before adding the next to prevent streaks or clumps. The final mixture should be pale yellow and slightly thicker than the cream-milk base alone.
Step 3: Prepare the Ice Cream Ball for Freezing
Add the 1 cup Rock Salt and 4 cups Ice Cubes to the ice cream ball according to the manufacturer’s instructions. The rock salt lowers the freezing point of the ice, allowing the mixture to freeze at a lower temperature.
Fill the ball no more than two-thirds full with the ice and salt mixture to leave room for the base. This ensures even contact and efficient freezing as you roll it.
Step 4: Add the Base and Optional Mix-Ins
Pour the prepared ice cream base into the inner canister of the ice cream ball. If desired, stir in the 0.25 cup Chocolate Syrup for a ribbons of chocolate flavor throughout.
Secure the canister and outer ball tightly. Now comes the fun part: roll the ball back and forth on a flat surface for 10-15 minutes until the mixture thickens into soft-serve consistency.
Step 5: Add Toppings and Serve
Once the ice cream reaches your desired consistency, open the canister and fold in the 0.25 cup Sprinkles and 0.25 cup Chopped Nuts if using. These add color, crunch, and extra flavor.
Serve immediately for a soft, creamy texture, or transfer to a freezer-safe container and freeze for 2-4 hours for a firmer scoopable consistency. The ice cream will keep in the freezer for up to 1 week if stored properly.
Pro Tips For Making Ice Cream Recipe For Ice Cream Ball
- Chill the Cream First: Always refrigerate your heavy whipping cream and whole milk for at least 2 hours before mixing—I learned this the hard way after my first batch turned grainy from warm ingredients.
- Use Fine Rock Salt: Crush your rock salt into smaller grains so it dissolves faster in the ice cream ball, or it’ll take forever to freeze and you’ll end up with soupy ice cream.
- Don’t Overfill the Ball: Leave at least 1/3 of the ball empty to give the mixture room to expand as it freezes, or you’ll be cleaning up a messy overflow.
- Sweeten to Taste: Start with 3/4 of the sugar you think you need, taste the base, and adjust—vanilla can taste sweeter once chilled, and you can’t fix an overly sweet batch later.
Serving Suggestions for Leftovers
Cones and Bowls
Serve your freshly churned ice cream in waffle cones for that classic experience—I love Joy Cone brand for their crisp texture. For a softer presentation, use chilled glass bowls to keep the ice cream cold longer. 💛
Topping Bar
Set up a DIY topping station with 0.25 cup Chocolate Syrup, 0.25 cup Sprinkles, and 0.25 cup Chopped Nuts. Let everyone customize their own creation—kids especially love this interactive touch.
Fresh Fruit Pairings
Fresh berries like sliced strawberries or raspberries add a bright contrast to the creamy sweetness. Toss them with a drizzle of honey for extra shine and flavor.
Warm Sauce Drizzle
Warm fudge sauce or caramel poured over the top creates a beautiful temperature contrast. I heat my sauces for 15-20 seconds in the microwave for the perfect drizzle consistency.
Cookie Sandwiches
Scoop the ice cream between two chocolate chip cookies for a quick ice cream sandwich. Press gently and roll the edges in mini chocolate chips for extra crunch and visual appeal. ✨
Adult Upgrade
For grown-up tastes, add a shot of espresso or Kahlúa to the base before churning. The coffee flavor pairs beautifully with chocolate mix-ins.
Nutrition Facts
Frequently Asked Questions
How do I know when the ice cream is ready?
It’s done when the mixture thickens to soft-serve consistency. This usually takes 10-15 minutes of rolling. If it’s too runny, keep shaking!
Can I use a different type of salt?
Rock salt works best because its coarse texture helps freeze the mixture. Table salt can work in a pinch, but you may need 1.5 times more for the same effect.
Why does the ice cream taste icy?
This usually means the base wasn’t cold enough before adding it to the ball. Chill ingredients for at least 4 hours beforehand, or use full-fat cream for creamier results.
Can I make dairy-free ice cream with this method?
Yes! Use coconut milk or almond milk in place of cream, but add 1 extra tablespoon of sugar to compensate for less natural sweetness.

Trained in classic French technique but raised on slow-cooked ribs and spicy rubs, she blends culinary skill with smoke and soul.
- Recipe for Boneless Pork Chops in Cast Iron Skillet: Sear and Baste to Juicy Perfection - October 3, 2026
- Recipe for Boneless Cross Rib Roast: Slow-Roasted Beef with Herb Crust - October 3, 2026
- Hamburgers in Sauce Recipe Crock Pot: Slow-Cooked Savory Delight - October 3, 2026