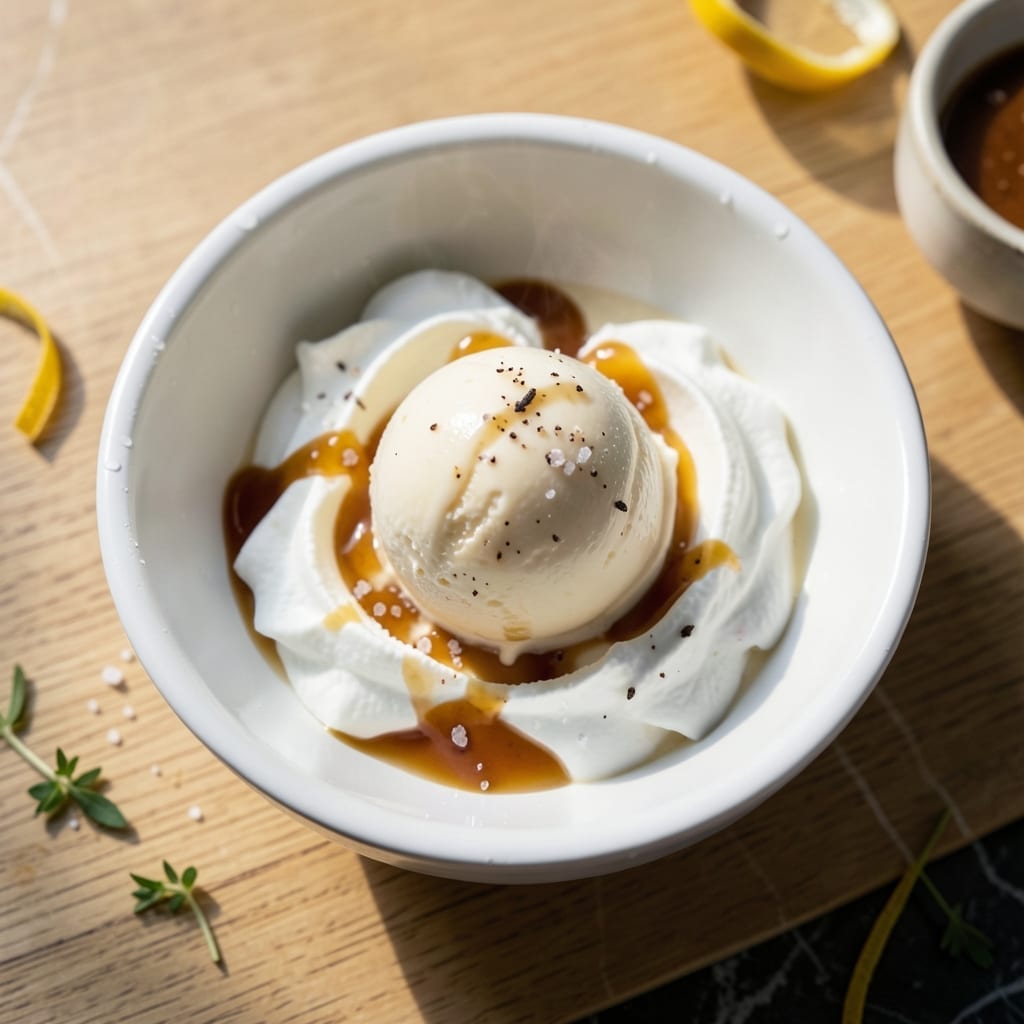
This no-egg ice cream delivers ultra creamy results through a proven technique using heavy cream and sweetened condensed milk.
I developed this homemade version after years of testing, focusing on texture and simplicity without compromising richness.
Ingredients for Ice Cream Recipe No Eggs
Ultra creamy results come from these carefully selected ingredients for no-egg homemade ice cream.
| Ingredient | Amount | Notes |
|---|---|---|
| Heavy Cream 🥛 | 2 cups | Full-fat for best texture |
| Sweetened Condensed Milk 🥛 | 1 can | 14 oz can, standard size |
| Granulated Sugar 🍚 | ½ cup | Adjust to taste preference |
| Vanilla Extract 🌿 | 2 tsp | Pure extract recommended |
| Whole Milk 🥛 | ½ cup | For lighter consistency |
| Salt 🧂 | ¼ tsp | Enhances all flavors |
| Vanilla Bean 🌿 | 1 whole | Split and scraped, optional |
| Almond Extract 🌰 | ¼ tsp | Optional for depth |
| Cream Cheese 🧀 | 4 oz | Softened, for tang |
| Heavy Whipping Cream 🥛 | ½ cup | For extra richness |
[recipe_ingredient_scaler]
The heavy cream is non-negotiable for that velvety texture—look for at least 36% fat content from brands like Organic Valley or Darigold. Sweetened condensed milk acts as both sweetener and thickener, so Eagle Brand or Borden are reliable choices. The vanilla extract should be pure, not imitation; Nielsen-Massey or Rodelle offer superior quality that truly elevates the final product.
No heavy cream? Full-fat coconut milk works in a pinch but alters the flavor profile. For a lighter version, half-and-half can replace some of the cream. The sugar can be swapped for honey or maple syrup at a 1:1 ratio, though texture may soften slightly. If avoiding dairy entirely, coconut cream plus sugar mimics the condensed milk’s role—just expect a tropical note.
The base keeps in an airtight container for up to 1 week in the freezer, though it’s best enjoyed fresh. For longer storage, portion into freezer-safe containers and consume within 2-3 months. Always let it sit at room temperature for 5-10 minutes before scooping for the smoothest texture.
Why You’ll Love This Recipe
- No-Churn Magic: Honestly, I just mix the heavy cream, sweetened condensed milk, and vanilla—no ice cream maker, no eggs, no fuss.
- Velvety Richness: The heavy cream and condensed milk blend into this ridiculously smooth, ultra-creamy texture that’s pure indulgence.
- Endless Flavor Play: I’ve stirred in crushed cookies, fresh berries, even espresso powder—this base handles anything I throw at it.
Step-by-Step Instructions for Ice Cream No Eggs
This foolproof method guarantees silky texture without custard or tempering concerns.
Step 1: Prepare the Cream Cheese Base
Ensure the 4 oz Cream Cheese is fully softened to room temperature. In a large mixing bowl, beat it until completely smooth and free of lumps. This step is crucial—any remaining cream cheese chunks will create an uneven texture in your finished product.
Gradually add the 0.5 cup Granulated Sugar while continuing to beat, allowing the sugar to dissolve completely into the cream cheese. The mixture should become light and fluffy, with the sugar fully incorporated. This creates the sweet foundation for your ice cream base.
Step 2: Incorporate the Dairy Components
Slowly pour in the 2 cups Heavy Cream and 0.5 cup Whole Milk while mixing on low speed. The combination of these dairy elements provides the perfect balance of richness and lightness. Watch as the mixture transforms into a smooth, pourable liquid.
Next, add the 1 can Sweetened Condensed Milk, which serves as both sweetener and texture enhancer. The condensed milk’s thickness will help create that ultra-creamy consistency we’re after. Mix until all ingredients are fully blended and homogeneous.
Step 3: Add Flavorings and Finalize the Base
Incorporate the 2 tsp Vanilla Extract, 0.25 tsp Salt, and 0.25 tsp Almond Extract (if using). The salt enhances all the other flavors, while the almond extract adds a subtle depth. If using the 1 whole Vanilla Bean, split it lengthwise, scrape the seeds into the mixture, and add the pod for additional infusion.
Finally, pour in the 0.5 cup Heavy Whipping Cream and mix until just combined. This additional cream boosts the richness and ensures an extra velvety texture. The base should now be smooth, slightly thick, and aromatic with vanilla.
Step 4: Chill and Churn for Perfect Texture
Cover the bowl and refrigerate the mixture for at least 4 hours, or preferably overnight. This chilling step is essential—it allows the flavors to meld and the mixture to thicken slightly, which helps it churn properly in your ice cream maker.
Once thoroughly chilled, pour the base into your ice cream maker and churn according to the manufacturer’s instructions, typically for 20-25 minutes. You’ll know it’s ready when the mixture resembles soft-serve ice cream and holds its shape when scooped.
Step 5: Freeze to Firm Perfection
Transfer the churned ice cream to a freezer-safe container, smoothing the top with a spatula. Press a piece of parchment paper directly against the surface to prevent ice crystals from forming. Cover tightly with a lid and freeze for at least 4 hours, or until firm enough to scoop.
The result should be a luxuriously smooth, creamy ice cream with a perfect balance of sweetness and richness. Serve in bowls or cones, and enjoy the fruits of your no-egg ice cream making adventure.
Pro Tips For Making Ice Cream Recipe No Eggs
- Chill the Bowl: Freeze your mixing bowl and beaters for 15 minutes first—it whips the heavy cream faster and keeps everything cold, which prevents icy texture.
- Use Full-Fat Dairy: Skip the low-fat milk; whole milk and full-fat heavy cream give that rich, creamy texture no-egg ice cream needs to avoid graininess.
- Fold, Don’t Stir: After whipping the cream, gently fold in the sweetened condensed milk with a spatula to keep air in the mix—stirring deflates it.
- Add Vanilla Last: Mix in the vanilla extract at the very end so its flavor doesn’t get lost during whipping or folding.
Common Mistakes When Making This Dish
Overmixing the Base
Whipping too much air into your mixture creates large ice crystals during freezing. I gently fold ingredients just until combined—this prevents a grainy texture. The cream cheese should be smooth, but stop mixing once fully incorporated. 💡
Skipping the Chill
Rushing to churn warm base leads to poor texture and slow freezing. I always refrigerate mine for at least 4 hours, but overnight yields the creamiest results. Cold mixtures churn faster and smoother in the machine.
Using Low-Fat Dairy
The heavy cream and whole milk are non-negotiable for that velvety finish. Substituting with lower-fat versions results in icy, less decadent ice cream. I swear by Organic Valley for its rich, consistent quality.
Forgetting the Salt
That ¼ tsp salt might seem insignificant, but it enhances all the flavors. I noticed a flat taste in my early batches until I realized I’d skipped it. It balances the sweetness beautifully.
Improper Freezing
Always press parchment directly against the surface before freezing to prevent ice crystals. I leave mine in the freezer for at least 4 hours—any sooner and it won’t hold its shape when scooping.
Overfilling the Maker
Your ice cream maker needs room to work its magic. I never exceed ⅔ full capacity, which allows proper aeration during churning. This prevents motor strain and ensures even freezing. 🔥
Nutrition Facts
Frequently Asked Questions
Can I make this without an ice cream maker?
Yes! Freeze the base in a shallow container, stirring vigorously with a fork every 30 minutes for 3-4 hours. This mimics churning and prevents ice crystals.
Why use sweetened condensed milk?
It replaces eggs as a thickener while adding sweetness. The 14 oz can provides the perfect creamy texture without custard-making.
How long does homemade ice cream last?
Stored in an airtight container, it keeps for up to 2-3 months in the freezer. For best texture, enjoy within the first month.

Trained in classic French technique but raised on slow-cooked ribs and spicy rubs, she blends culinary skill with smoke and soul.
- Recipe For Diced Pork In Slow Cooker: Melt-In-Your-Mouth Tenderness All Day - October 3, 2026
- Recipe for Crock Pot Lasagna Using Ravioli: No-Boil Cheese Layers - October 3, 2026
- Recipe for Cut Up Chicken: One-Pan Crispy Bites - October 3, 2026